March 23, 2010
Our LEED green rater came this morning in order to take some thermal images inside the house, using a special infrared camera that can measure subtle temperature differences. The goal is to pinpoint areas of abnormal heat loss so that we can remedy them if possible. In each of the image pairs below, the first shows an ordinary visible-light image and the second is the color-enhanced infrared image of the same area. In the infrared images, warmer areas are shown in shades of orange and cooler areas are shown in shades of blue. These were taken with two different cameras so the perspective is slightly different in some of them, but they show the same general area.
The image below shows the southeast corner of the heated area of the house, with the 16-inch-thick south wall on the right. We can see some evidence of heat loss around the door to the left, but nothing serious. In general the 16-inch-thick wall appears to be evenly insulated and it’s very close to the ambient air temperature except right at the corner where the wall meets the ceiling. We see this pattern in many of these images and we expect that it’s partly due to a little more heat loss through the top plate of the wall, and partly due to a “dead zone” at the corner where the air circulation is reduced.


This shows the top of the walls on the east side of the dining room. We can see significantly more heat loss right at the corners in the dining room compared to the living room wall on the left, and this is expected because the dining room walls are thinner than in the rest of the house. This was a tradeoff we chose to make, in order to set these windows close to the corners to take advantage of the view. It’s a small area so even though they lose a little more heat, overall it’s not very significant. On the ceiling we can see a cool blue area running left to right along the truss that spans this opening, and there was a similar cool area on the other side of the dining room. A check of the attic insulation in this area showed no voids, so we’ll attribute the heat loss to some thermal bridging through the truss above this area. Overall it’s pretty minor though.


Here’s a shot of the floor in the dining room, right below the photo above. As expected we see some cooler temperatures near the corner, where it’s a couple of degrees colder than average.


In the photo below we can see some huge heat loss under the back door. We expected this because the door threshold is just temporary, a piece of plywood with significant air leakage. We expect to tighten this up a great deal when the final door threshold is in place.


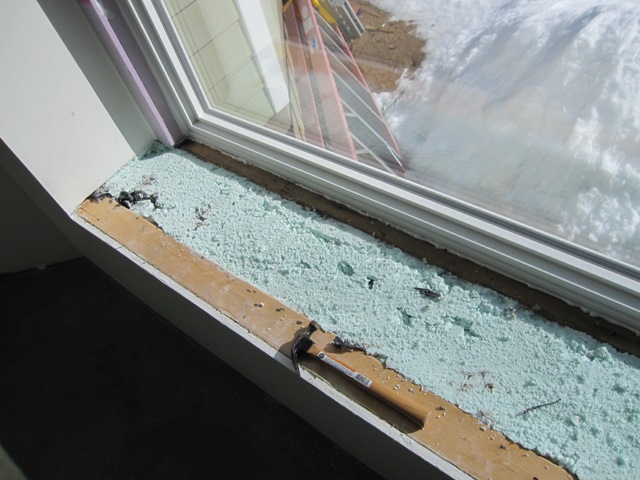
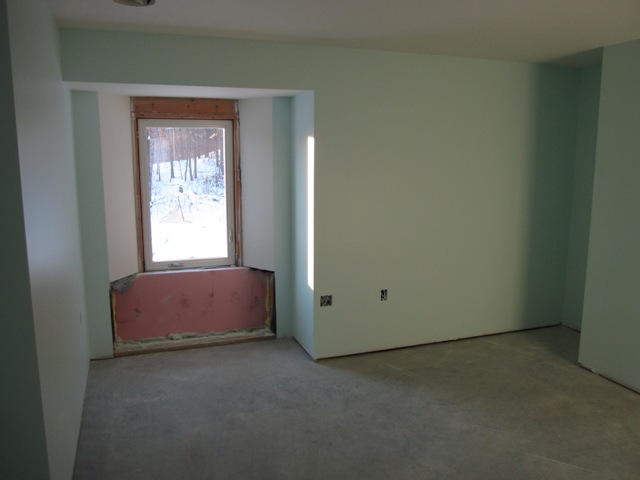
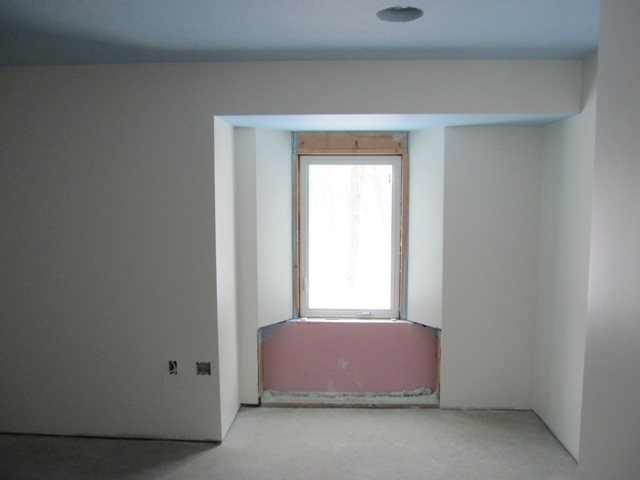
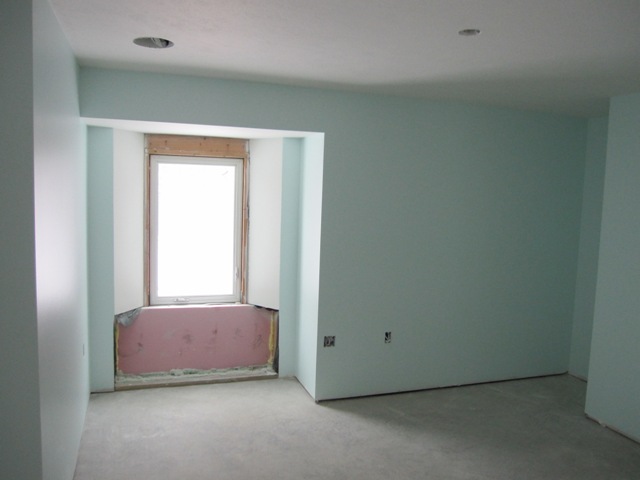
This image shows the area underneath one of the bedroom windows. A built-in bookshelf will go into this space. We can see some big heat losses at the bottom, indicating that the green spray foam on the bottom isn’t sealed well to the pink foam board. We’ll make sure to seal this joint well with more spray foam when the bookshelf is installed.


Here’s the window in the main bedroom. We can see some significant heat loss through the fiberglass window frame. It’s a very well-insulated window, but even high-performance windows have significant heat loss. Overall this window has a U-value of about 0.19, which is comparable to 1 inch of pink foam. We can see some additional heat loss near the upper-right corner above the window so we’ll check for an air leak there and make sure it’s sealed well.


The following photo is more interesting than it looks. This wall is between the heat storage tank and a bedroom, and we can see some vertical warm stripes on the wall. These are where the wall studs are, and we’re getting additional heat conduction from the heat storage tank through the studs causing a warm stripe on the wall. It’s only about 1 degree warmer than the surrounding wall but the IR camera is sensitive enough to pick it up.


Here’s another photo in the same room, showing an even warmer stripe near the edge of the door. This heat conduction from the heat storage tank will keep this bedroom a little warmer than the others, which may be fine in the winter and undesirable in the summer. Our heat storage tank design predicts that this will amount to only a few tens of watts so it shouldn’t be a problem.


This image shows the southeast corner of the cottage great room, with the south-facing window on the right. We see a little cool spot right in the corner but nothing that indicates any voids in the insulation. As in most of the other pictures, we think the cool spots near the corners are mainly due to decreased air circulation there.


Here’s a photo of the ceiling in the great room, with the base of a ceiling fan at the bottom of the picture. The noticeable cool spot in the middle is right at a roof truss. We would expect some additional heat loss at each truss location, but this may also indicate that the attic insulation is a bit low in this spot. We’ll check it out next time we’re up in that attic.


Here’s another example showing the foam under a bedroom window, where there are significant cool spots along the joint between the green spray foam and the pink foam board. Clearly this is a weak area where we need to seal better, and fortunately it’s easy to do that now since the built-in bookshelves aren’t yet installed.


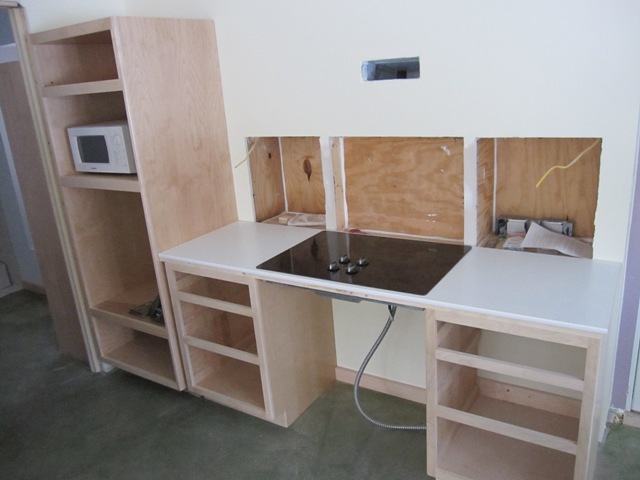
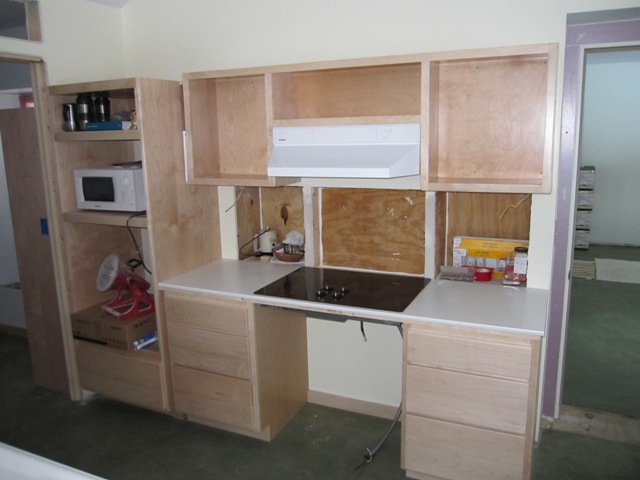
The following photo shows the area above the cooktop on the north wall of the cottage kitchen. There’s a suspicious cold band about a foot above the top of the cabinets. Based on the structure of this wall, we can tell that the cellulose insulation must have settled about a foot in this area, because there’s an air barrier right above it inside the wall. Our insulator did not pack the cellulose into the walls anywhere near as densely as we specified, so we had about a foot of settling in most of the walls. In every other area we were able to pack in more insulation from the attic to achieve the required density but this particular spot was not possible to reach from above. We will most likely remedy this problem by blowing in additional cellulose through small holes cut into the wall. We’ll do that from the outside so we don’t fill the house with dust!


