November 23, 2009
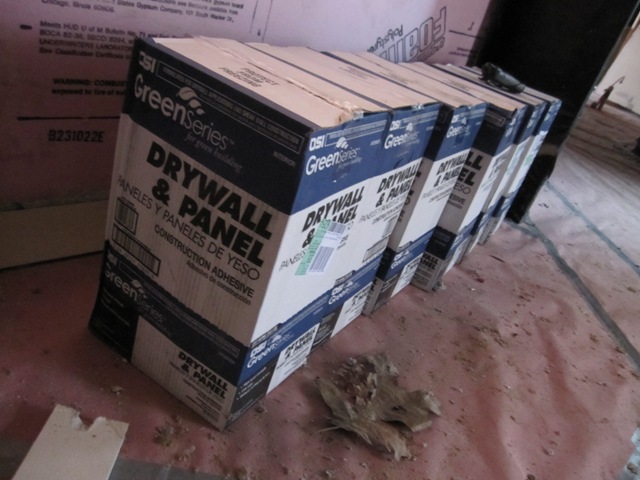
The drywall was delivered and stacked into the rooms where it will be needed. Most of it was four feet wide by up to 16 feet long.


We specified low-V.O.C. adhesive to reduce emissions within the house, and moisture-resistant board for all of the bathrooms.

November 24, 2009
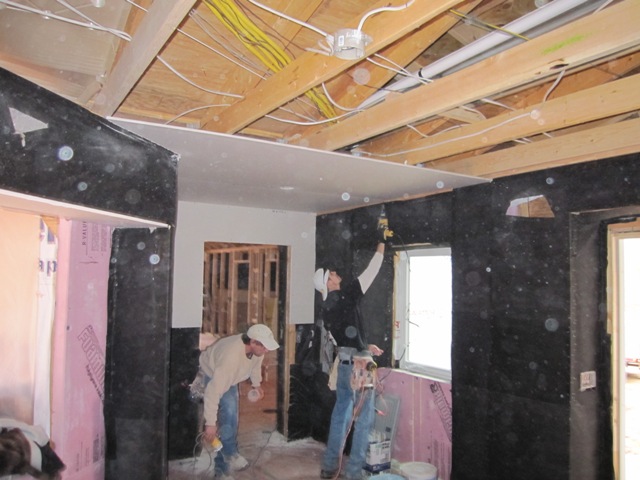
The crew arrived and started screwing the drywall to the ceilings. The flash on the camera accentuates the dust in the air. They started in the entryway and then moved on to the cottage.

After the cottage was done they moved on to the garage ceiling. It went a lot faster, with few cuts to make.

Here’s a photo of the cottage great room with all the drywall hung. It’s amazing how completely this changes the look and feel of the place.

November 27, 2009
The first photo below shows the drywall going up in the sunroom ceiling, and the second is in the workshop. The crew made it look easy.


As they got to the top of the workshop ceiling they had to use a scaffolding in order to reach high enough. The second photo below shows the shop with the ceiling and west wall done.


November 28, 2009
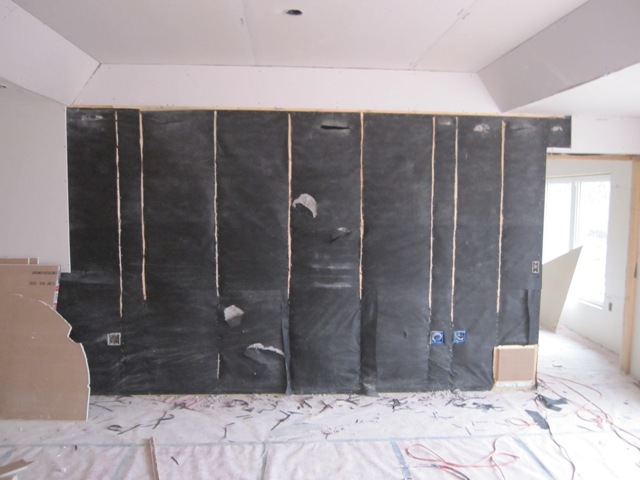
The floor is a mess (good thing we put down protective rosin paper), but the ceilings and walls are looking nice. The first photo below is taken from the southeast end of the living room looking toward the kitchen. The kitchen walls aren’t quite done yet, so you can see the yellow moisture-resistant board that covers the inside of the bathrooms. The second photo is looking from the kitchen toward the theater wall. We specified a single piece of 54″ high drywall on the top part of this wall, in order to minimize any ripples when it’s used as a projection screen, and they ran out of 54″ wide board so this wall still shows the black mesh holding back the cellulose wall insulation. What looks like a recessed lighting fixture in the foreground is actually an air intake that will pull stale air from the kitchen. We carefully sealed all of the ventilation ducts as soon as they were installed, to prevent construction dust from entering the ductwork.


November 30, 2009
The black mesh that was used to contain the insulation in the double walls also prevents the drywallers from gluing the drywall to the studs, which is normally done to make it more stable. Often the mesh itself is glued to the studs, so that drywall can be glued solidly onto the mesh, but with the mesh just stapled on this wasn’t possible. In order to make a flatter and more stable surface for the theater wall, we cut through the mesh and exposed the bare studs for gluing on the upper portion of the wall.

The first photo below shows the single 54″ high panel being applied to the wall, after running a bead of adhesive down each stud. The image from the projector will be exactly this high and 96″ wide. To finish up the living room, they hung drywall around the circular arch over the nook.


December 1, 2009
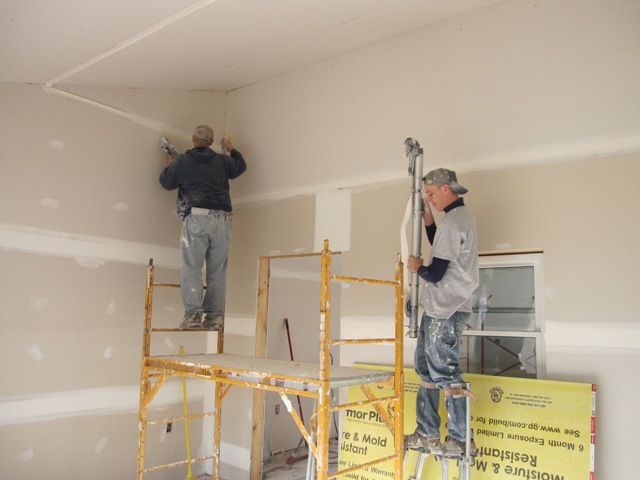
They continued to tape seams and cover screw holes throughout the house and shop. Fortunately the insulation is nearly done so we’re able to hold some heat in the house, but we still have to rely on propane burners at this point because there are still large uninsulated areas and we’re still missing most of the big south-facing windows so the largest window openings are only covered with thin plastic.

December 4, 2009
Here are a couple of photos showing the drywall after taping. The first photo is of the south window in the cottage great room, and the second photo shows the dining room in the main house.


December 9, 2009
Today they started applying the texture to the ceilings. All of the ceilings except the raised tray over the living room will have a “knock-down crow’s foot” texture. It looks like an expensive detail but it’s actually less expensive than a smooth ceiling because it takes less time. The first photo below shows them applying it to the garage ceiling. While one person sprays the “mud”, the other stamps it with a pair of brushes as shown in the second photo.


After the texture is sprayed and stamped with the brush, it leaves a stippled surface with lots of little points hanging down. They knock this down with a large flexible scraper, and the finished result looks like this.
