November 20, 2009
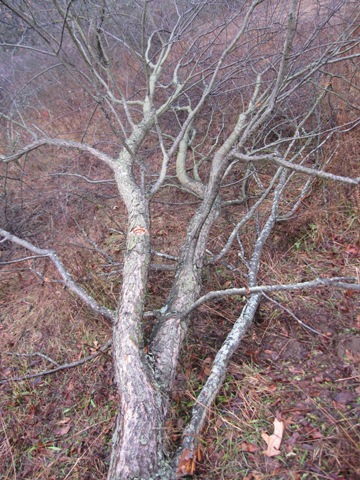
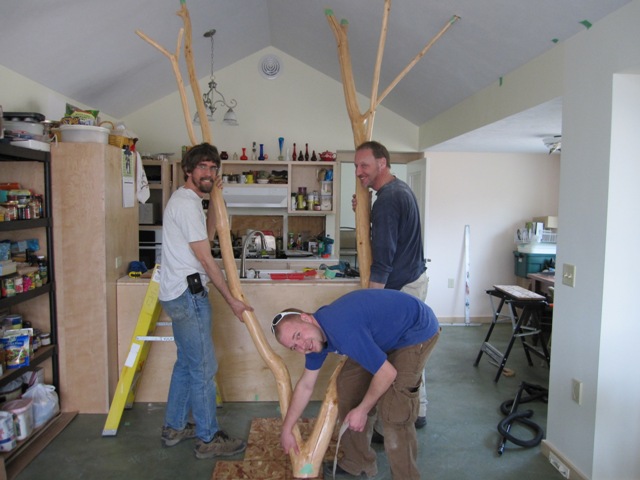
In order to support the free-standing upper cabinets of the cottage kitchen, between the kitchen and the great room, we decided to use part of a cherry tree that had to be cut as the site was graded. The second photo below – “Iwo Treema” – shows Liz, Di and Bruce testing the fit of the tree before the drywall was in. Once we got it up through the trusses, we marked the ends and cut them at ceiling level, leaving them a bit long so we can trim them to fit later.

January 26, 2010
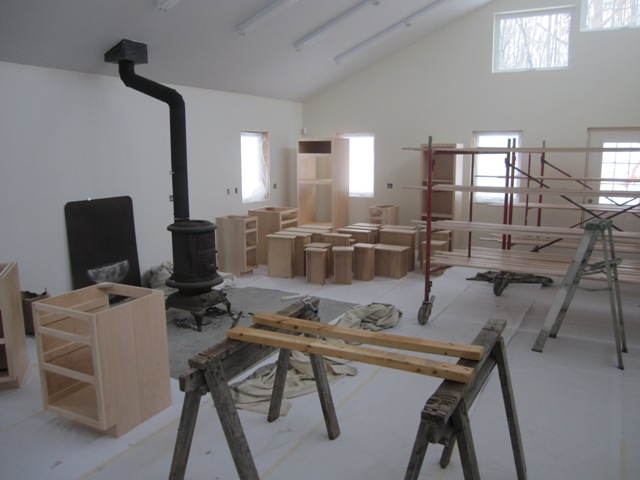
The painters sprayed two coats of Sher-Wood Kem Aqua water-base lacquer onto the cabinets for the cottage kitchen and bath, along with the first batch of interior trim. The first photo below shows the workshop full of cabinets and trim, and the second photo shows all the cabinet drawers for the cottage kitchen and bath. We chose a very simple design for the drawer fronts, with just a radius around the edges.
![]()
February 1, 2010
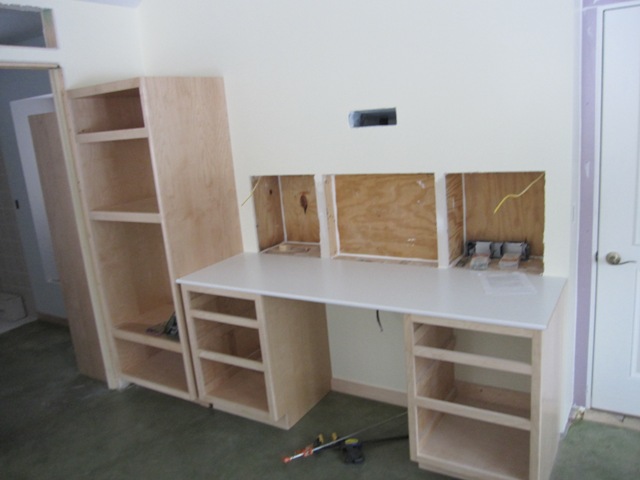
Dan started installing the cabinets in the cottage kitchen and bath.
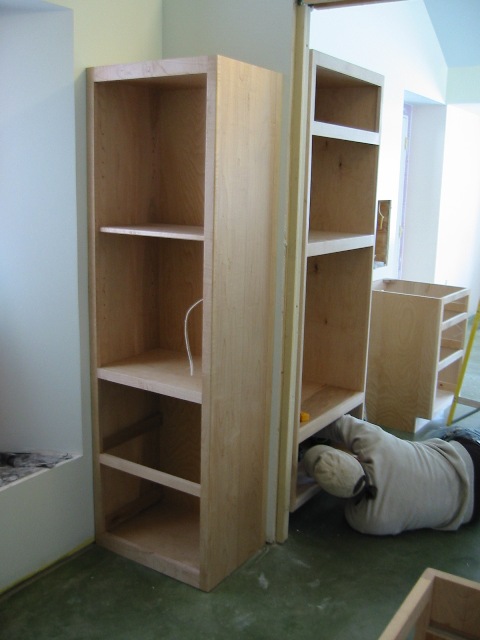
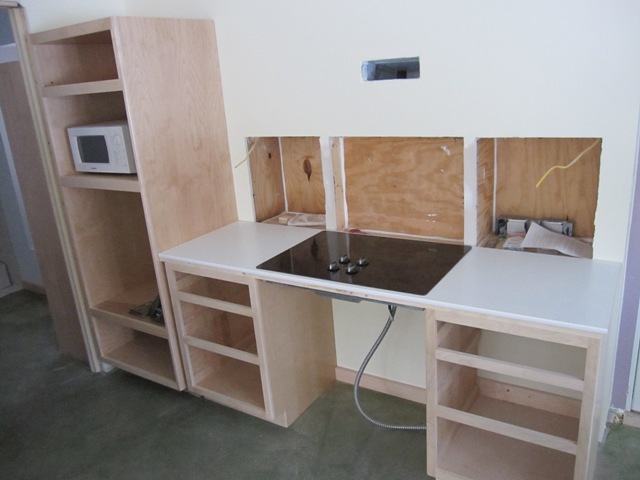
The first photo below shows the cabinets on the north wall of the cottage kitchen where the cook top will go, and the second photo shows the cabinets in the bath where the sink will go. The “countertops” are just cheap white melamine shelving, which will serve until we can get our concrete countertops made.

February 3, 2010
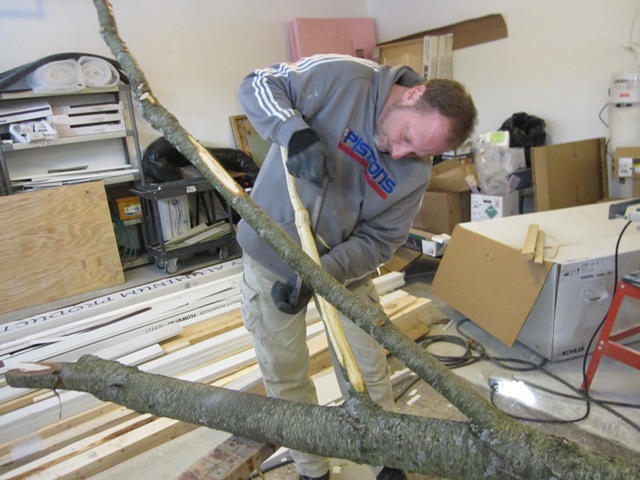
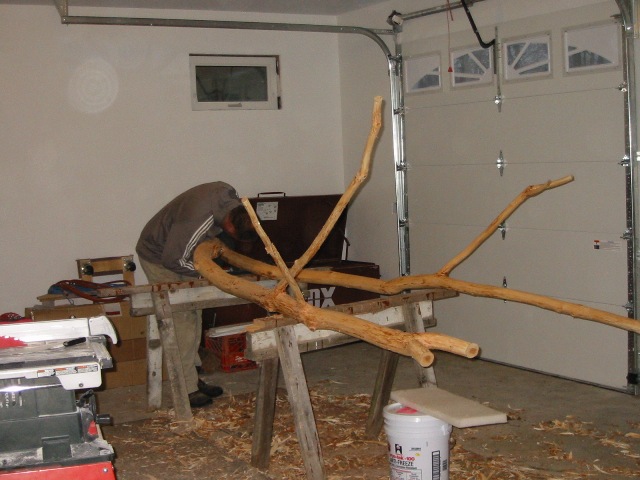
Now that we’re almost ready to mount the tree that will hold up the free-standing kitchen cabinets, Bruce started peeling it using a drawknife. The tree is still relatively “green” (wet), and we expect it to dry out and crack a bit after it’s been inside for a while. Therefore we won’t seal the surface right away, in order to let the moisture level stabilize first.
February 6, 2010
Dan cut the openings for the cottage kitchen sink and cooktop.


The sink and cooktop are mounted in the countertops but not hooked up yet.

February 10, 2010
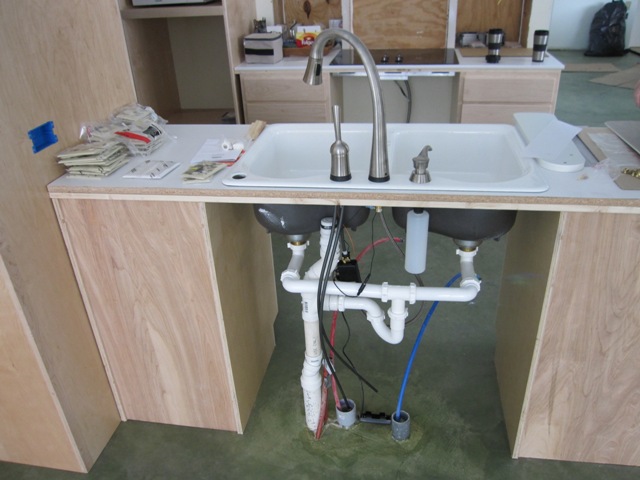
The plumbers connected the drains and faucet on the kitchen sink. The plumbing will be completely enclosed, but with knee space below the sink.
February 12, 2010
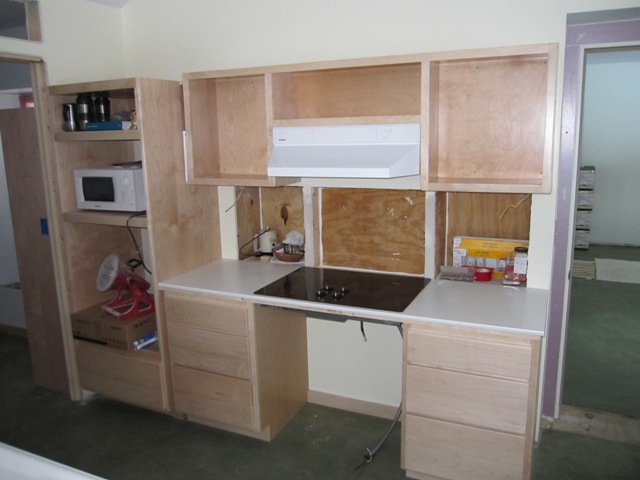
Dan mounted the upper cabinets above the cooktop and then installed the exhaust hood.

February 19, 2010
Jay’s brother Dave tested the kitchen sink for wheelchair accessibility. Soon all the plumbing will be enclosed.
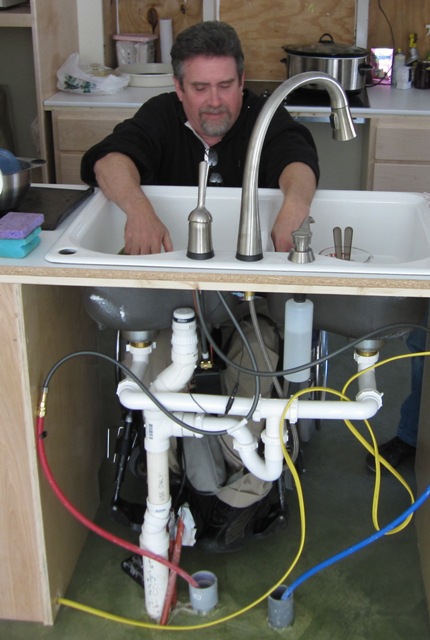
February 22, 2010
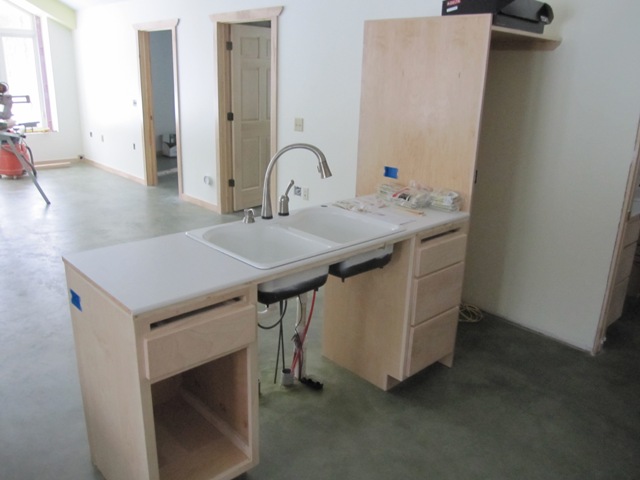
Dan mounted the panel that encloses the bottom of the sink and the plumbing below, so it looks a lot more finished now.


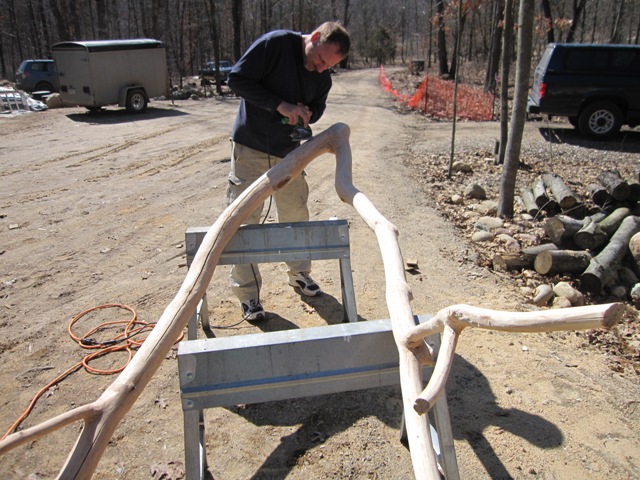
March 17, 2010
Bruce sanded the cherry tree out in the driveway, and then sprayed it with the same water-based lacquer that we used on all of the cabinets and trim.
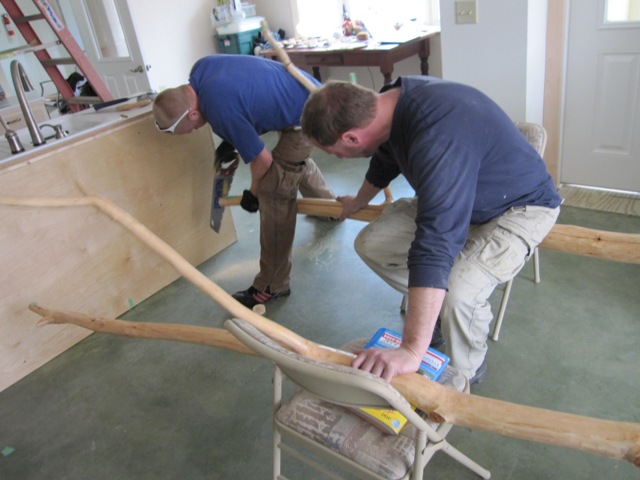
March 18, 2010
With the tree lacquered, we brought it into the cottage. We laid it up on chairs and aligned it with the room, then marked out on the floor where the ceiling would intersect the tree. Then we trimmed the branch ends so they will protrude just a little above the ceiling level. We also carefully measured the distance from the peak of the ceiling to each branch, so we could locate where we need to drill holes in the ceiling. We measured up from the floor to each branch tip, to find the horizontal offset from the back of the counter to each hole.

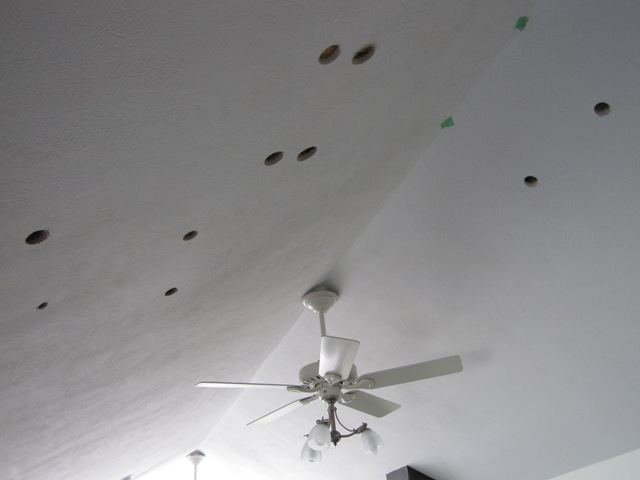
With the holes carefully marked out, Bruce drilled through the drywall. The fit was perfect, except that every hole location was off horizontally by exactly the height of a chair. Duh! So now we had to drill a new set of holes offset 16″ from the first set. That’s going to take a lot of drywall patching.

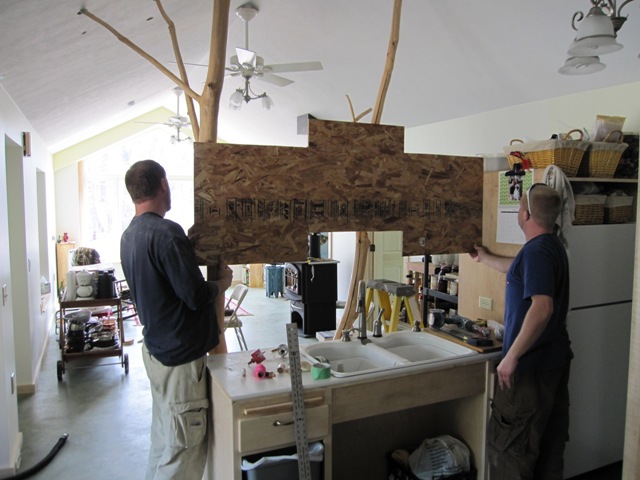
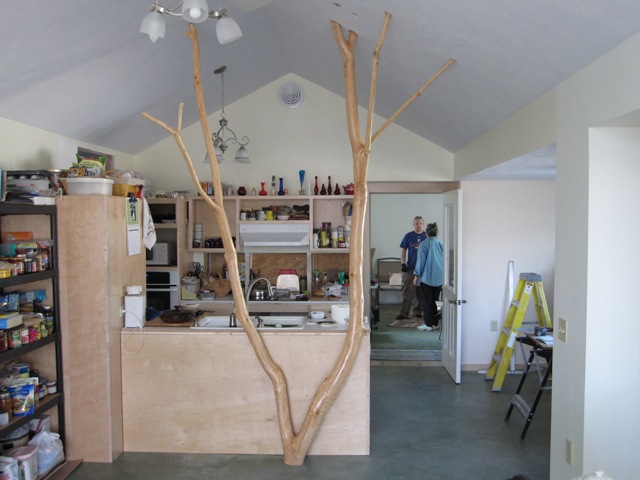
Jay, Nash and Bruce raised the tree into place, and it fit just right into the second set of holes we drilled. Bruce made a template of the cabinets that will mount to the tree so that we could check the fit. The right hand side of the cabinets will anchor to the refrigerator enclosure, and the left side will be supported by the tree. The cabinets will have glass doors and glass backs so they will let light through into the kitchen.
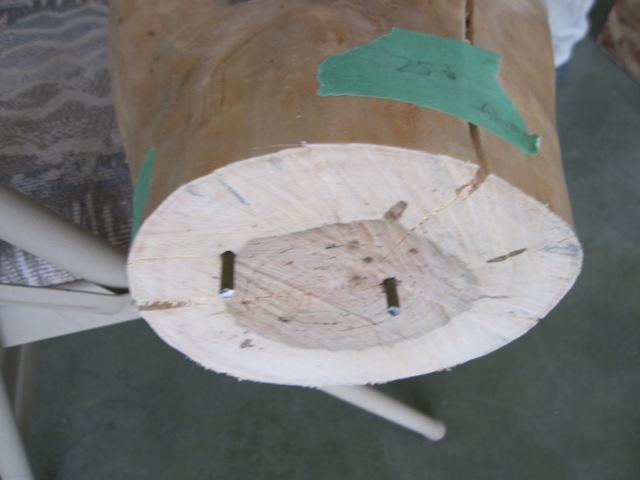
At the base of the tree, we drilled two small holes into the concrete, and pounded a couple of matching spikes into the wood. These will prevent the bottom of the tree from moving sideways.
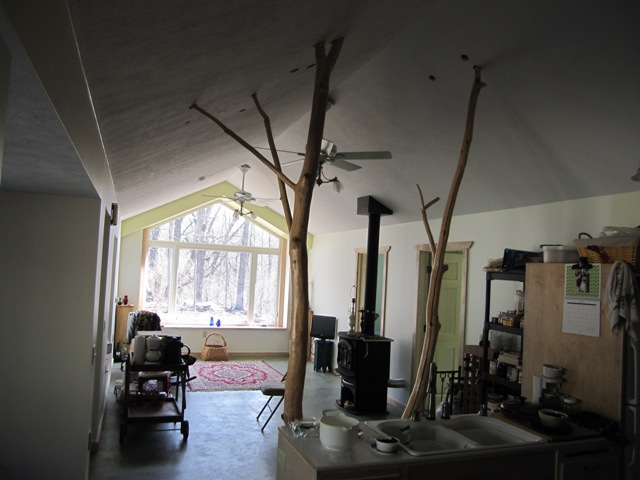
Here are two views of the tree in place, first looking south toward the living room and then looking north toward the kitchen. Fortunately the heavy branch on the right happened to align with a roof truss, so we anchored it to the truss with two heavy screws. The other smaller branches will be stabilized when we pack spackling around them to seal all the holes in the drywall.
April 26, 2010
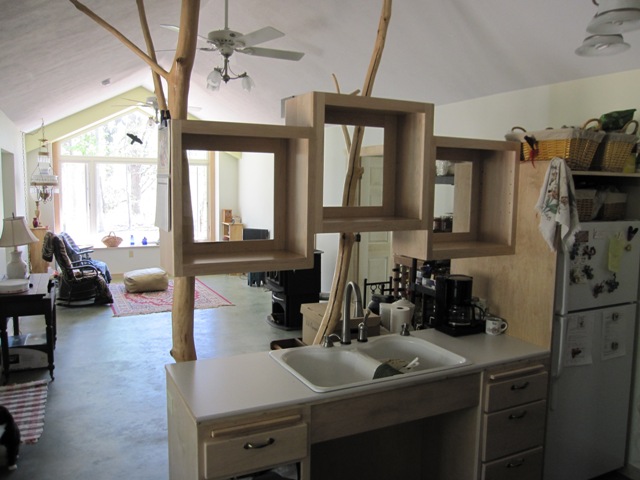
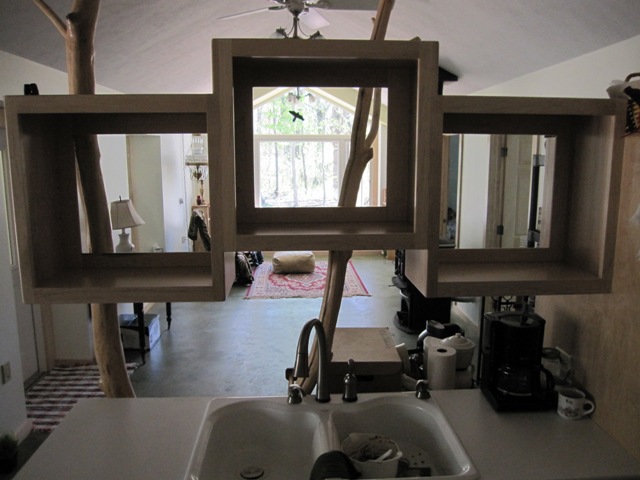
With the floating cabinet finally finished, it was time to mount it to the tree in the cottage kitchen. When we installed the tree we managed to get the main limb very close to vertical, so it required only a small spacer at the top to match the vertical cabinet back. We secured the finished cabinet to the tree with two large screws and anchored it to the refrigerator cabinet on the other side.
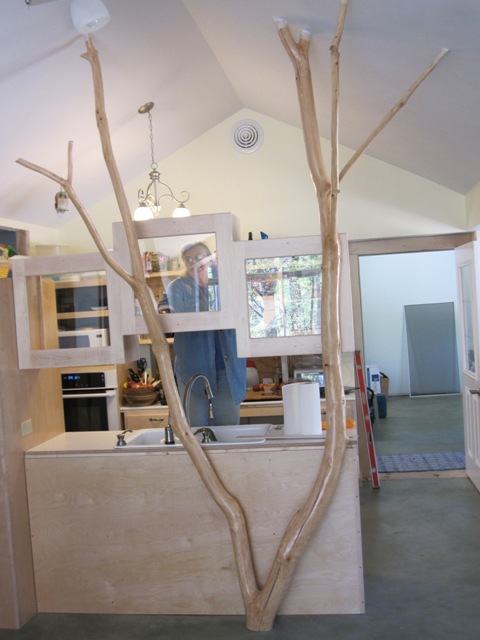
Here are two views of the floating cabinet from the kitchen side. The backs have built-in panels of 1/4-inch thick glass, and the fronts have doors (not installed yet) with similar glass panels. Each cabinet will also have an adjustable glass shelf.