November 13, 2009
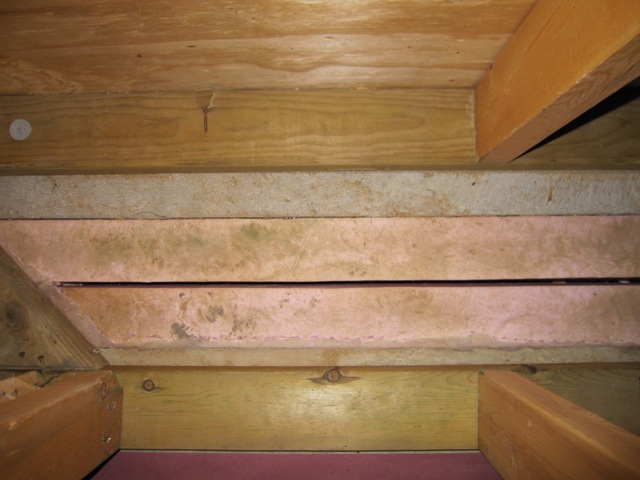
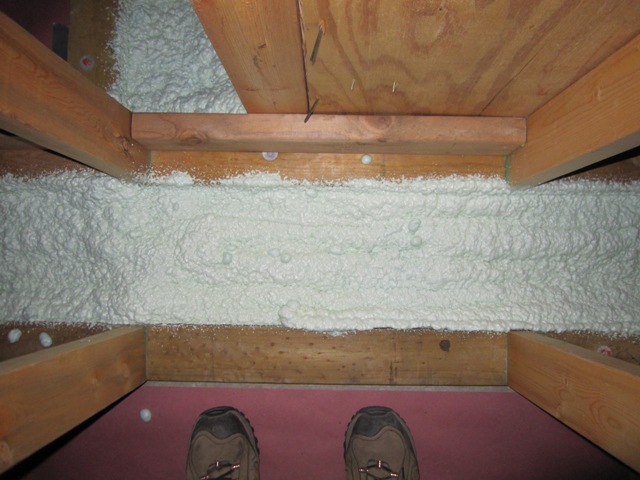
The exterior walls of the house are double stud walls, with the outer stud wall resting on the concrete foundation and the inner stud wall resting on the heated floor slab. Here’s a photo showing the inside of the wall. At the top of the photo is the outer wall of the house, and you can see the concrete foundation underneath it. Next comes two 3-inch-thick layers of extruded foam insulation, which blocks heat loss from the heated floor slab to the cold outside. In this photo you can just see about 1/2″ of the heated floor slab between the foam and the inner stud wall at the bottom of the photo. As you can see there is a considerable gap between the two layers of pink foam, and there is a possibility of moisture moving up from the earth below into the wall cavity. To prevent moisture from reaching the cellulose insulation that will fill the wall, we decided to add a layer of spray-on foam into the bottom of all the double walls.
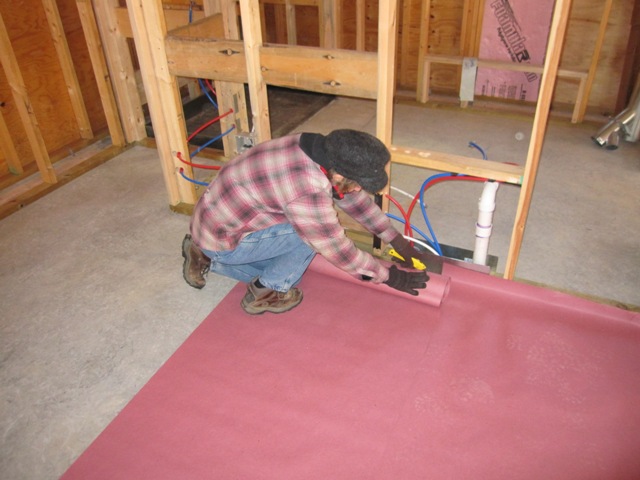
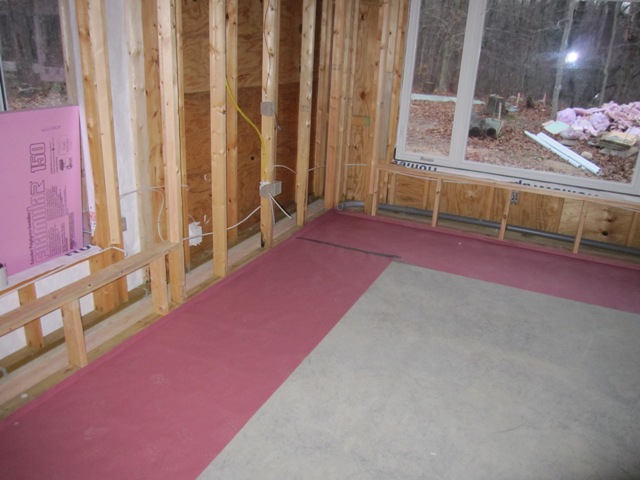
In order to prevent any overspray from getting on the concrete floor, and to protect the concrete floor from drywall mud that is coming soon, we put down red rosin paper over the floor. Thanks to help from Di we got most of the floors covered, but to save time we just covered the outer 3 feet in some areas. We’ll have to cover the rest before drywall but it’s enough to protect the floor from foam overspray.
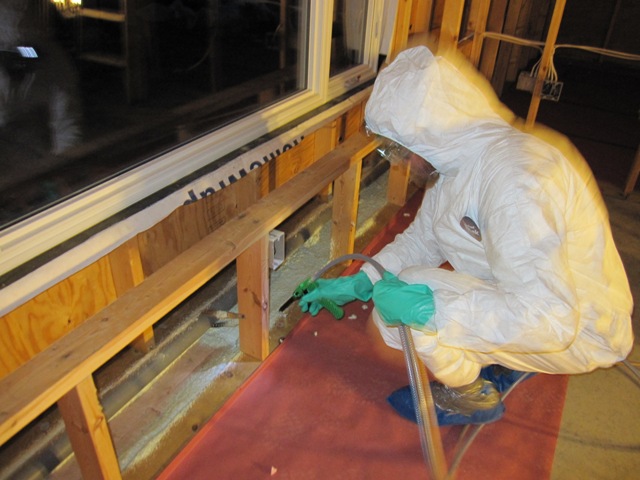
We purchased a spray foam kit from Foam it Green, and it’s a two-part polyurethane foam that is shipped in two tanks weighing about 50 pounds apiece. It comes with 15′ hoses that connect the tanks to a gun handle, and the two components mix together in the spray tip as they are sprayed. This kit is said to yield about 600 board feet of foam, which would fill a wall cavity 12″ wide by 600′ long and 1″ deep. We don’t have that much wall so we should have some left for touch-up or for other hard-to-insulate spots in the house. The kit comes with a protective Tyvek suit, which is nice but not really necessary as it’s pretty easy to control the spray.

And here’s a movie of the foam being sprayed. The bluish light that appears where the foam is being sprayed is from an LED headlamp:
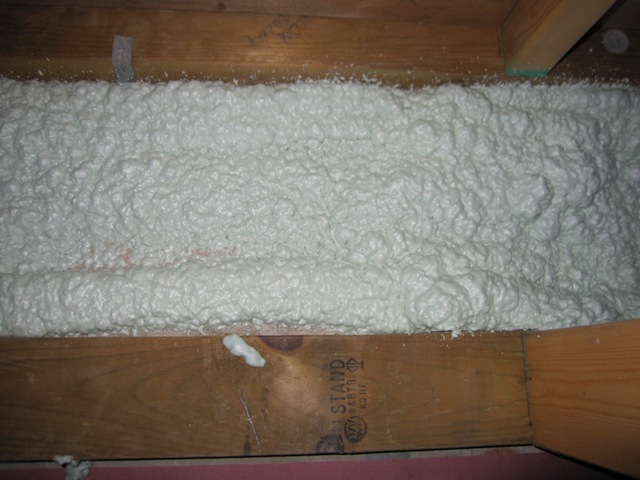
The foam solidifies and is dry to the touch in about a minute. Here’s how it looks afterward:
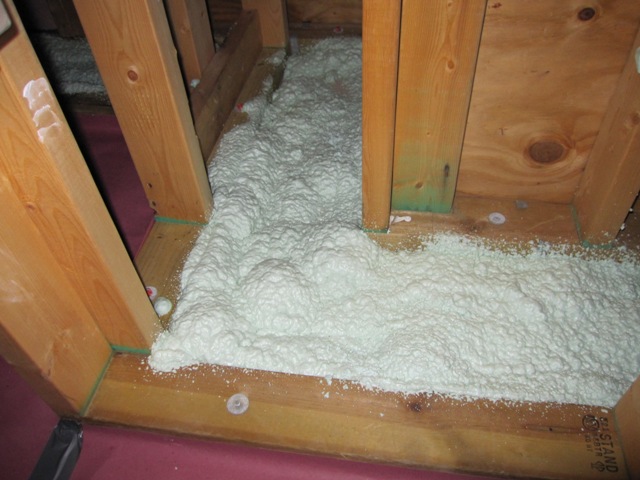
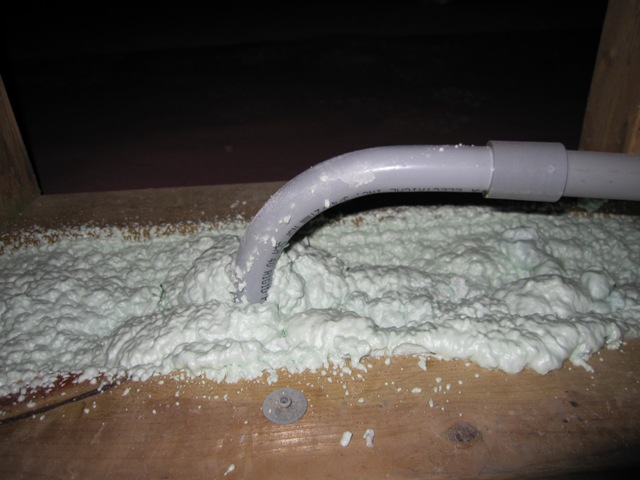
It did a good job of sealing around conduits that run down under the floor slab. In the second photo below you can see a minor problem – if you look closely you can see some of the pink extruded foam board showing where the spray missed. We’ll have to go back over and touch up some spots like this, but overall it worked pretty well and should keep the cellulose nice and dry.
November 18, 2009
The insulation crew started by stapling mesh to the insides of the double walls. The black mesh is a porous fabric that is used on the undersides of mattresses.
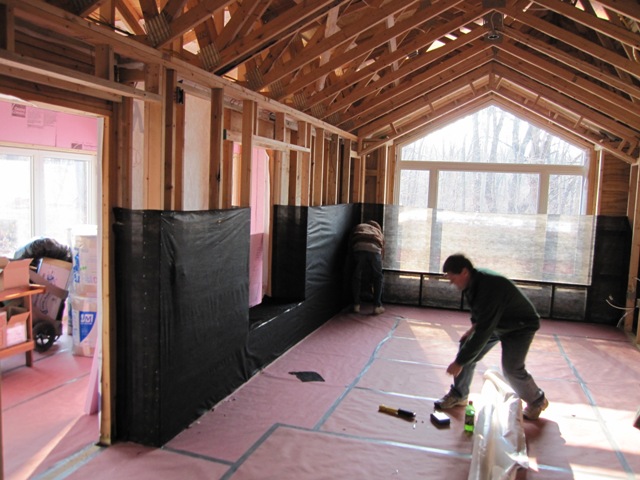

Once the mesh was stapled to the studs they commenced blowing cellulose into the wall cavities, first going under the upper mesh to blow the bottom, and then filing the top half through slits near the ceiling. The flash makes it look dustier than it was, but it was pretty dusty.

