Includes affiliate links that help offset our expenses at no cost to you. Affiliate programs and affiliations include Amazon Associates and the eBay Partner Network.
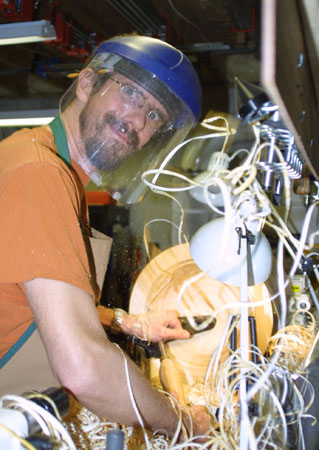
I designed and built this setup for macro and micro photography and videography, including a 5-axis CNC motion control system. The mechanical design would be suitable for many types of macro photography, as it is extremely rigid yet easy to adjust. It’s also easy to build, and reasonably affordable if you can find an optical breadboard at reasonable cost. The support structure could work with a less expensive aluminum breadboard or even a plywood base, although it would not be as rigid.
See this page for some videos that I’ve created with this setup.
In this Part 1 video, I go over the mechanical design that helps minimize vibration while allowing very flexible adjustment of the camera positions and angles:
Part 2 covers the CNC motion control system based on a Raspberry Pi, BigTreeTech Octopus control board, and Klipper software:
Hardware
Here’s a parts list of the hardware I used in case you’d like to build something similar:
ThorLabs Nexus B1818F breadboard (I found mine used on eBay)
Sorbothane Vibration Isolation Pads .5″ Thick x 2.25″ Dia. 30 Duro
80/20 Inc, 14081, 15 and 40 Series 4 Hole Inside Corner Bracket
1545 extrusion 18″ long, plus one piece 9-3/8″ long
Aluminum Angle, 2-1/2″ Leg Lengths, 1/4″ Wall Thickness
1/4-20 Hex Socket Flat Head Screws
Arca Swiss Compatible Quick Release Plate
Motion Stages
These are the parts I used for the motion stages:
Vexta 5-phase Stepper Motors (eBay search) (my 0.36-degree steppers are great but 0.72-degree motors are also very good)
THK KR26 Linear Stages (eBay search)
THK KR20 Linear Stage (eBay search)
ThorLabs HDR50/M Rotation Stage (eBay search)
OptoSigma TASB-402 manual X-Y stage (eBay search)
Electronics
Here are the control boards, stepper drivers, and associated parts:
BigTreeTech Octopus V1.1 control board
12V/24V to 5V Step Down Module with Micro USB Connector (powers Raspberry Pi from a 24V supply)
Vexta Nanostep DFR1507A 5-phase Stepper Driver (eBay search)
DM542T Digital 2-phase Stepper Motor Driver
Specimen Mounting
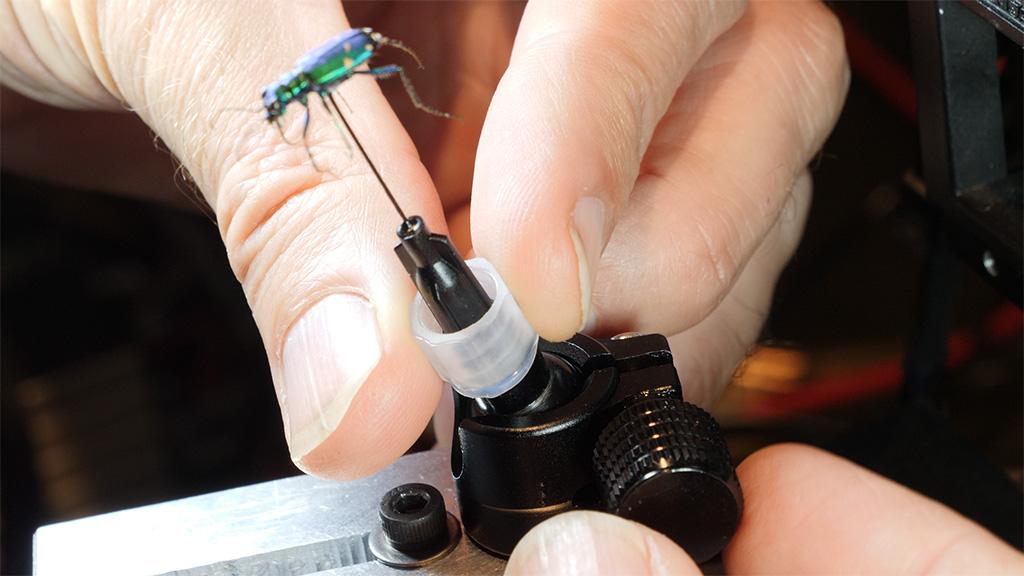
This is what I use to mount specimens with quick-release fittings:
27 Gauge Blunt Tipped Dispensing Needles
Krazy Fix Light Cure Super Glue
Software
This is the software I used, and some links to resources that I found helpful:
Klipper motion control software
Mainsail user interface for Klipper
MainsailOS prebuilt image for Raspberry PI with MainSail, Klipper etc. already installed
BigTreeTech Octopus documentation repository (includes pinouts and schematic diagrams)
BigTreeTech Octopus setup guide
My printer.cfg file for Klipper. Opens as a text file in a new window.
Brackets
This is a drawing of the brackets that I made, which are the key to making the system very rigid yet also easy to adjust and capable of any angle from about 45 degrees upward to 90 degrees downward. The slot locations are designed to work with the 1545 aluminum extrusion so that they can be adjusted over the full range of angles without having to completely remove the cross-beam from the support posts. Only the top-most (angled) slots’ attachment bolts need to be shifted from one extrusion slot to another in order to go from horizontal to vertical orientation.