Includes affiliate links that help offset our expenses at no cost to you.
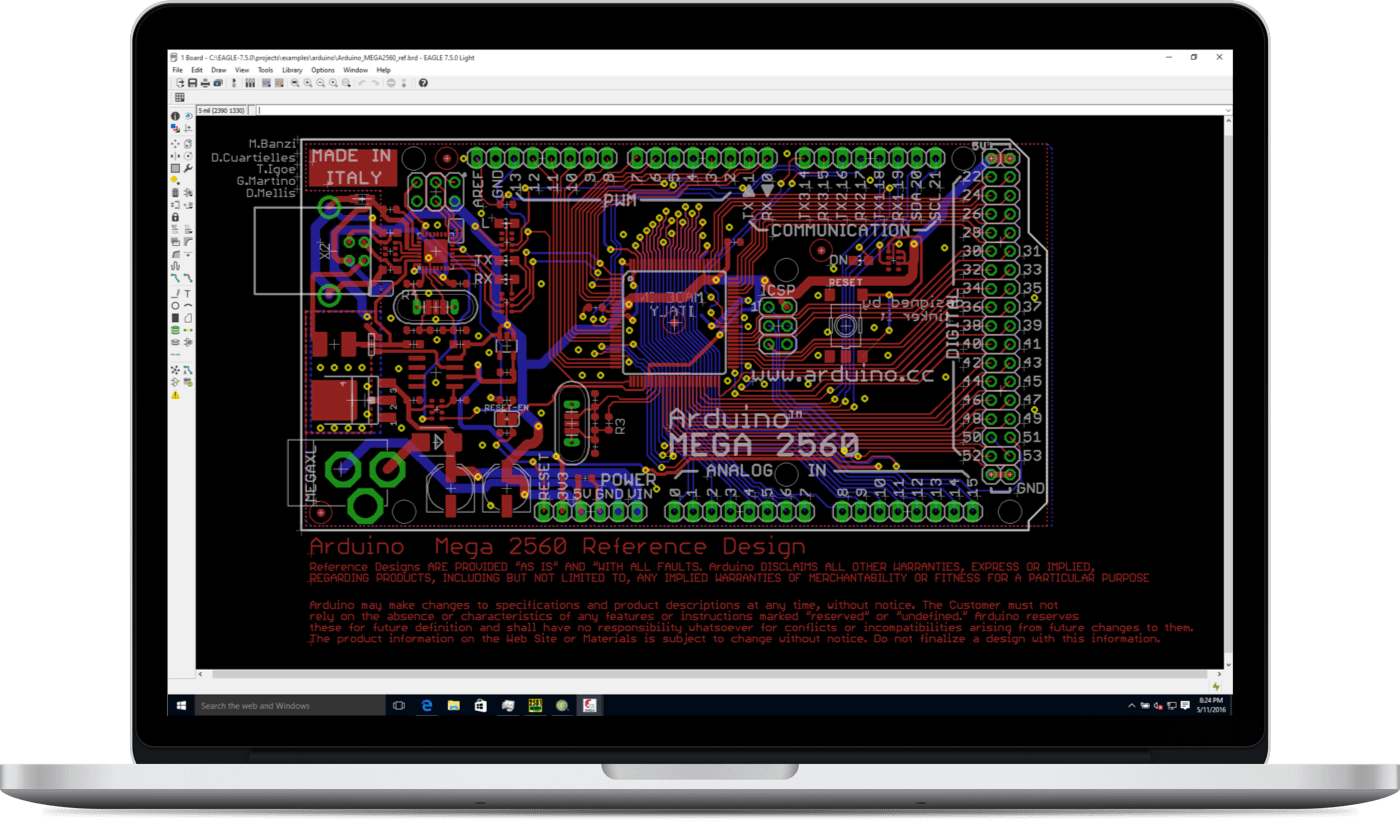
Building circuits using surface-mount devices (SMDs) is not as difficult as some people think, and it gives you a lot more flexibility than youhave when working only with through-hole components. You can create your own commercial-quality SMD-based custom printed circuit boards and assemble them at home, in small batches and and at relatively low cost. Here’s a photo showing part of a board that I designed and built myself, as a learning project:

This is a short getting-started guide with links to some of the equipment and resources that I have found useful.
Custom Circuit Boards
If you only want to solder components onto PC boards manufactured by others, you can skip ahead to the assembly sections below. But it is surprisingly easy andinexpensive to create your own PC boards from scratch.Back in my ill-spent youth, making custom circuit boards meant applying “resist” ink or film to blank copper-clad PC board material and then etchingit with ferric chloride, then drilling all the holes by hand. The results were usable but crude and it was tedious, messy, and the quality was very low. These days it is very affordable to haveprofessional-quality PC boards fabricated in small batches.
The PCB Shopper web site provides instant comparison shoppingamong many different vendors that produce custom PC boards in small batches – just enter the parameters of your board and it gives instant pricingfrom a dozen or more vendors. Boards are most economical in sizes up to 100mm (about 4 inches) square, and the price goes up rapidly if you exceed that size.You also don’t save much by ordering fewer than 10 identical boards at a time, and even if you only want one board it’s just as well to have extras in case of damage and to share with friends. One can get a batch of ten 100x100mm double-sided PC boards for around $20 total ($2 per board), including shipping! The only catch is that the inexpensive ones come from China and have alead time of several weeks unless you pay extra for expedited shipping. I used Seeed Studio for my first order and the board quality was very good, butyou can read reviews of specific vendors on PCB Shopper. Based on the reviews and prices I will probably use Elecrow in the future.
Most of the services offer the option to also create a stencil with your board order. The stencil makes it easier to apply solder paste (see below) by doing the whole boardat once, instead of dispensing it onto individual pads one at a time. It’s worth the cost if you’re going to build up more than a few boards, but for just one or two small boardsit’s easy enough to apply the paste by hand or with an air-powered dispenser as described below.
Circuit Board Design Software
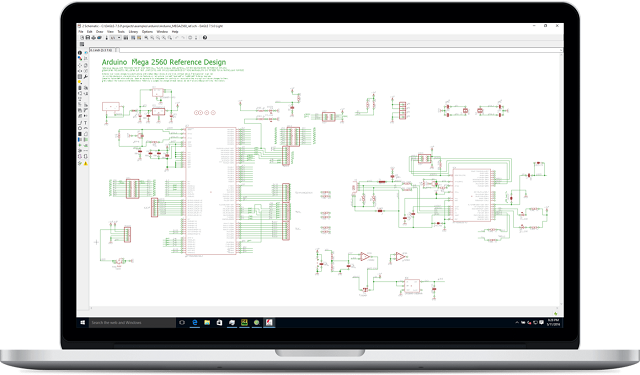
In order to have PC boards fabricated, you need to provide digital files describing the various layers of the board. This is relatively easy and the softwareis free. One of the most popular commercial pacakges is Eagle CAD, which is available in a free version that supports boards up to 100mm x 80mm.An advantage of Eagle CAD is that because it is a verypopular commercial package, it can be much easier to find component libraries for it and some vendors like SparkFunand AdaFruit provide freely-downloadable schematics and board layouts for some of their products in Eagle format. Another popular option is the open-source KiCad software, which is completely free with no restrictions on board size. That can be a bigadvantage if you want to make larger boards, but it may be more challenging to find component libraries and sample projects for KiCad than it is for Eagle.
Regardless of which CAD package you use, the workflow is basically the same. First you create a circuit diagram for your project.Then you create a board layout, placing the components and routing traces for all the connections. The CAD packages have auto-routing capabilitythat will automate much of the work in routing the board, but it’s not always successful so some manual routing is practically inevitable. Once the board islaid out, you export it to a set of files in a standard format called Gerber. Most of thePC board fabricators require a ZIP file containing the Gerber files describing the board. Basically you just upload the ZIP file, payyour money, and wait a few weeks for the boards to arrive. It really is that simple.
Optics
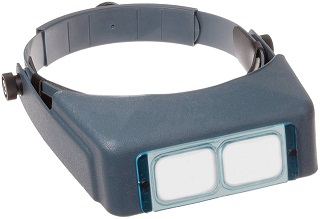
Some SMDs are extremely small, as are the leads on many larger packages. One accessory that I have found indispensible for close work is the Optivisor Headband Magnifier, with the OptiLoupe for really close work plus an LED Light Attachment.I only started using the OptiVisor recently, and I use it for so many different things that I wonder how I got along for so many years without it.
Another really handy optical tool is a USB Microscope like this one:
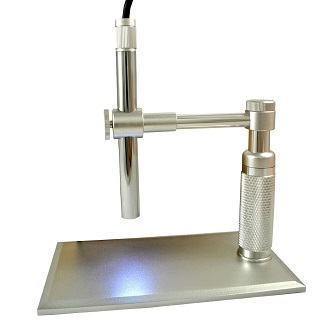
It’s great for inspecting circuit boards and also for capturing digital images of them. Here’s a close up of the board shown above, taken with this USBmicroscope and showing somejumpers that I had to add because I got two of the signal lines swapped when I laid out the circuit:

Click the image above to see a full-resolution version exactly as it was captured from the USB microscope.
Solder Paste
You can use either Lead Free Solder Paste or Leaded Solder Paste, which melts at a lower temperature but contains lead so must be handled more carefully due to the potential toxicity. Essentially all modern SMD components aredesigned for the higher temperatures of lead-free solder so I prefer to keep things lead-free. It’s also helpful to get a tube of Flux Paste.You don’t need it if you’re using solder paste because it includes flux, but if you need to solder or rework any components with an iron and wire solder thenapplying paste flux really helps.
You can apply solder paste directly from the tube it comes in, using the dispensing needle that comes with the tube, but it doesn’t work very well. At the very leaseconsider getting a Dispensing Needle Assortment because the needles that come with the solder paste tubes are much too big and will deposit big globs of solder. The smaller needles can be bent slightlyin order to give you a more convenient angle for dispensing onto the pads. Another big help, which is not a necessity but really speeds up the process, is a Solder Paste Dispenser thatuses timed pulses of air pressure to deposit a controlled amount of solder on each pad. It comes with a syringe but it’s too big for solder paste, so I alsogot a 10cc Syringe Adapter thatconnects directly to the 10cc tubes that the solder paste and flux are supplied in. The automatic dispenser takes some practice but it’s worth it.

Pick And Place
For picking up and placing SMD components, a quality Tweezer Set is a necessity.I also use a Vacuum Pickup Station tohelp pick and place small components faster. It’s not a necessity – tweezers will work – but it does speed up the process when you have lots of SMDs to place.
Hot Air Soldering
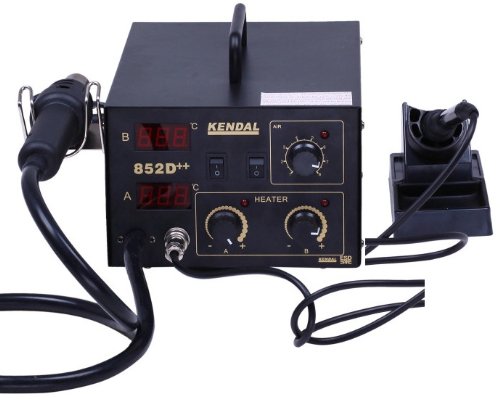
You can solder SMDs with a conventional soldering iron, and there are many tutorial videos out on the Internet showing how to do it. But I find it MUCH easierto use a Hot Air Soldering Station and they are very affordable. Once you’ve tried hot air you won’t want to go back to using an iron on SMDs.There are also many tutorial videos showing how to solder with a hot air station. It’s pretty simple – just heat gently until the solder melts. My hot air station alsohas a conventional soldering iron so it does double duty, and I also findit really handy for applying heat in tight spaces such as when using heat shrink tubing inside an enclosure.
Reflow Oven
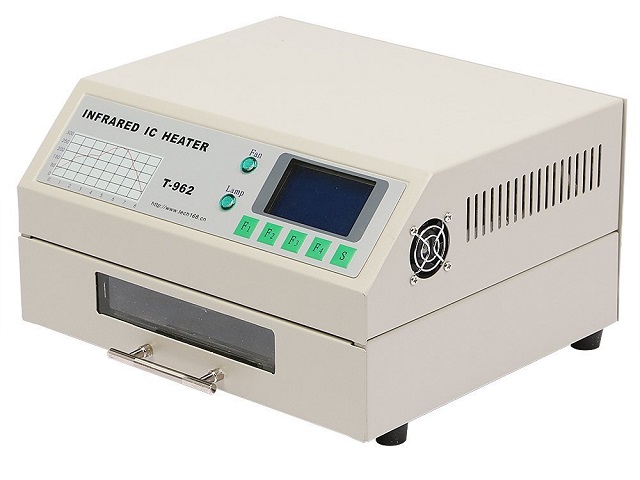
Commercial circuit board assembly is done using large reflow ovens that heat the circuit board and SMD components to melt the solder paste over the whole board at once.You can get a small Reflow Oven that is suitable foruse at home, and quite affordable. You can certainly solder up an entire board using just a hot air station, but the reflow oven makes it go a lot faster. If you do get one of these reflow ovens, be sure to read the T-962 Reflow Oven Improvements published by United Engineering.Many thanks to these folks for publishing these modifications! The oven comes from the factory with masking tape inside that can get very stinky during operation,so if you do nothing else you should replace it with this Kapton Tape as described on the United Engineering page.They also provide a cold junction modification that improves the oven’s ability to accurately regulate temperatures, as well as a complete firmware replacementthat is much better than the firmware from the manufacturer. I made all these modifications in less than a day and my oven has worked very well.
Summary
You can get started working with SMDs pretty cheaply. A good way to get started is to try assembling a kit that uses SMDs. You can do it with just a soldering ironbut I recommend the Hot Air Soldering Stationdescribed above because it is so versatile and relatively affordable. There aren’ta lot of electronic kits that use SMD components that aren’t pre-soldered, but here’s one that I found and it helped me get started in expanding my soldering capabilityto include surface-mount components, plus it’s just a cool little portable oscilloscope for not much money:
DSO 138 DIY KIT 13804K
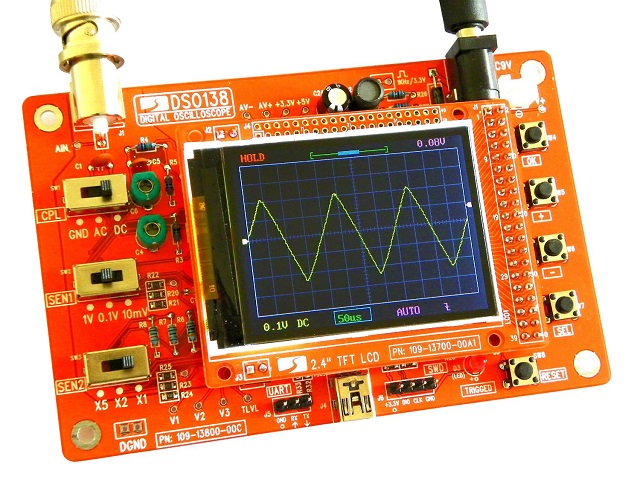
Note that this kit comes in two different versions, one with all the SMDs pre-soldered and this one that has them unsoldered so you can use it to practiceSMD soldering techniques. The included instructions are very good, and after I assembled mine carefully following the instructions it worked perfectly the first time I powered it up.It took a few hours to solder all the components but you get plenty of practice with the smaller SMDs such as resistors and capacitors, plus a couple ofsimpler (larger-leaded) ICs. The fine-pitched MCU integrated circuit comes pre-soldered but that’s the only part that is.
