July 10, 2009
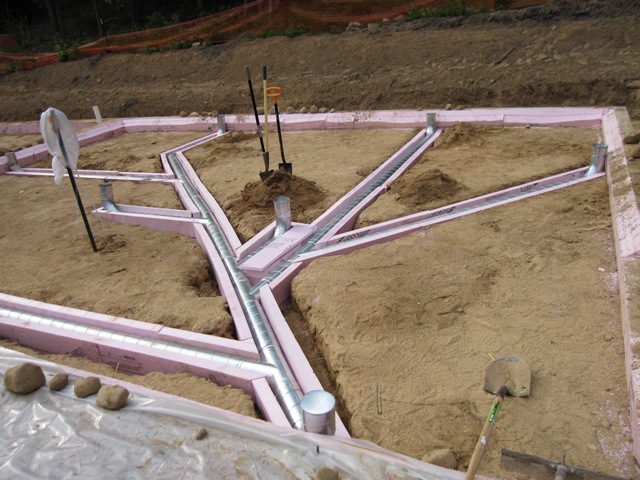
To provide dust collection for the woodworking tools in the work shop, we ran ductwork underneath the slab floor. We didn’t want the ducts to be in contact with the dirt, to prevent corrosion and to insulate them from heat loss in the winter since they will be circulating the air in the shop. After laying out the duct runs we dug trenches about 10″ deep and lined them with 3″ foam insulation. Then we cut and fit the ductwork into the trenches temporarily. These photos make it look simple from start to finish but it was a long day even with four of us working on it. In the second photo you can see the duct branches leading toward the dust collector outlet in the foreground. There are 5 dust inlets around the perimeter plus two out in the middle of the shop.

July 13, 2009
Today Liz and Dan removed the ductwork and taped the seams, and they placed 6-mil plastic film around it for added moisture protection. We used spray foam as glue to hold together the foam on the walls and floor of the trenches.


July 14, 2009
We laid two layers of foam into the shop, so it will have the same level of floor insulation as the house. This is most likely more insulation than we need, but the incremental cost of the foam is fairly small and it keeps everything the same level. Plus, it should enable the slab to warm up a bit when we’re working out there in the winter with the wood stove going, and it leaves open the possibility of heating the shop full-time in the future.
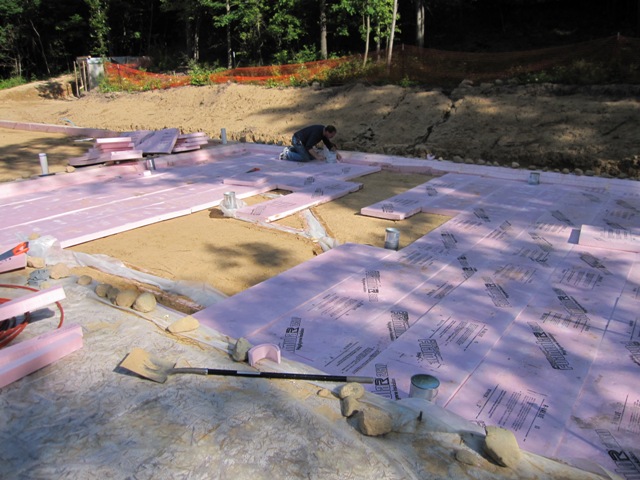

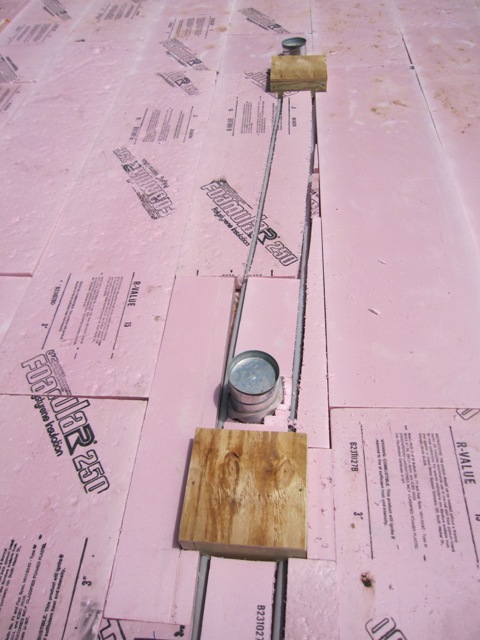
We placed 12″ square wooden boxes into the floor, and we ran two 3/4″ conduits from the wall into them where we put boxes for electrical outlets. This will let us run power to the central tools in the shop without having cords overhead or underfoot. The boxes will sit about 1.5″ below the top of the concrete, and after the concrete is placed we’ll cut the openings square, and place wooden lids over them flush with the floor. The power cords from the tools will run through slots at the edges of the lid. With two conduit runs, we’ll supply 120 Volt power down one side and 240 Volts down the other.
August 19, 2009
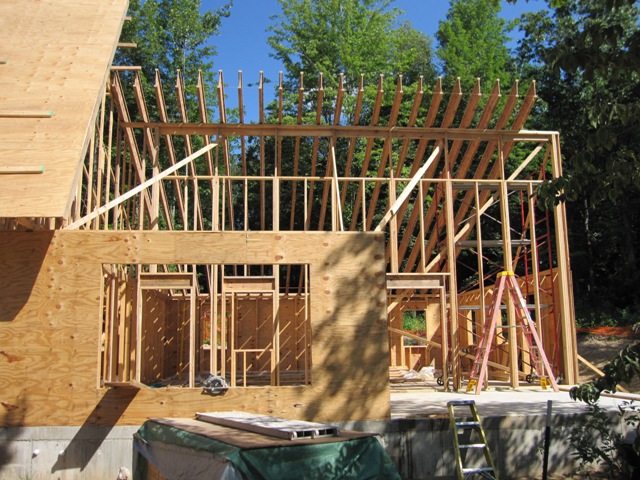
Much of the shop construction has already been shown under Radiant Heated Floor Slabs and Exterior Wall Framing.The shop roof is different from the rest of the Roof Framing because instead of trusses, it uses I-joists to form a sloped ceiling. Once the 18-foot-tall south wall was in place, the I-joists were attached to the walls with angled metal brackets.
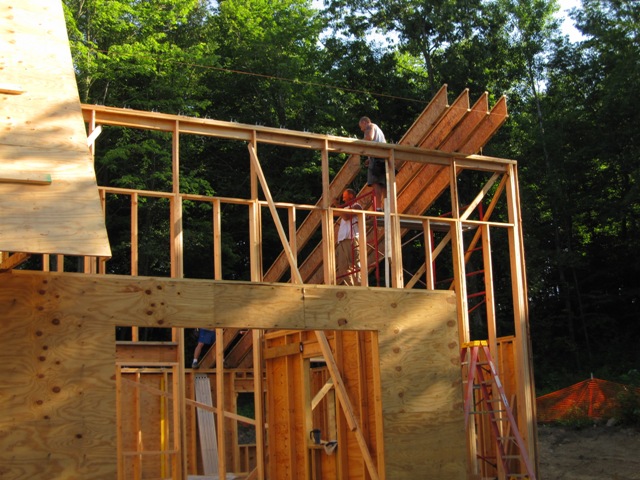
This shows the view from inside looking up toward the clerestory windows on the south wall.

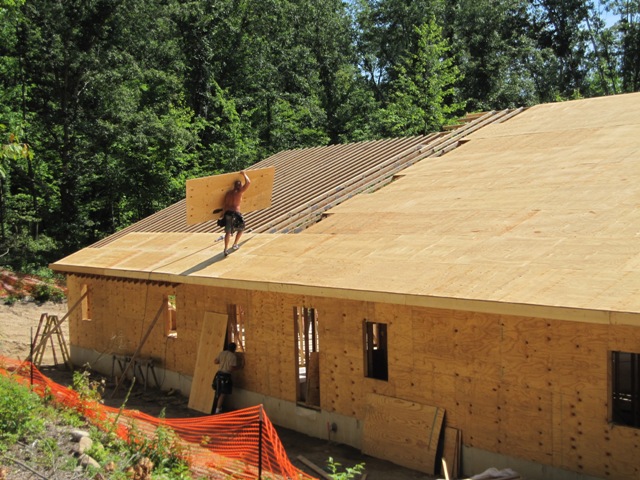
Once the I-joists were in place the crew applied the roof sheathing. This extends the same roof plane from over the main section of the house.
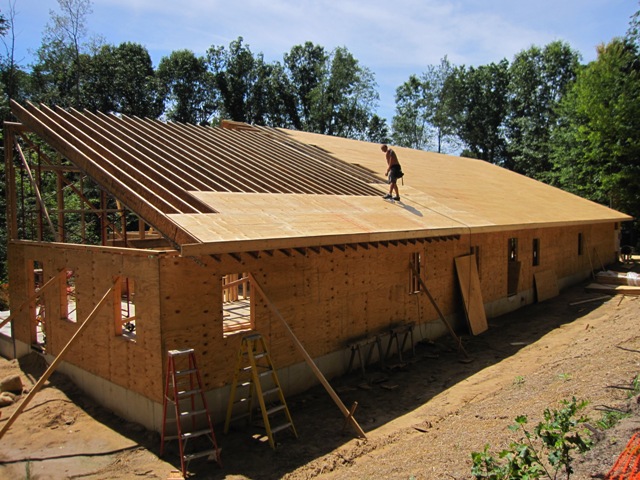
The first photo below shows the view from southeast of the house looking back at the shop. Once we saw the nice view out of the east wall of the shop looking up into the trees, we decided to add 3 extra windows stepping down that wall as shown in the second photo below.


Here’s a view of it after the roof was framed over the porch and lanai to the south of the shop.

September 4, 2009
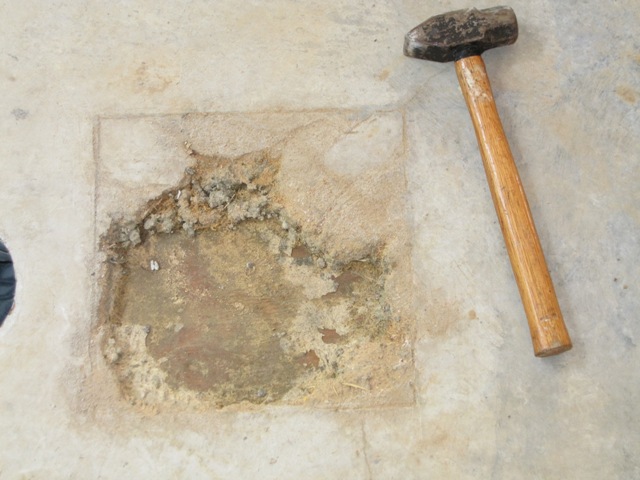
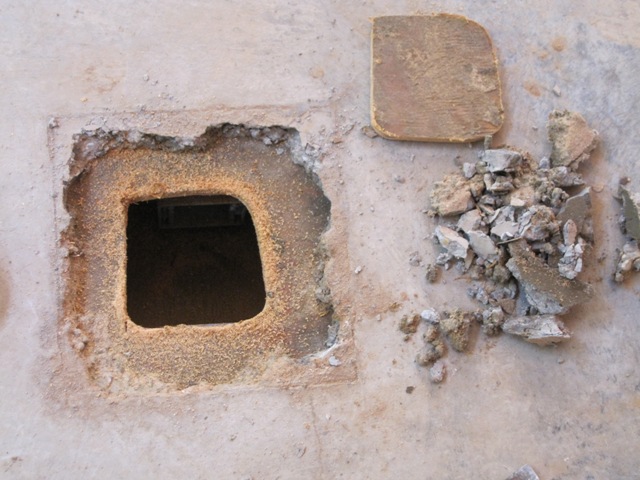
Now that the roof is waterproof and things are drying out, we opened up the electrical boxes in the floor. There is a fair amount of concrete covering them, which will need to be trimmed away in order to remove the plywood completely. Then we’ll make square wooden covers that will sit flush with the floor.
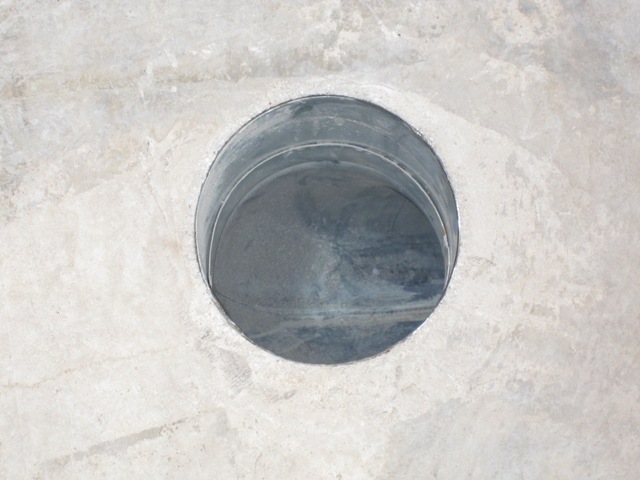
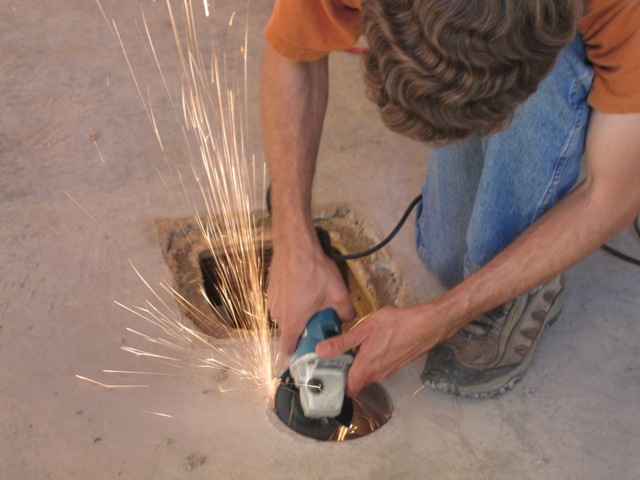
The dust collection ducts extended an inch or two above the concrete, so Jay trimmed them off with a reciprocating saw. This gets pretty close to the concrete but not close enough.
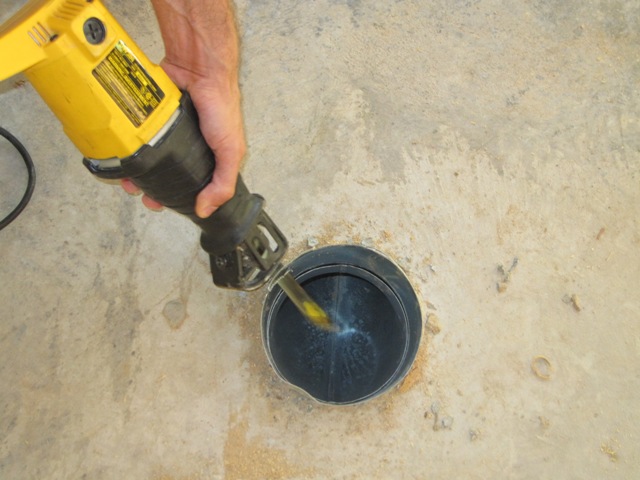
Next he ground them flush with the big grinder, and then used a smaller grinder to remove burrs from the edges.

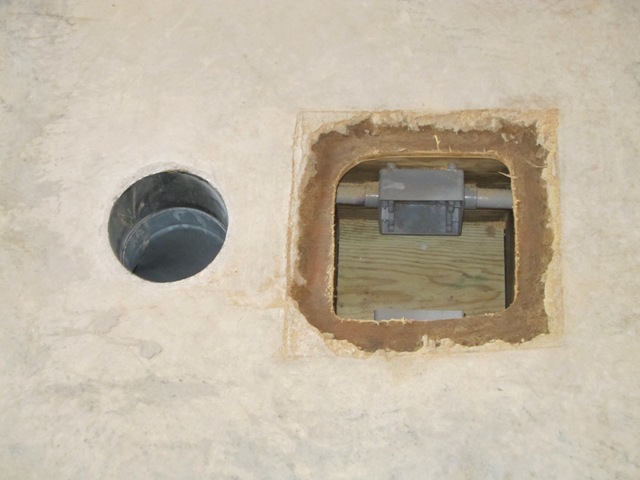
This resulted in nice smooth openings that are completely flush with the floor. We’ll run dust piping from all the tools into these ports, and any that aren’t being used can be closed off with a metal cap that sits only 1/16th of an inch above the concrete. The second photo below shows the inlet for the table saw dust collection, next to the in-floor electrical box.