Includes affiliate links that help offset our expenses at no cost to you.
June 18, 2010
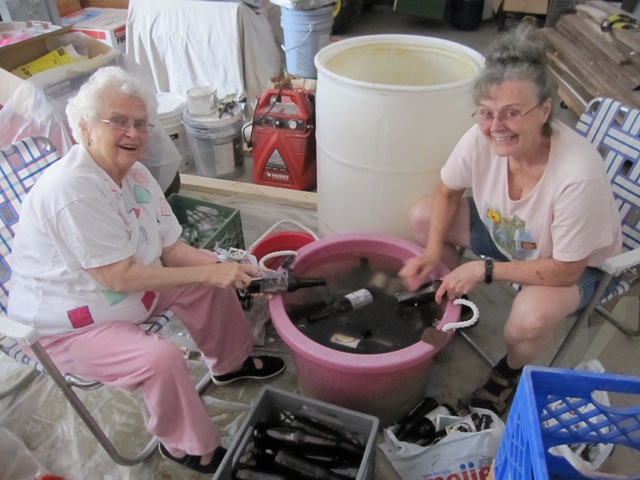
Withour supply of recycled glass running low, we paid a visit to the nice folks at Schmohz Brewery who were kind enough to donate five barrels of beer bottles that customers had returned for deposit. Michigan has a mandatory 10-cent deposit on beer bottles and because Schmohz is a micro-brewery, it’s not economical for them to clean and reuse the returned bottles so they normally send them to a waste facility. From there they may get recycled but are usually just placed in a landfill because the price of scrap glass cullet is very low these days. Pat and Liz set about washing them up and removing the labels, a big job! Then we ran them through the glass crusher.

June 26, 2010
With the success of our first countertop, we moved on to the one for the middle bath. This countertop is a little bigger and otherwise very similar to the first one, but we decided to use a different technique. We mixed the concrete in two batches, with the first batch containing roughly 65% clear glass, 30% green glass (mostly from wine bottles), and 5% brown glass. This layer will become the visible surface and it should be mostly white/clear, with a fair amount of mixed shades of green and just a bit of brown and amber sprinkled through. The second layer, which won’t be visible, will be all brown glass since we have so much of it now.
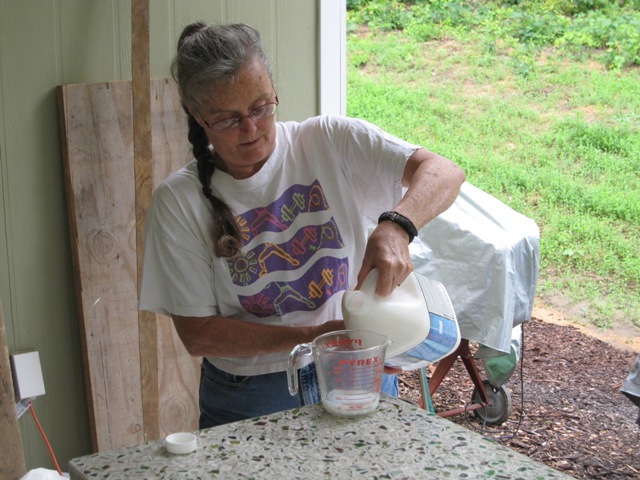
With less concrete per load, it was easier to mix up compared to the first countertop when we did it all in one batch.
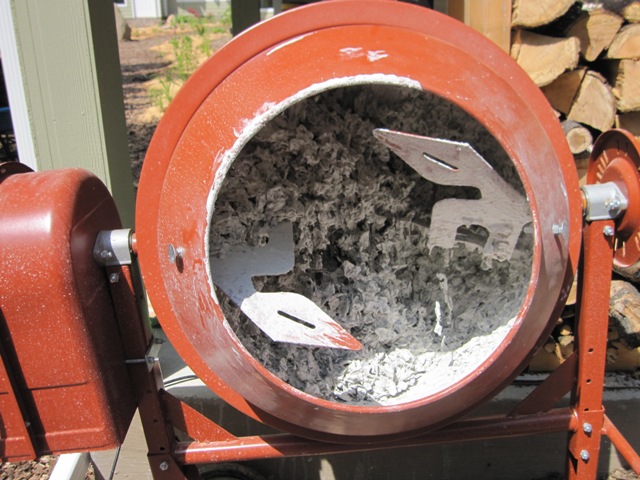
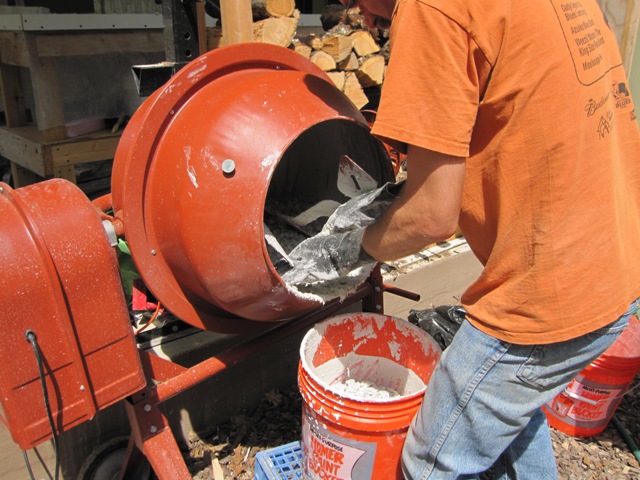
After it was mixed, Jay spread the first layer in the mold to fill it about halfway up. We mixed this batch a bit more runny than last time, in hopes that it would leave fewer air bubbles on the bottom (which will become the top).

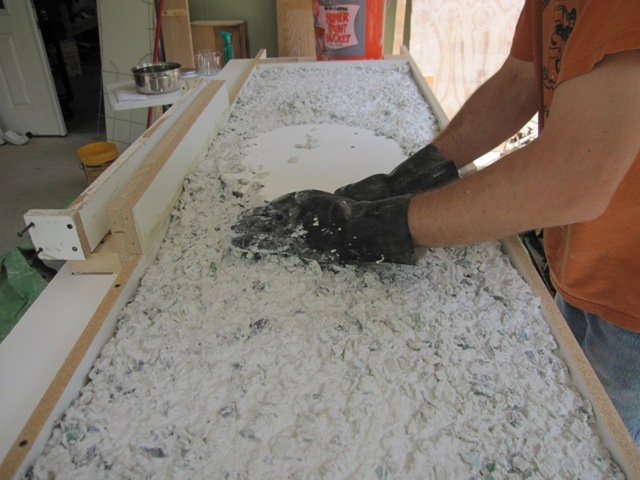
We also tried a new technique with the concrete vibrator, with a wooden block attached to let us get down into the concrete better. It seemed to work pretty well and released a lot of air.
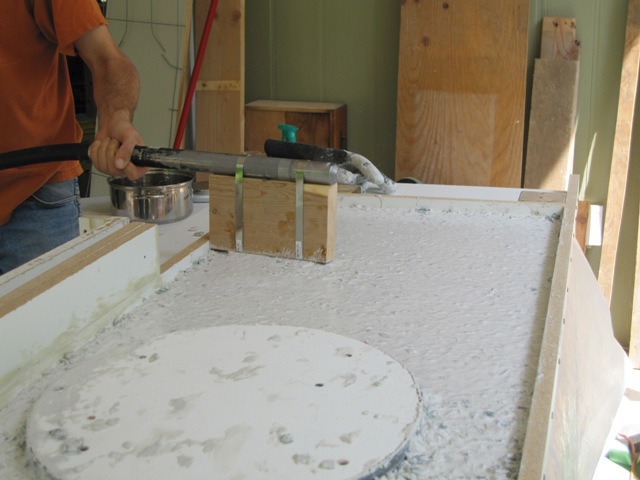

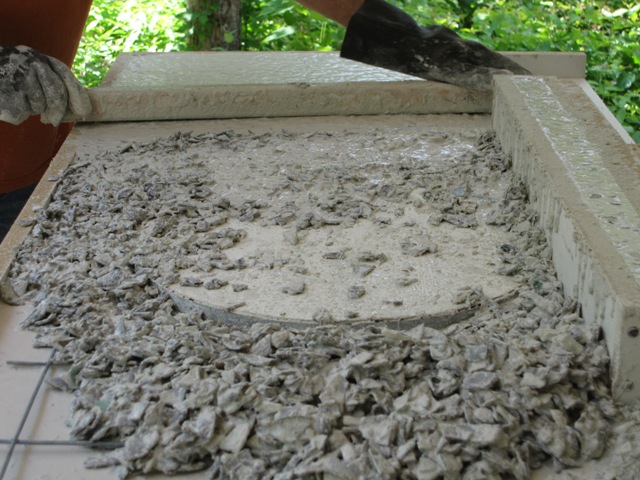
This time we decided to put steel reinforcing mesh into the countertop, to strengthen it. The first countertop worked okay without it but this is a little extra insurance against cracking. We placed it on top of the first layer of concrete, and then attached the “chimney” that will form the dropped apron in front of the sink. The chimney is filled with the same concrete mix as the first layer. We also mounded this mixture against the front of the mold so the second layer won’t show.


Once the mesh was in place, we mixed the second batch of concrete containing all brown glass. After it was placed over the reinforcing mesh, Jay screeded it off to make a level surface. Once it was all in place, we covered the mold with plastic to keep it from drying out too rapidly. It will need to cure for about 4 days before we can take it out of the mold.

June 30, 2010
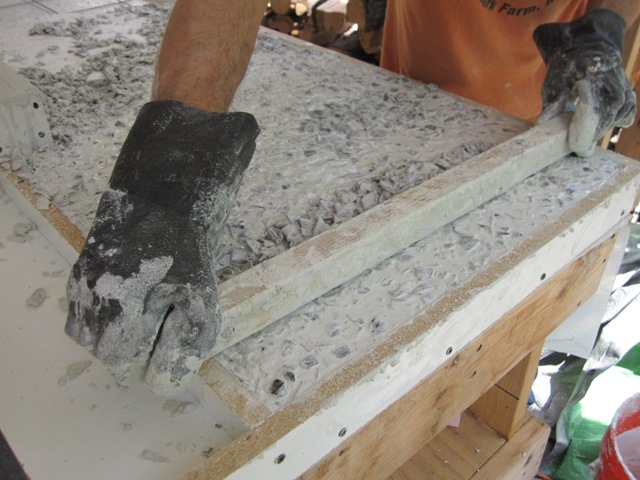
We removed the countertop from the mold after curing it for 4 days. The top surface looked very good, with almost no voids. This is a big improvement over our first countertop, and we attribute it to having a wetter mix plus more vibration to release trapped air, and to mixing all of the colored glass into the first concrete pour rather than placing the colored glass directly into the mold before pouring.

The apron in front of the sink was not so pretty, with quite a few voids that need to be filled. In the second photo below you can see that the top (first) layer is quite solid, but the material that was placed in the chimney afterward did not consolidate well. The mixture was getting stiff by the time we placed it, and it was hard to vibrate the chimney section to release trapped air.

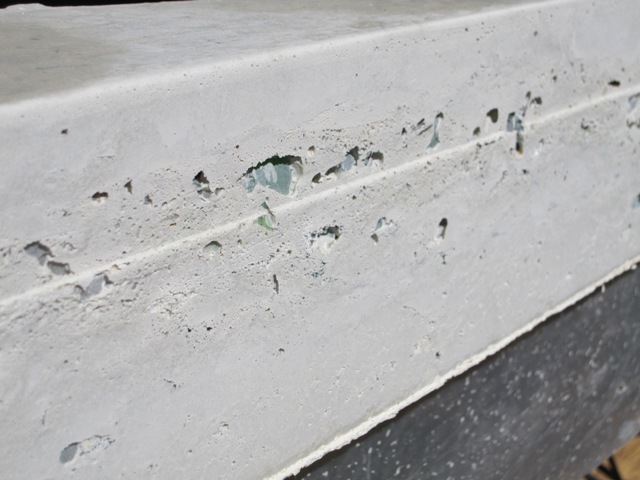
We ground off the surface with the 50-grit wheel to expose the glass and the colors look very good. Once we had ground it down to expose the glass all over, we filled the surface with a slurry of Portland cement and sand over the entire countertop, to fill in the large voids in front and also to fill small voids from bubbles on the top.

July 6, 2010
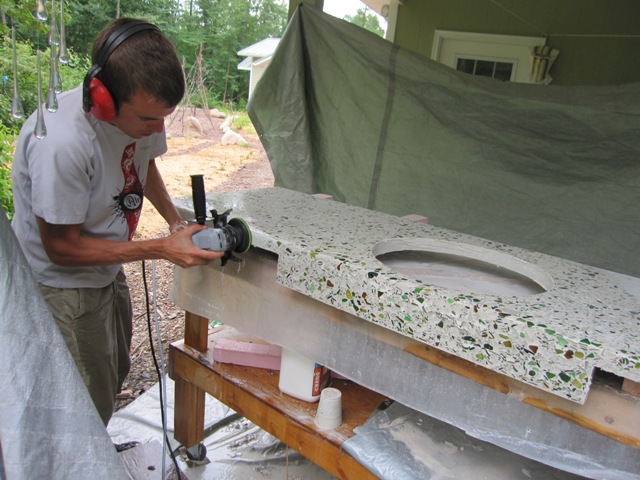
After the first coat of sand slurry was well cured, it was time to polish it down again. Our nephew Josh did the polishing with the 50-grit diamond wheel, and the result looks really good with just some minor voids still to be filled. We’re really pleased with how the colors turned out.

July 7, 2010
After polishing the surface with the 100-grit diamond wheel, we applied a slurry of just Portland cement with no sand this time. This filled in all the small voids in the surface. Now we’ll cover it in plastic to keep it from drying out too fast, and let it cure for several days so it’s hard enough for the final polishing.

July 11, 2010
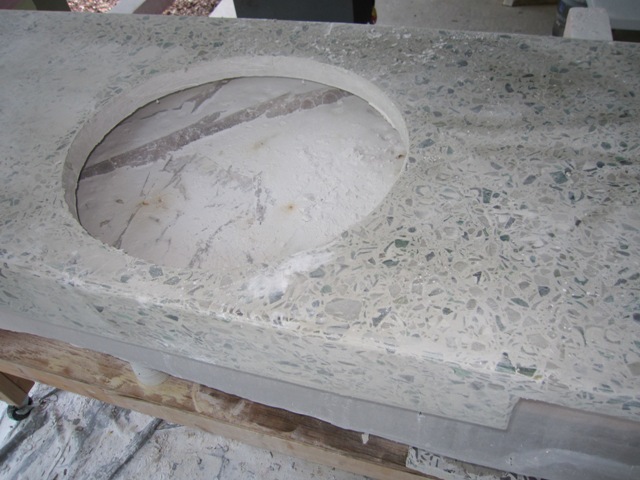
Jay polished down the last slurry coat, and then continued to polish using successively finer diamond discs up to 800 grit. It took about 5 hours of polishing, most of which was grinding down the slurry coat with the 100-grit disc. This photo shows the countertop all polished, just wet with water and not sealed yet.

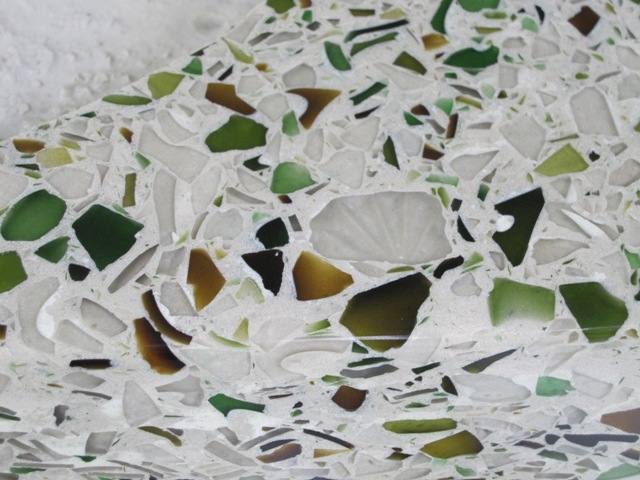
Here’s a close-up of the surface, where you can see the “teeth” from around the bottom of a brown beer bottle. The second photo shows a closer view near the sink cut-out. The sunburst pattern in the clear piece near the middle of the photo is on the bottom of the glass; the top is polished smooth so you can see through to the bottom. This was from the bottom of some jar or drinking glass and it came out of the crusher this way. We glued this piece of glass into the mold so it would stay put while we poured the concrete over it.

July 11, 2010
Liz sealed the countertop using Cheng concrete countertop sealer. It’s a water-based acrylic sealer and the first coat starts out at half strength, cut 50% with water. The concentration is gradually increased over several minutes until it’s being applied full strength. After half an hour a second, full-strength coat is applied. Then it has to dry overnight before waxing with concrete countertop wax.

July 14, 2010
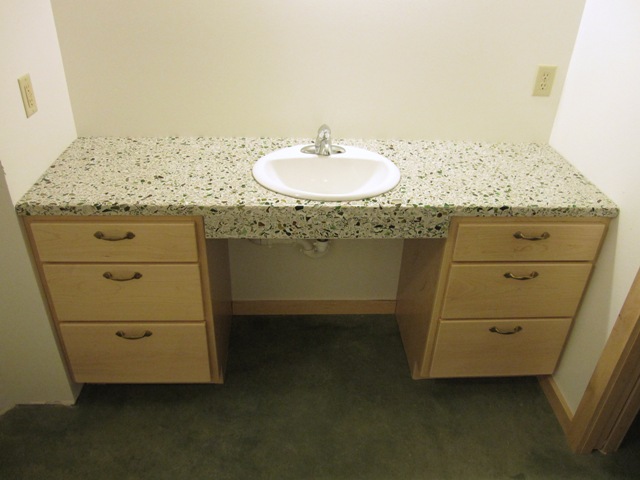
Today we finally installed the countertop into the middle bath. It was a bit of a challenge to muscle it into place since it weighs about 200 pounds, but we managed with only a few paint scrapes on the wall. Fortunately it is the right size! As we did with the first countertop, we ran a thick bead of silicone caulk around the top edges of the cabinets before setting the countertop into place so that it will be supported all around.
