July 18, 2010
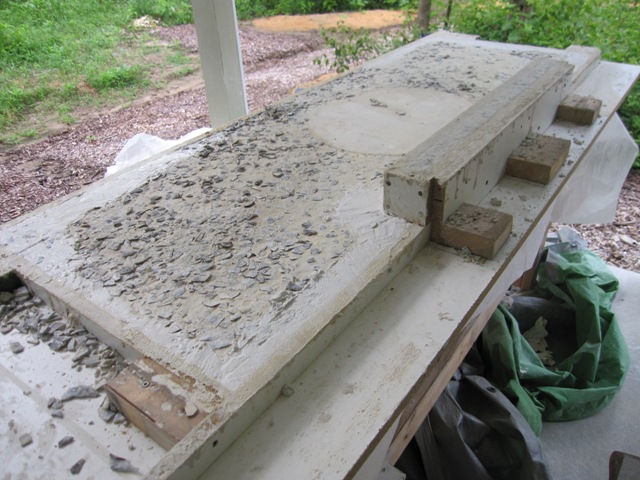
We cast the countertop for the third and final bathroom in basically the same way as the middle bath countertop. The photos below show the countertop in its mold, and you can see that the exposed surface (which will be the bottom) is pretty rough. For some reason it was hard to smooth out the surface and we ended up with a lot of glass chips exposed. This should not hurt anything but we’ll have to grind this surface down a bit so that it sits solidly on the base cabinets. As with the middle bath, we used clear and colored glass for the first layer (which will be the top) and then we used all brown glass for the second layer that won’t show. The first layer ended up a bit stiff, with less water than the previous time, so we expect to have some some bubbles that will need filling. It wasn’t as stiff as when we poured the cottage bath countertop though, so hopefully it won’t be too bad.

July 22, 2010
After letting it cure for 4 days, we removed the sides of the mold. In the second photo below you can see that the front apron has some voids from bubbles in the concrete, more so that the last countertop when we used more water in the mix. Overall it doesn’t look too bad though.


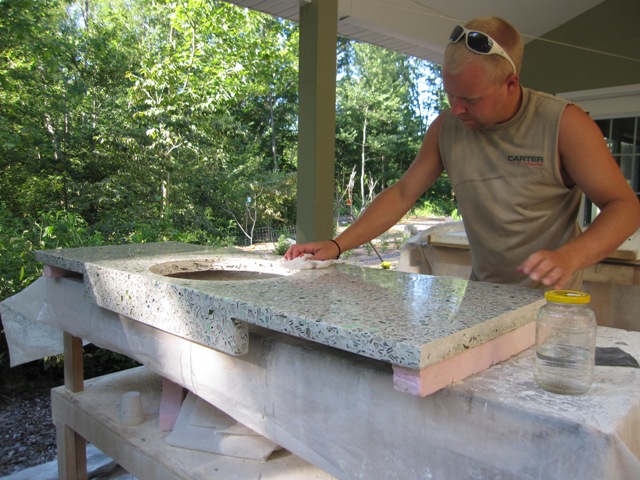
We stood it up on its side and placed foam strips to support it, then lowered it onto the foam. The bottom (now the top) of the mold came off pretty easily, revealing the countertop surface. There are some voids from bubbles in the concrete but they’re not too bad.

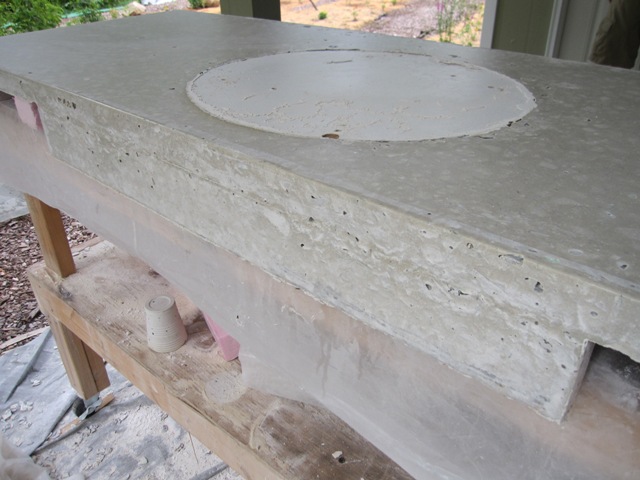
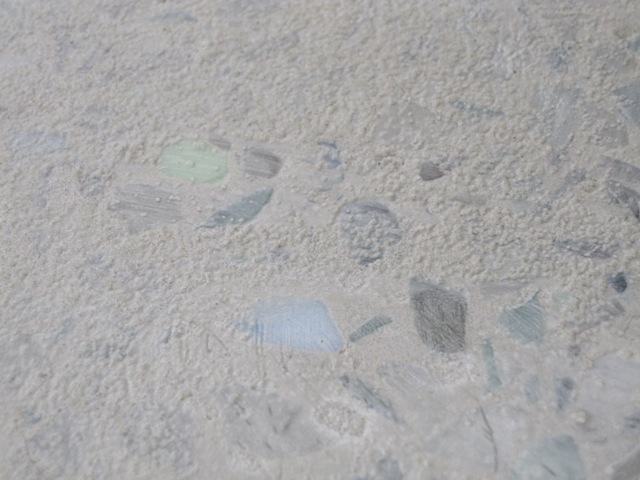
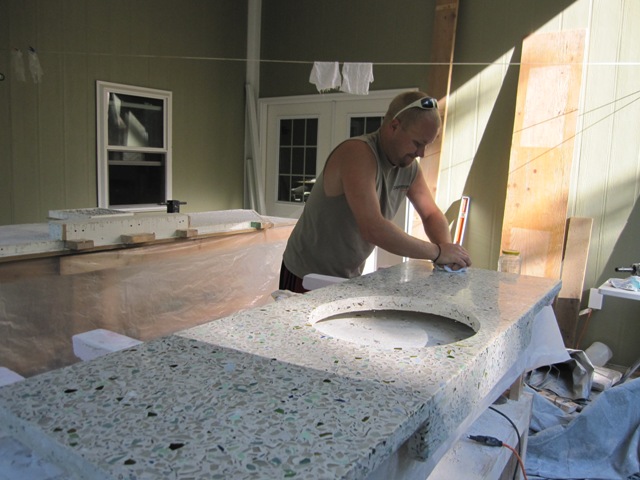
These photos show how it looks before and after the first polishing with the 50-grit diamond wheel. It took about 3 hours to polish it down to this level, and it probably would have gone faster if we hadn’t waited 4 days to polish it because the concrete is already fairly hard.
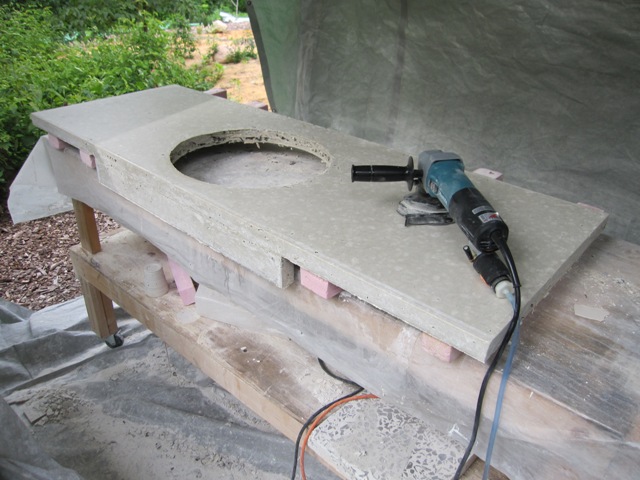
Here are some closer views showing the top and front. If you look closely you can see some voids that will need filling, especially along the upper-left of the front apron.


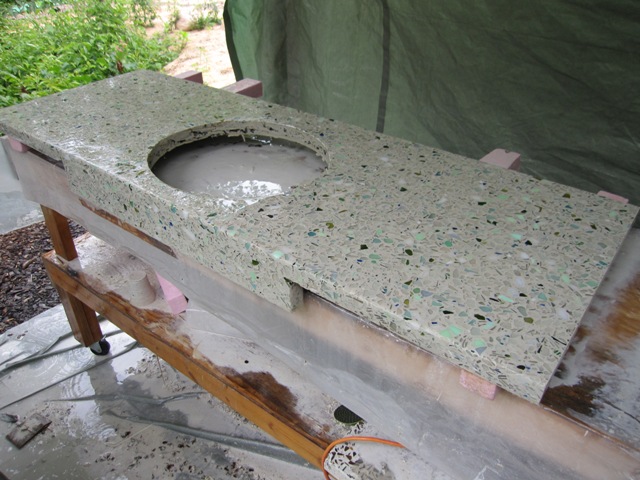
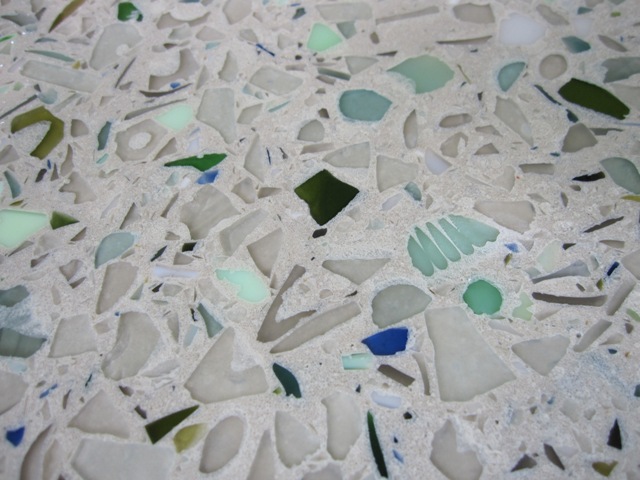
For this countertop we used mostly clear glass, plus mixed shades of green from wine bottles, light green jadite, white, canning jar blue, and a little bit of cobalt blue. One little piece of red glass snuck in somehow, which makes an interesting little detail to the left of the sink cutout.

July 23, 2010
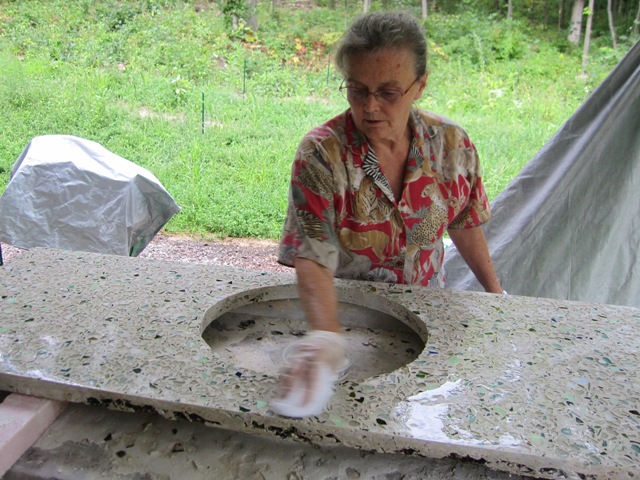
After polishing the whole countertop with the 50-grit diamond disc, there were quite a few voids in the surface from bubbles in the concrete. We covered the whole surface with a slurry made from Portland cement and sand plus water reducing additives, essentially the same mixture as was used to cast the countertop but without any glass and with an acrylic additive to help it bond to the surface. This will fill in most of the voids, and we’ll need to polish it down and then fill any remaining voids with a thin slurry before the final polishing.

July 28, 2010
Polishing down the first slurry coat left a pretty good surface with all of the larger voids filled. The slurry blends in quite well so you can’t see where the voids were unless you know where to look. In the second photo below you can see an interesting pattern from a piece of ribbed jadeite, where the ribs have been polished down somewhat and the slurry fills in between.

There are still some irregularities in the surface as you can see in the first photo below, so we applied a smooth slurry to fill them in.

August 14, 2010
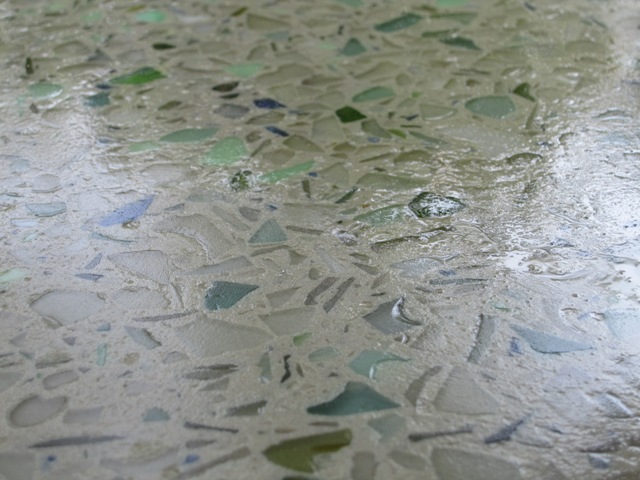
After Jay finished polishing the countertop, Liz applied the sealer. The photos below show it still wet, and it won’t be quite as glossy once it dries. After it’s thoroughly dry we’ll apply a coat of wax and then it’s ready to install.

August 16, 2010
Our nephew Nash applied a thin coat of concrete countertop wax and then buffed it to a nice glossy shine.
After it was waxed, we moved it into the east bath and set it on the base cabinets, after running a bead of silicone caulk along the left and right edges of each cabinet. The caulk will adhere the countertop to the cabinets but it can be removed if it ever becomes necessary.

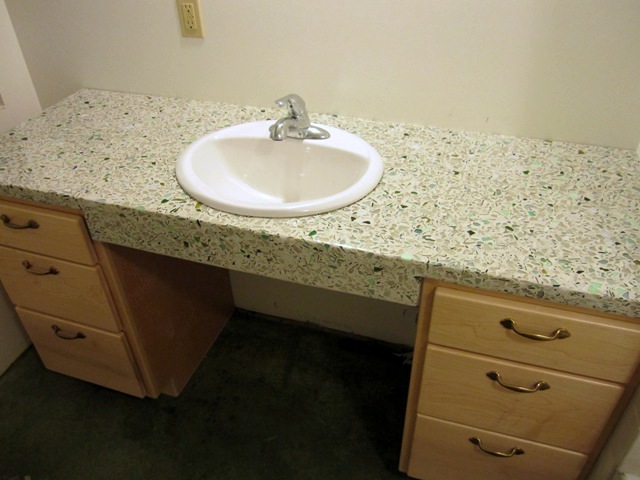
Here are some closer views of the left side and the apron in front of the sink.


These close-ups show the texture of the glass in the finished countertop. The toothy white shape on the right looks like it came from an old white glass canning jar lid that had serrations around the top. Overall we’re happy with the way it turned out.

