October 29, 2010
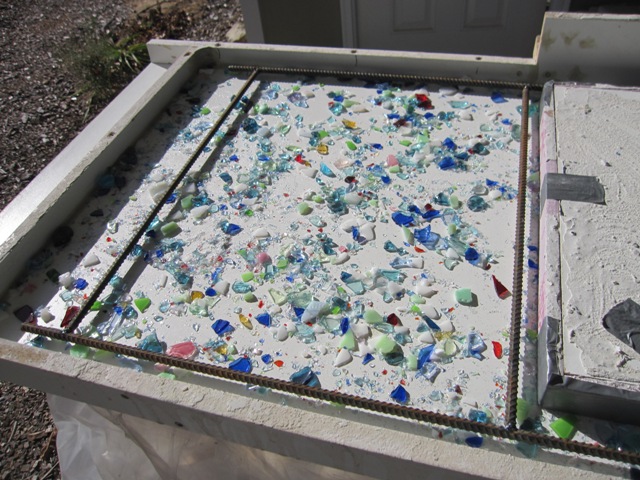
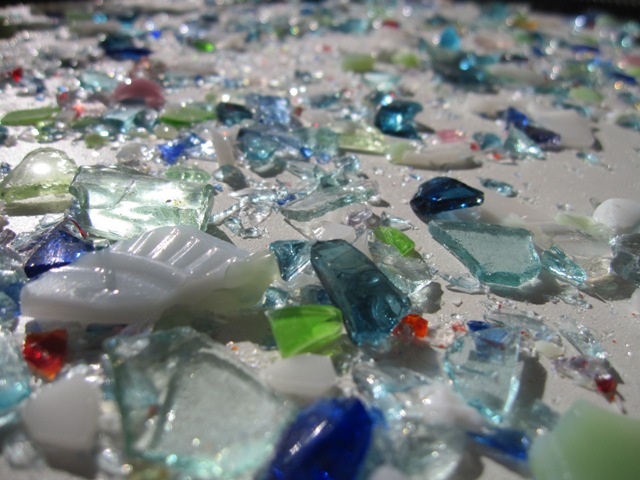
For the cottage kitchen countertops we made a mix of “confetti” glass that is similar to that of the main kitchen, but with a higher percentage of blue glass. And for the first layer of concrete we’ll use only clear glass instead of the clear and green mix that we used in the main kitchen. This should give an appearance similar to the countertops in the main kitchen but with more emphasis on shades of blue and only a little green in the mix. Since there will be no colored glass in the concrete mix, just what we sprinkle directly into the mold, we doubled the amount of confetti glass to 2000 grams per square foot, compared to 1000 grams per square foot in the main kitchen. The photos below show the mold ready to pour the countertop for the north side of the cottage kitchen, with a welded rebar frame to reinforce the concrete around the large opening where the cooktop will go.
November 1, 2010
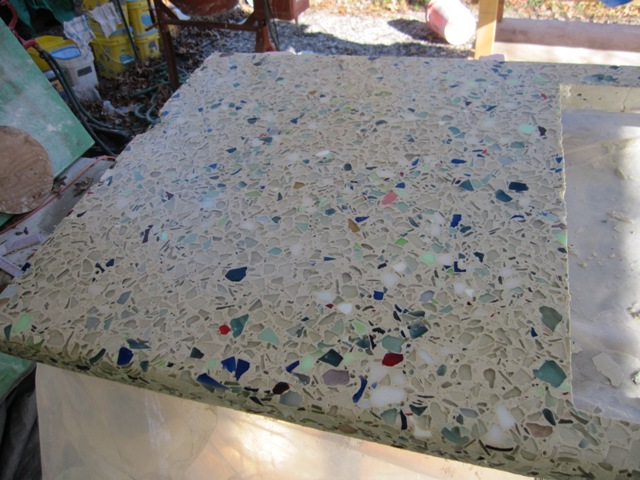
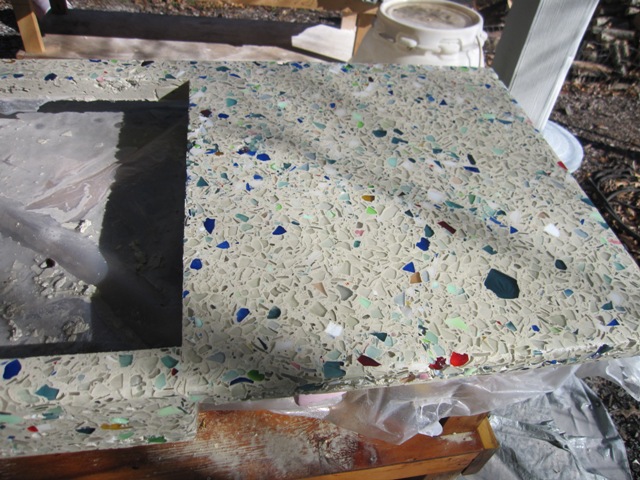
Jay poured the countertop by himself so we don’t have photos of the pouring operation but it was similar to the others and it went reasonably well. The photos below show the result after the first polishing with the 50-grit diamond wheel to cut down into the glass aggregate. The color mix is just what we wanted, light in color and with an emphasis on the blue tones, but with various other colors mixed in too. There are some voids in the surface as we have come to expect, so these will be filled with a slurry of Portland cement and sand before it’s polished again.
November 5, 2010
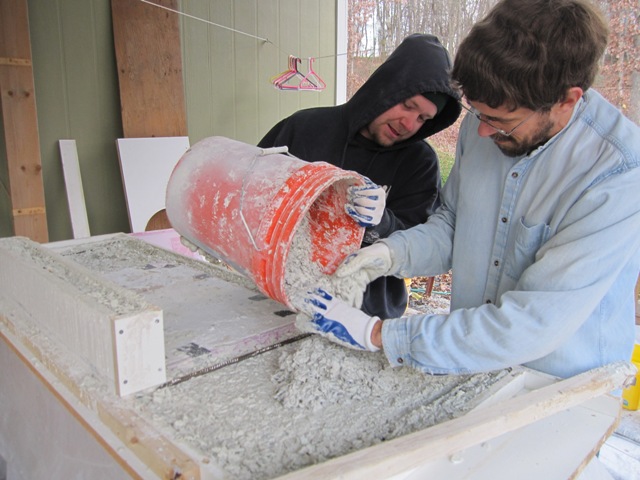
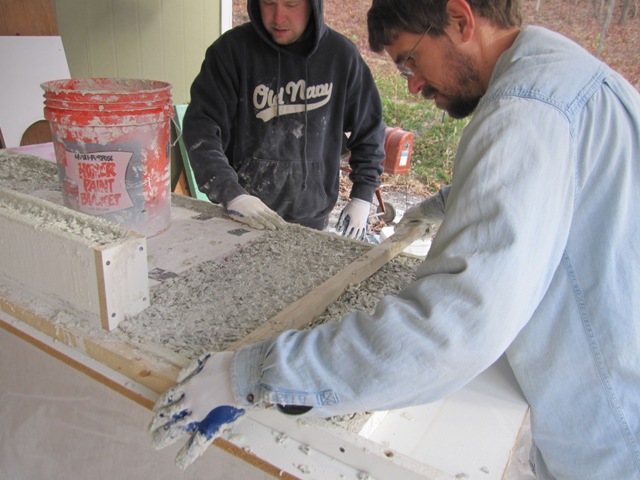
The countertop for the south side of the kitchen will hold the sink. Since we used the same model of sink and cooktop in both kitchens we were able to reuse most of the mold parts that we had made for the main kitchen. As we filled the chimney that will form the dropped apron in front of the sink, Jay pushed some colored confetti glass down in front so the apron will show the same colors as the top. We did the same around the edges, because all but one narrow edge will be visible when this countertop is installed. The second photo gives some idea of how cold it was, and as soon as it was poured we wheeled it into the workshop so it could cure for several days without freezing.
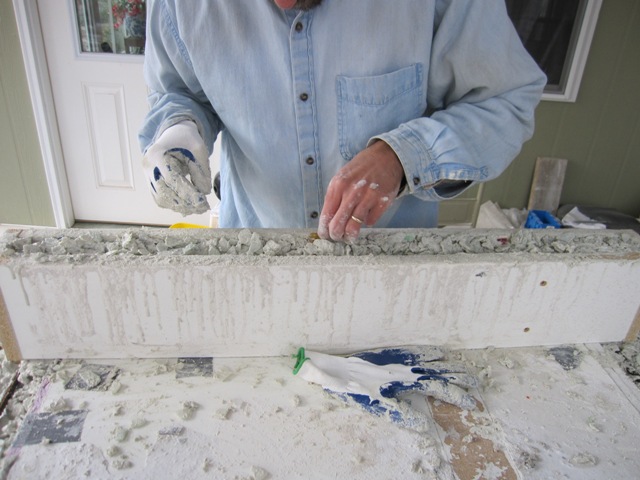
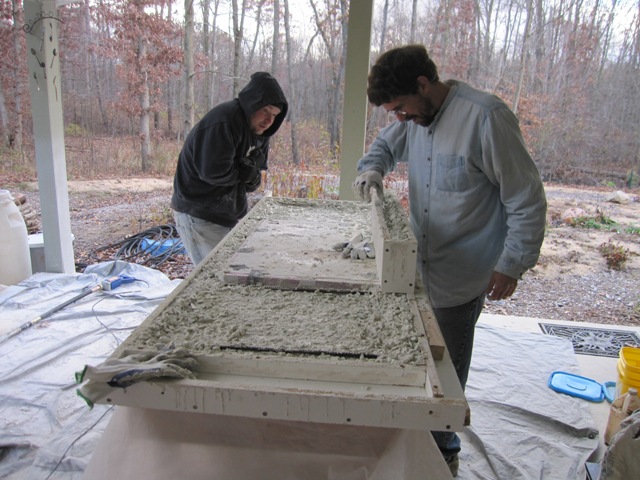
After the first layer of clear glass was placed and vibrated, we poured the second layer containing all brown glass that won’t show. Then we screeded it off, and applied a top coat of sand mortar (2 parts sand and 1 part cement) to give a smooth and solid surface.
November 8, 2010
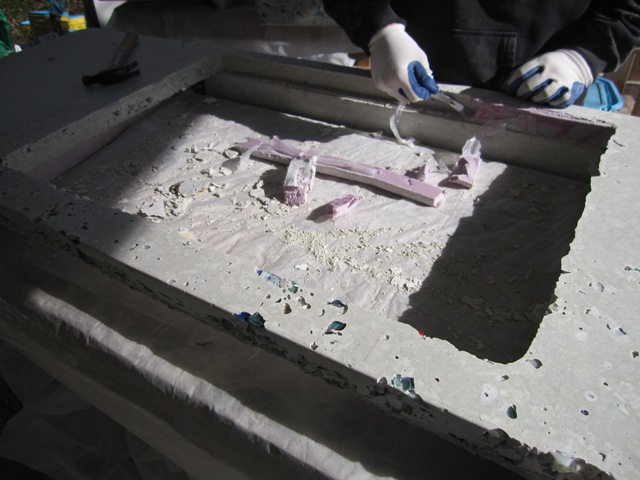
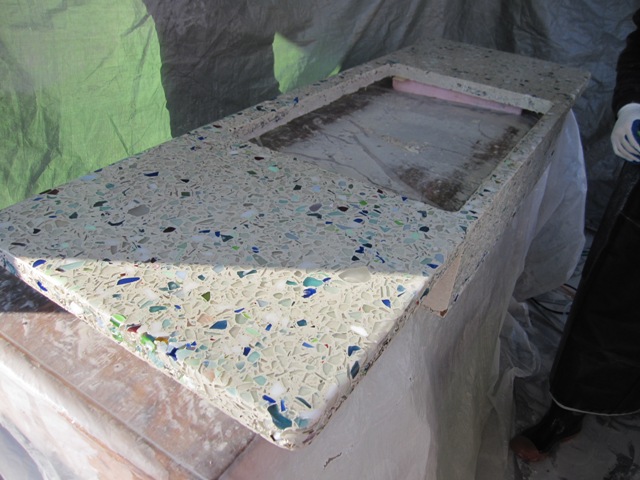
Today we removed the sink countertop from its mold and Nash polished it down with the 50-grit diamond wheel. It came out about the same as the other one, pretty good overall but with some voids that will need filling with sand slurry. We managed to get a good mix of colored glass showing around the edges and on the front of the apron. Today Nash also polished the other countertop and applied a new slurry coat to each one so they’re both progressing together and we hope to have them both ready to install next week.
November 20, 2010
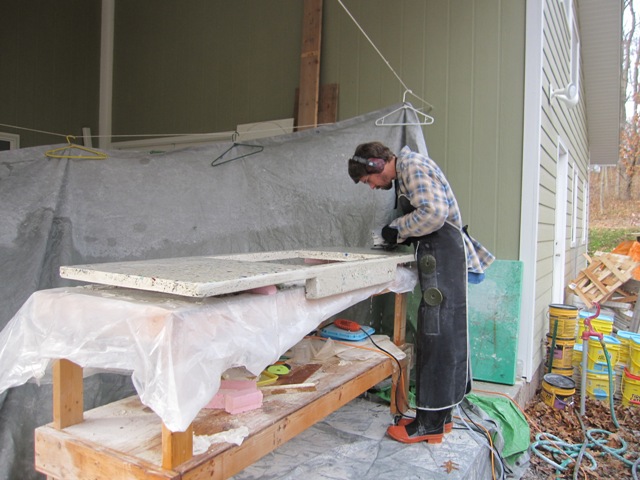
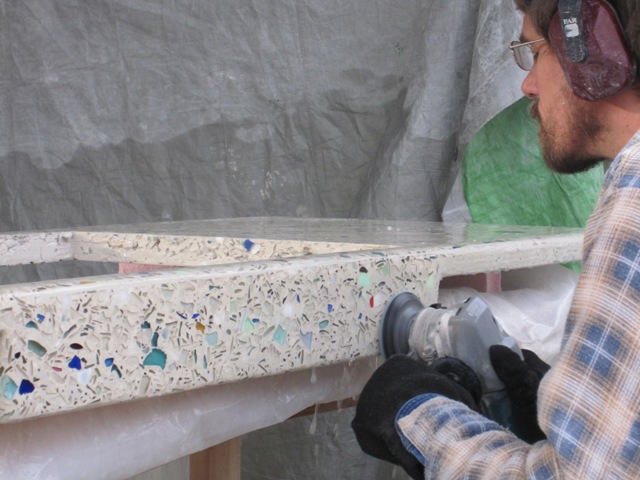
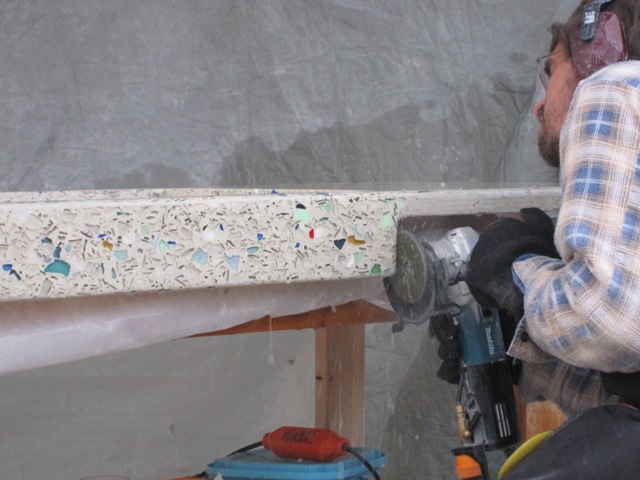
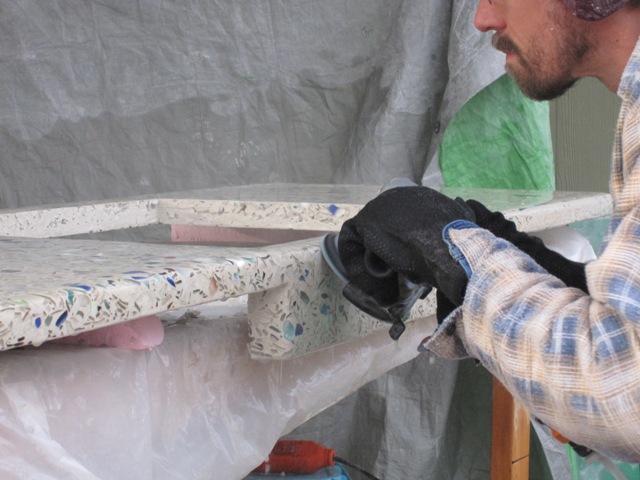
It was about 33 degrees F outside today, and Jay spent several hours polishing the cottage cooktop countertop up to 1500 grit. That completes the polishing so it just needs to be sealed, waxed and installed. Jay’s hands stayed reasonably warm thanks to neoprene gloves so the cold didn’t pose much problem except for having to thaw the hose out beforehand, and the feet afterward.
December 12, 2010
It’s been almost 7 months since we started making our first countertop, and today we finally installed the last one! We made a total of 10 countertops counting the 3 segments that are joined together in the main kitchen. Here are the final two installed in the cottage kitchen. Our digital camera made them appear to be slightly different shades of white in these photos due to the artificial lighting, but the colors actually match very well.


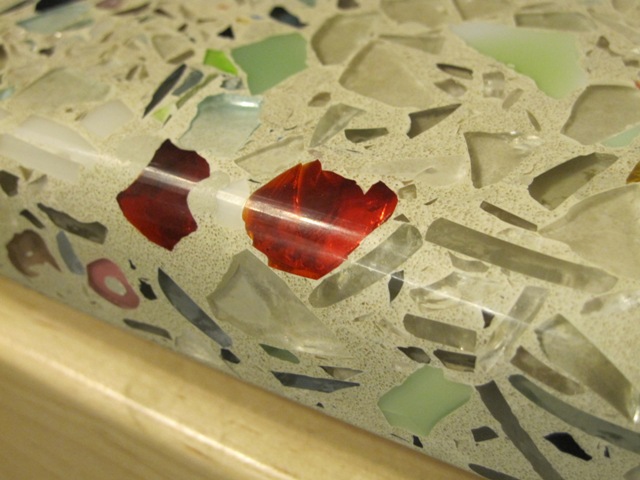
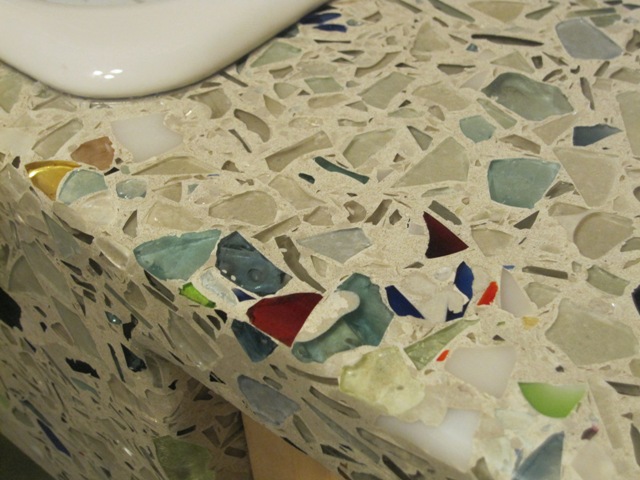
Here are some close-ups of the sink side, showing how the glass seems to wrap around the edges.

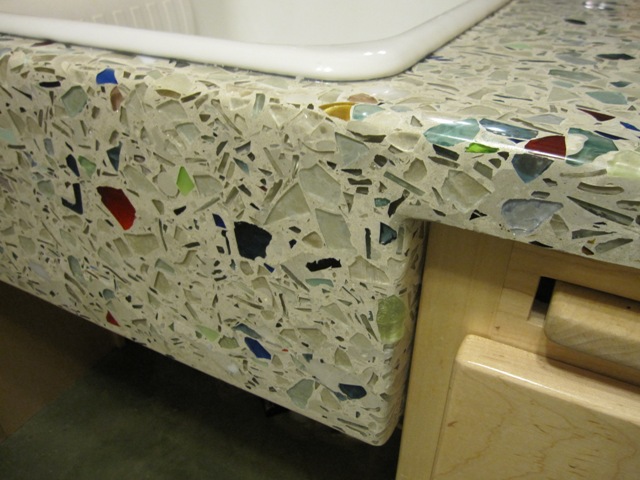
In the second photo below you can see a piece of green depression glass where the pattern in the back side of the glass is clearly visible. The little dark dots surrounding it are grains of sand in the concrete.

We had to polish 3 edges of this countertop since the back is visible behind the tree. We left about 1/4″ of clearance between the countertop and the tree that supports the upper cabinets.

The photos below show close-ups of the cooktop side. In the lower left of the second photo you can see an example of some iridescent glass. This came from a broken antique bowl that had the iridescent coating and the molded pattern on the outside, which we carefully placed in the mold so that it would be on the bottom of the glass in the finished piece.


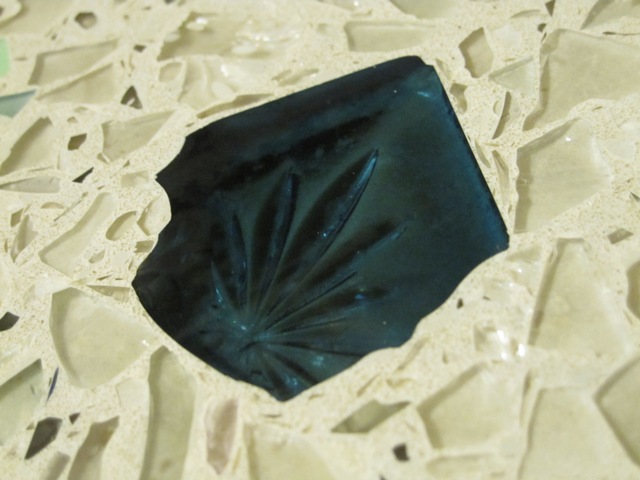
We especially like the red glass along the edge, and here again you can clearly see the grains of sand in the concrete. The second photo below shows a large piece broken from a blue drinking glass that had a square foot with this pattern on it. In order to get the large pieces to show well like this, we first ground each one flat with the 50-grit diamond wheel, then glued it into the mold with hot-melt glue before pouring the concrete over it.
