Back to Main Kitchen Countertops
August 8, 2010
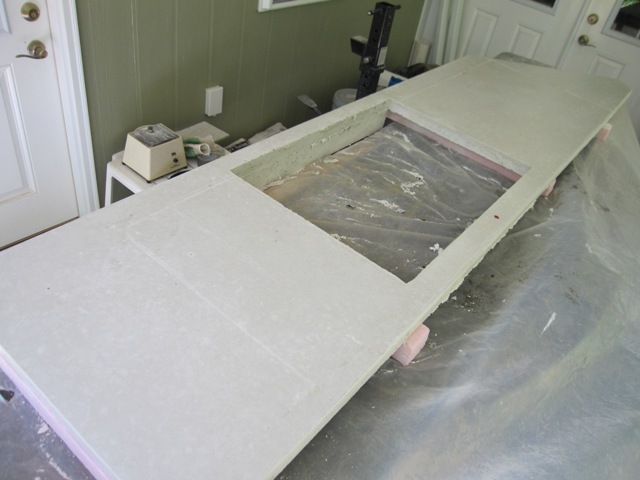
The first countertop will go along the north wall of the kitchen, and it has a cutout in the middle for a cooktop. It’s an unusual shape so we made a template from strips of plywood glued together with hot-melt glue. After flipping the template upside-down (very important!), we used it to locate the walls of the mold. This is the biggest countertop we have made, and it will be over 8 feet long and will weigh about 250 pounds.
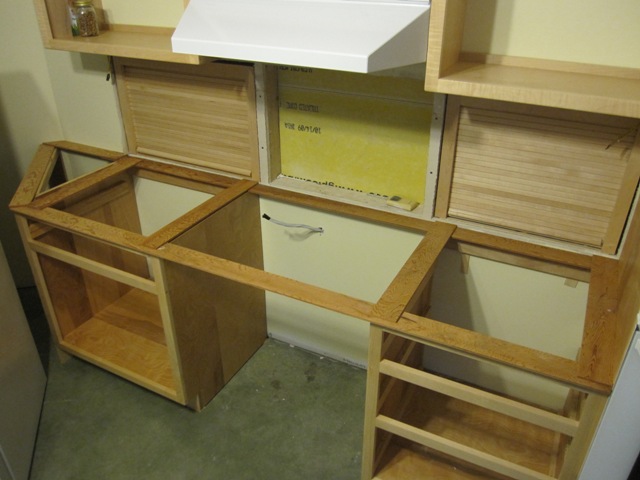

August 11, 2010
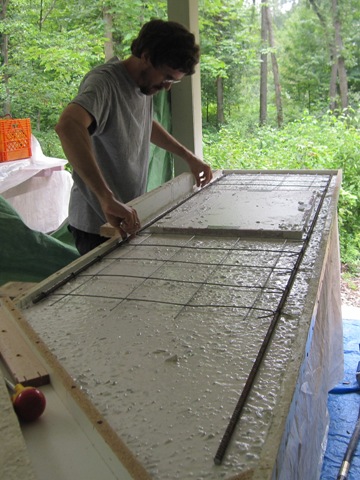
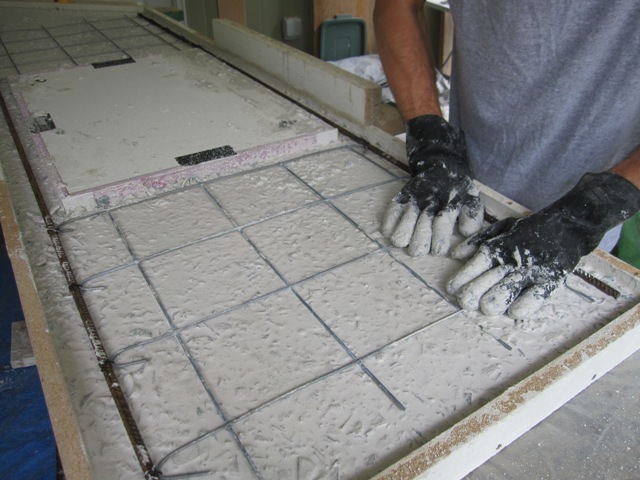
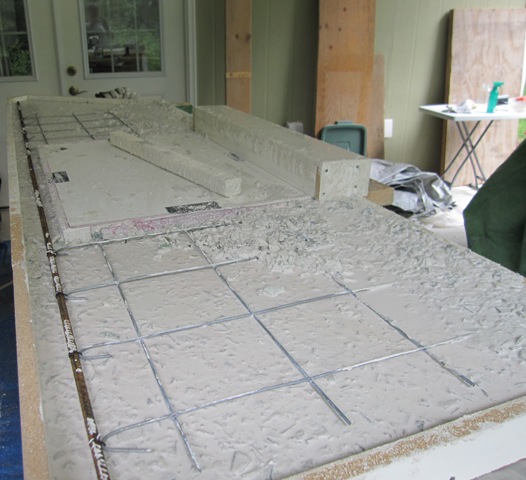
The cutout for the cooktop leaves only narrow strips of countertop in front and behind the opening. In order to remove it from the mold and polish it we’ll have to put it under some stress before the concrete is fully cured, and it would surely crack in these areas without some reinforcement. We cut lengths of 3/8″ rebar to fit along the front and back edges of the countertop, and tied them together with reinforcing mesh across the middle. This should provide enough strength to keep it from cracking, as long as we handle it gently and avoid twisting it as we remove it from the mold.


August 12, 2010
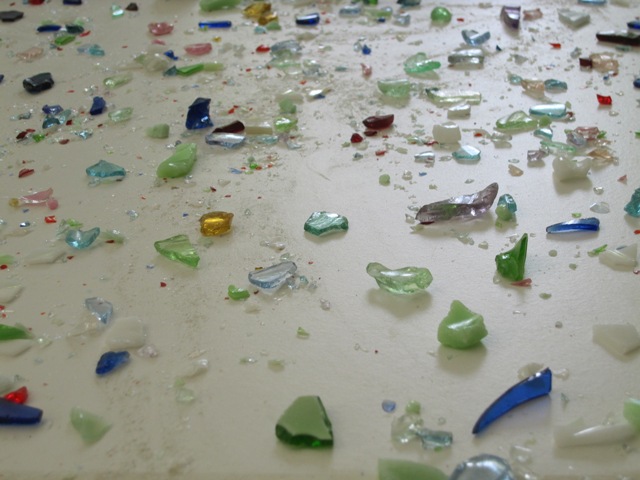
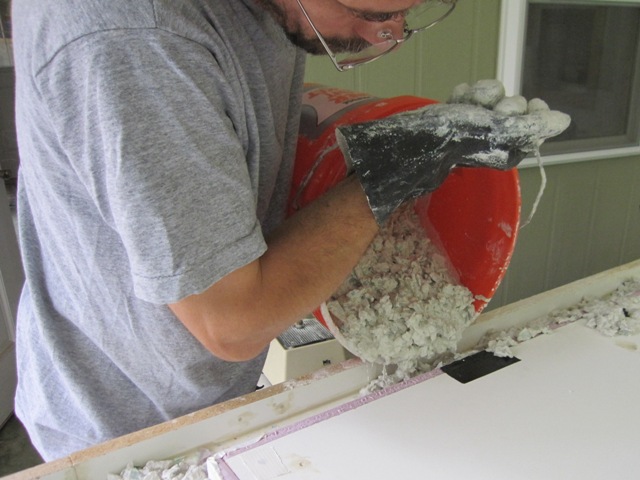
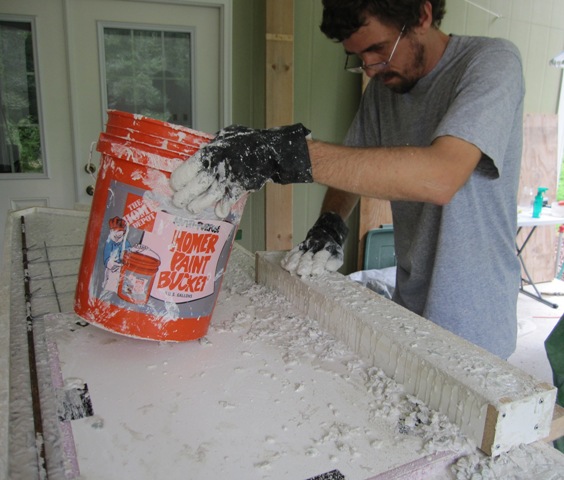
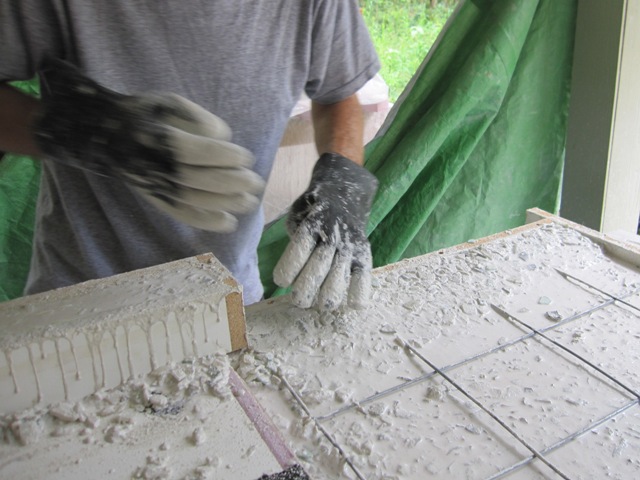
We mixed up enough confetti glass for the entire kitchen, so that all of the countertops will have a similar mix of colors. We then weighed out the same amount of confetti glass per square foot as we used in the test piece and spread it more-or-less evenly throughout the mold. It includes a variety of sizes from larger pieces all the way down to dust.

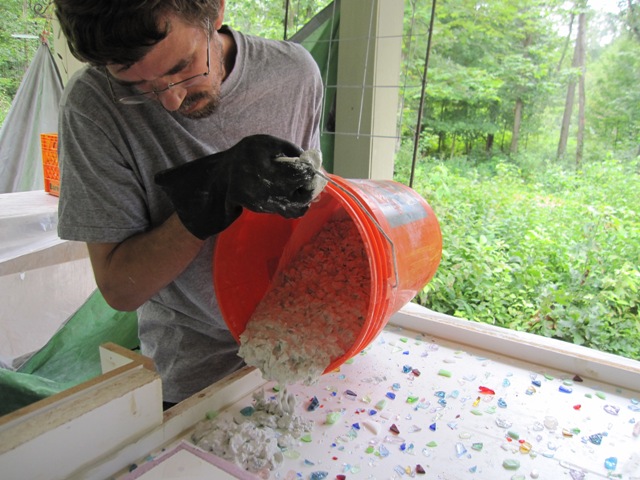
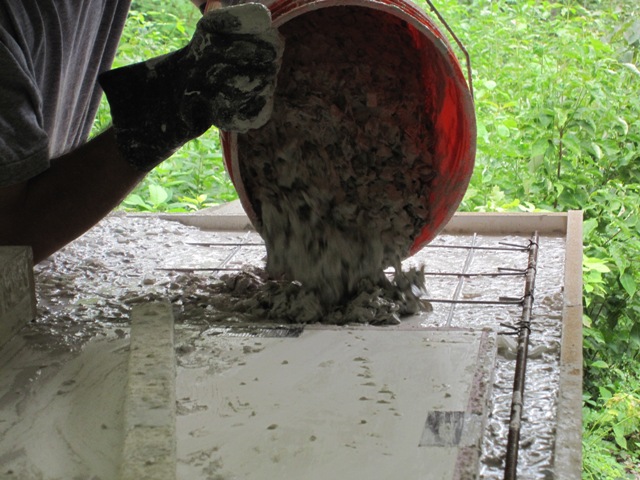
At last it was time to place the concrete. We used a bit more water in the mix this time so that it would flow more smoothly, and it should release trapped air bubbles more readily than the stiffer mix we used in the middle bath countertop.

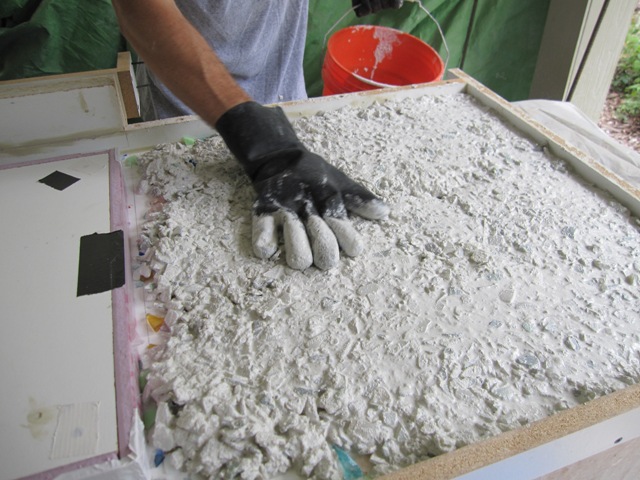
There is no particular pattern in the arrangement of the confetti glass, but we tried to disturb it as little as possible while pouring.
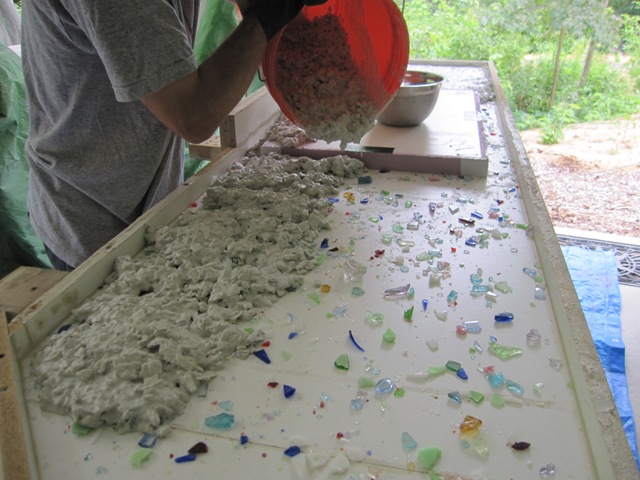
Once it was poured, it was jiggled by hand to spread it out and to help embed the confetti glass on the bottom. This probably moved the confetti around a bit but it’s no big deal since we’re not trying to maintain any particular pattern.
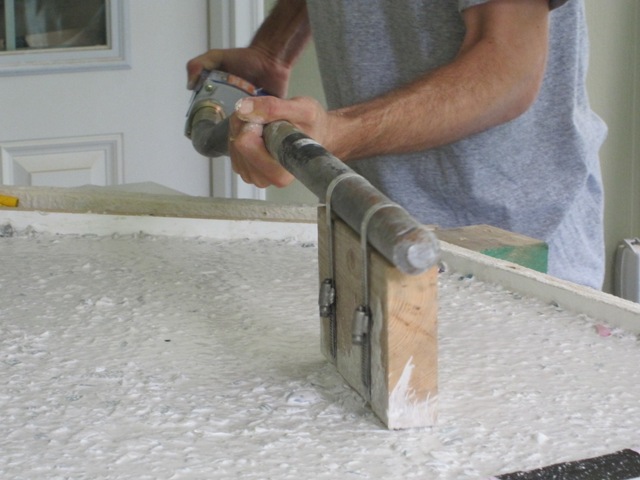
To consolidate the concrete and release trapped air bubbles, Jay ran the concrete vibrator over the surface. The vibration momentarily makes the concrete very fluid and it seems to be boiling as air bubbles rise to the surface, and it also causes more of the glass to sink to the bottom of the mold where it will show on the top of the countertop.
This mix fills the mold about halfway, so that the rebar will end up just a little below the center when the countertop is flipped over.The rebar is placed on top of the first layer, and pressed lightly into the surface. It’s important to have everything ready and work quickly, so that the remaining mix won’t stiffen up before the chimney is filled.
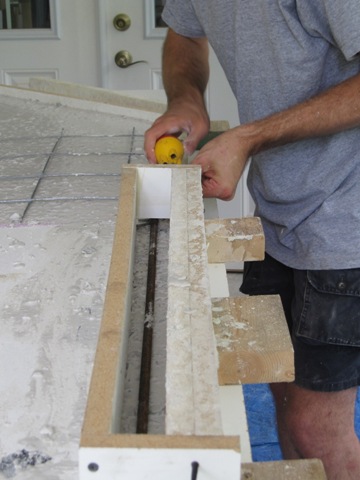
Once the rebar was in place we attached the chimney and filled it. Because this will form an apron in front of the cooktop, we want it to show the same mix of confetti as the top surface. As Jay placed the concrete into the chimney, Liz sprinkled colored confetti glass along the front where it will show. Sorry, there’s no photo of that since we ran out of hands.
We mounded up the remaining concrete from the first batch along the front edge of the mold, where it will show. Again we sprinkled some confetti glass along this edge so it will blend in with the top. That completes the first layer of concrete.
The second layer of concrete uses the same mixture as the first layer, except that it uses all brown bottle glass that won’t show in the finished piece. We made a bit less in this batch since it doesn’t have as much volume to fill as the first batch.

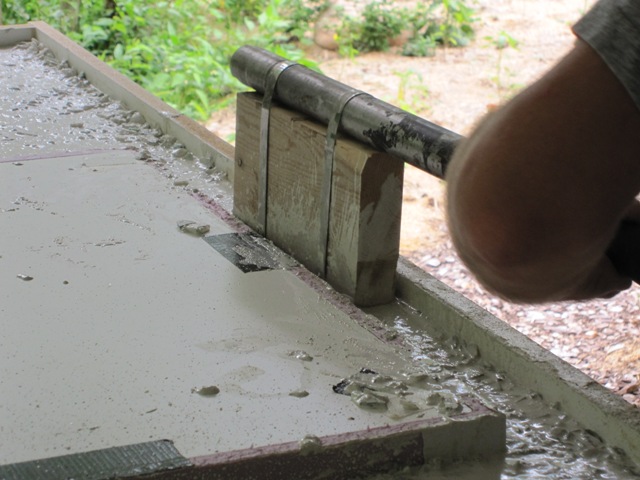
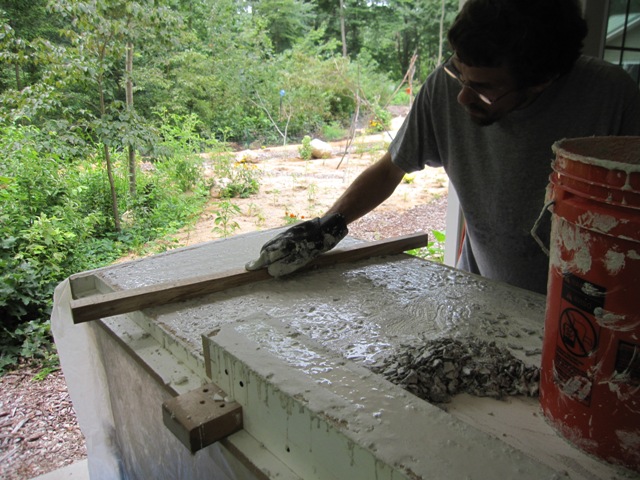
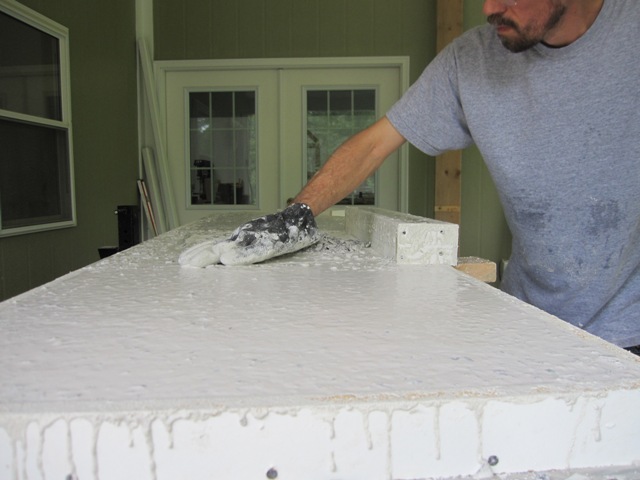
Once the concrete was all placed, Jay used a board to screed it level.
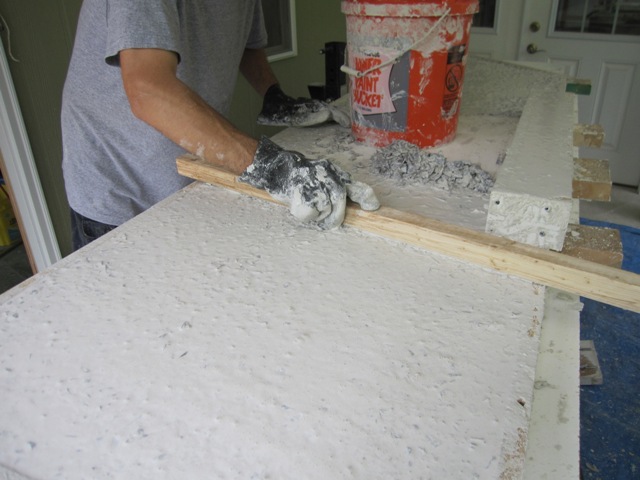
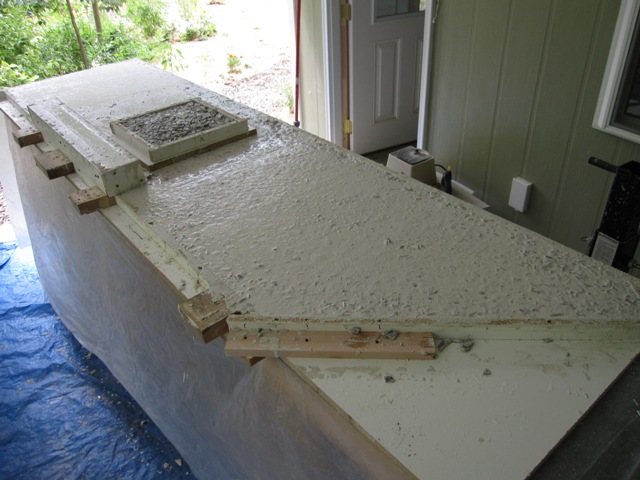
The finished surface is fairly smooth, and we made sure that the mold was level in all areas and not bowed or twisted so that the countertop will be flat. There was just a little concrete left over, which we placed into the square mold sitting on top in the second photo below. We’ll use that as a stepping stone in the garden. Now we need to wait about 4 days so that the concrete will be strong enough to be taken out of the mold without cracking, but still soft enough to grind down to expose the glass.
August 16, 2010
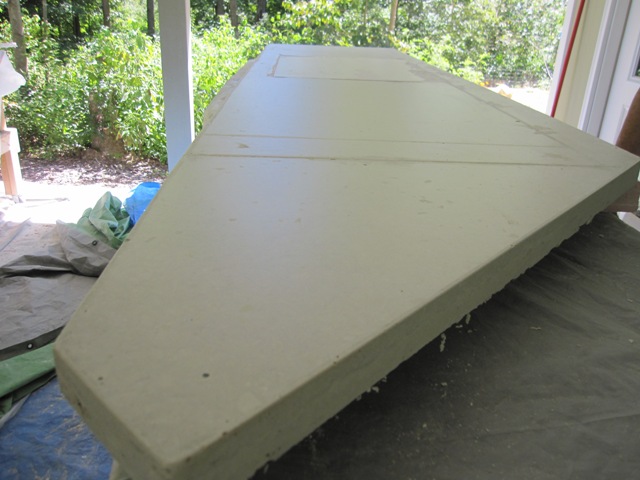
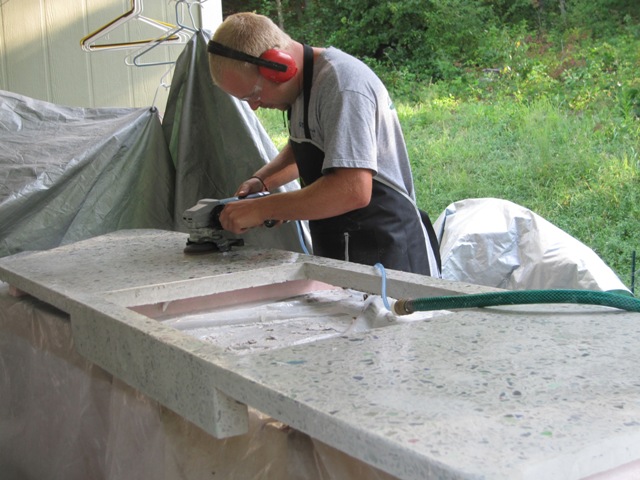
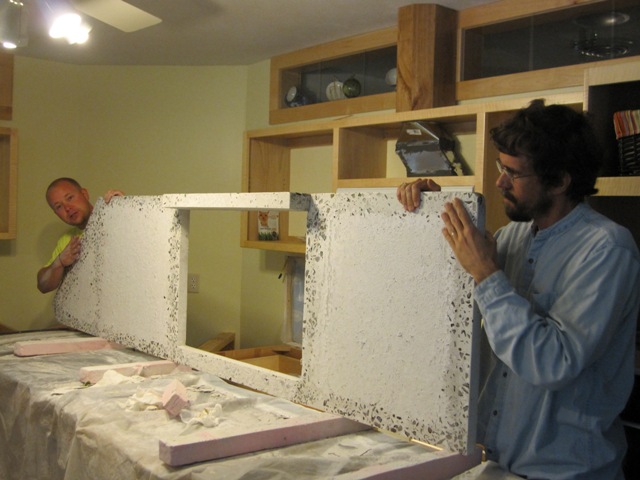
We removed the sides of the mold and carefully flipped the countertop over onto foam strips, then peeled off the bottom of the mold to reveal the concrete. The results look very good with few bubbles, indicating that the increased water and vibration consolidated the concrete well. A few taps with a rubber mallet removed the cutout block in the center where the cooktop will go.
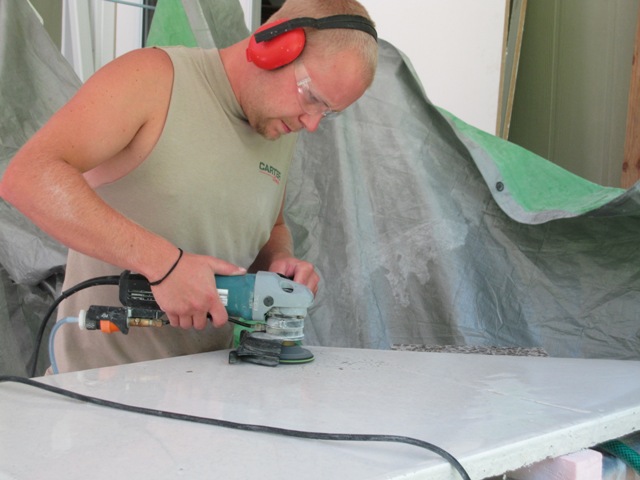
Our nephew Nash started polishing it with the 50-grit diamond disc, and slowly the colors were revealed.
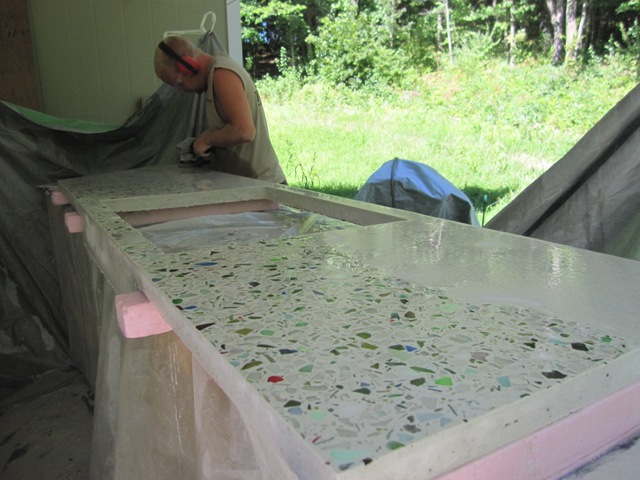
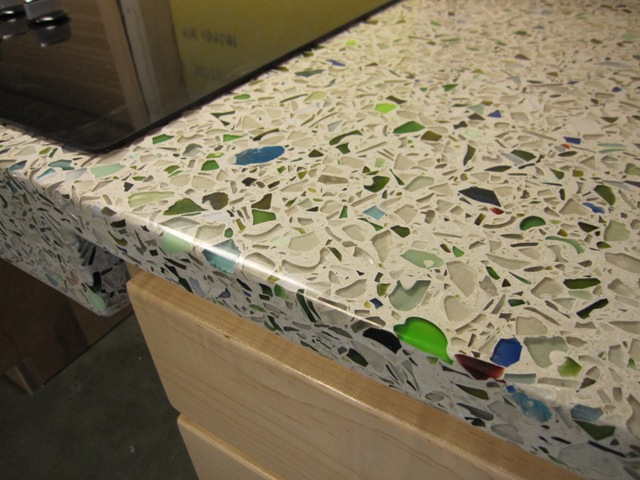
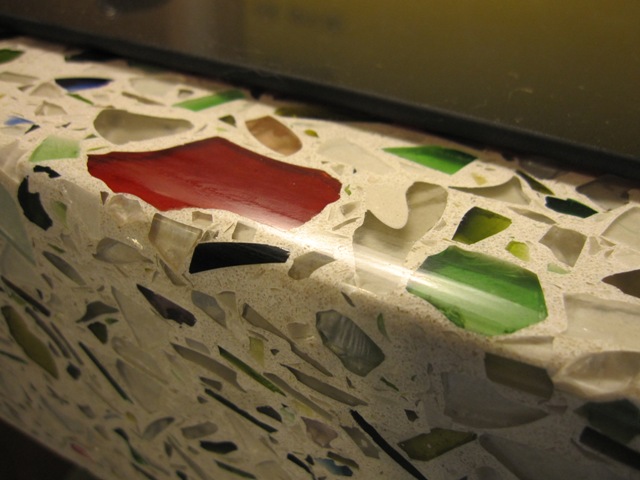
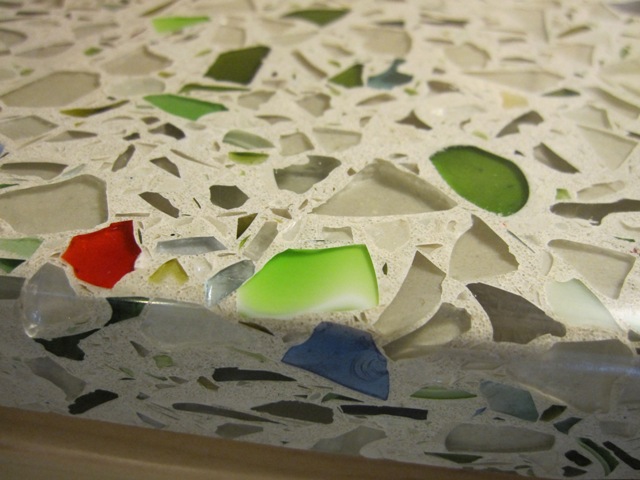
The two photos below show the areas to the right and left of the cooktop. These are taken from the side that will go against the wall, so the front of the countertop is at the top of the photos.
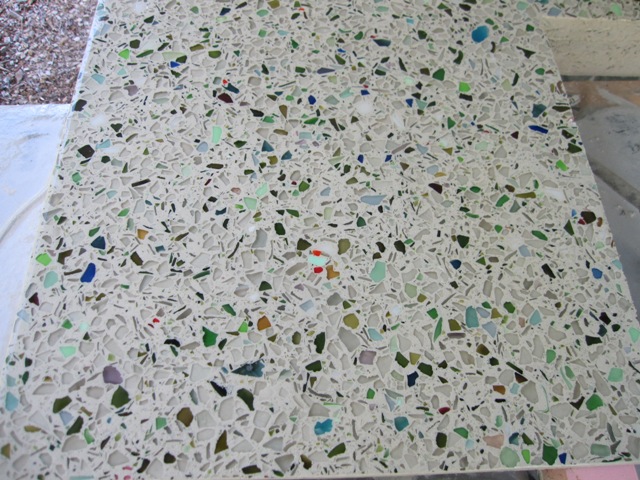
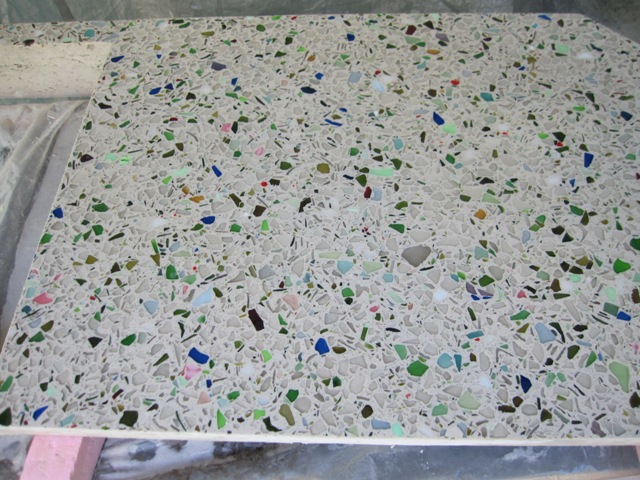
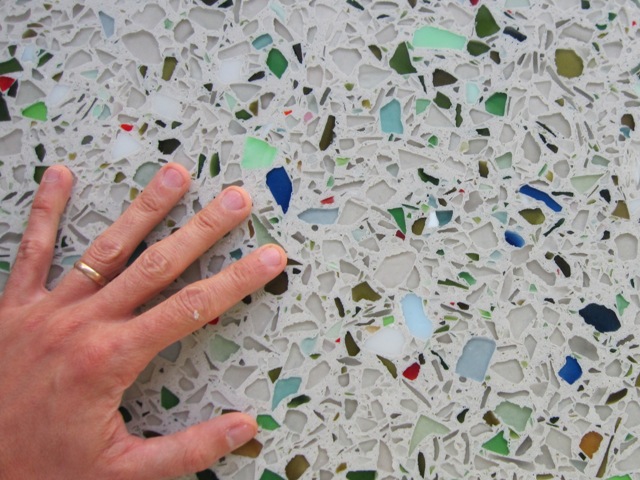
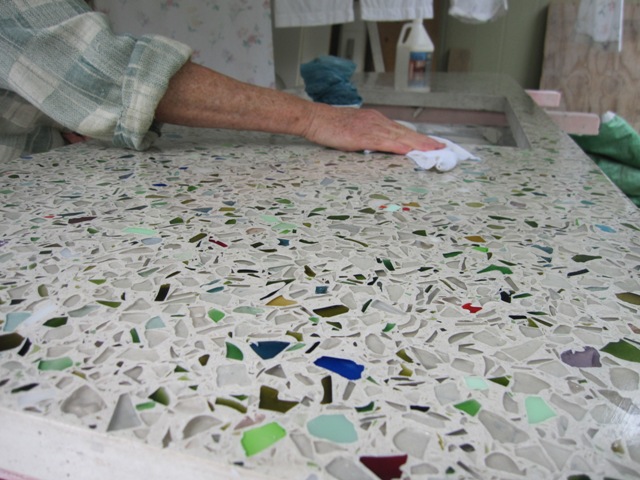
Here are two more shots showing a close-up with a hand for scale, and an overall view. Although the surface has few bubbles, there are still some voids that must be filled so we’ll need to apply a slurry coat before polishing it any further.

August 25, 2010
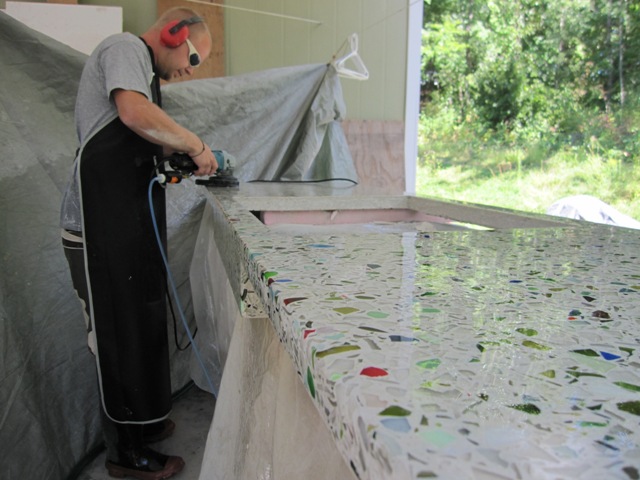
After applying a slurry to fill in the voids and letting it cure for a few days, Nash polished it down again. We repeated this process several times in order to fill in all the little voids, because the slurry doesn’t always fill every void and each time it was polished a few new voids were uncovered.
September 3, 2010
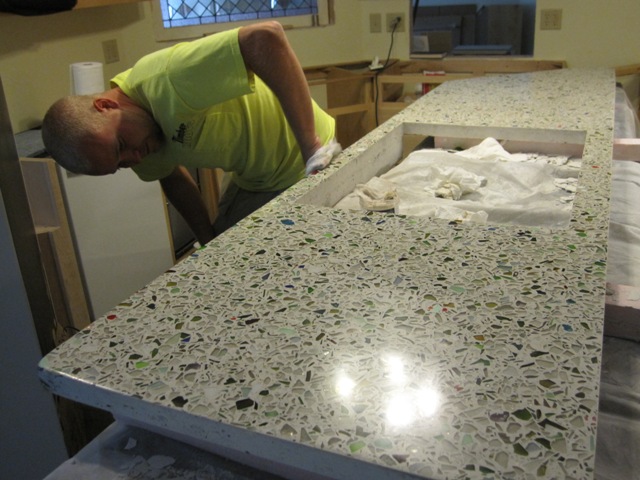
Before polishing the top to the final finish, we flipped the countertop upside-down and smoothed out the rough areas where it will sit on the base cabinets.Then Nash polished the top all the way up to the to 1500 grit diamond wheel.

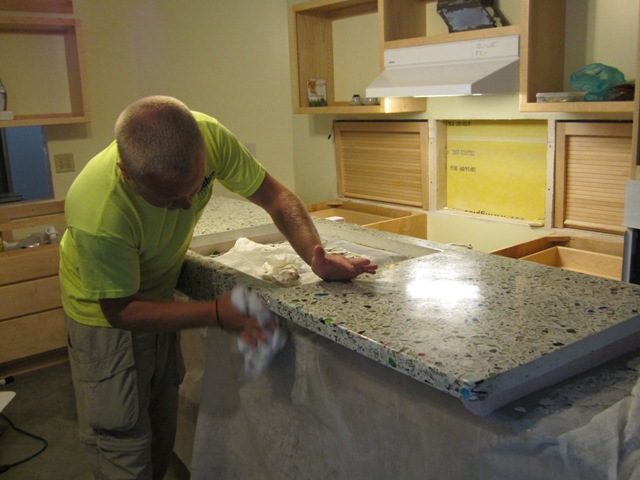
Once the top was super-smooth, Liz applied the sealer. It was a windy day and afterward, we discovered that the sealer had dried so fast that it left very visible streaks on the surface. So we had to scrub off the top layer of sealer and scrape it with razor blades to get down to the smooth surface again. This still left plenty of sealer below the surface, which is where it is needed. The sealer doesn’t make the countertop look shiny; it just makes it relatively impervious to liquids.

September 8, 2010
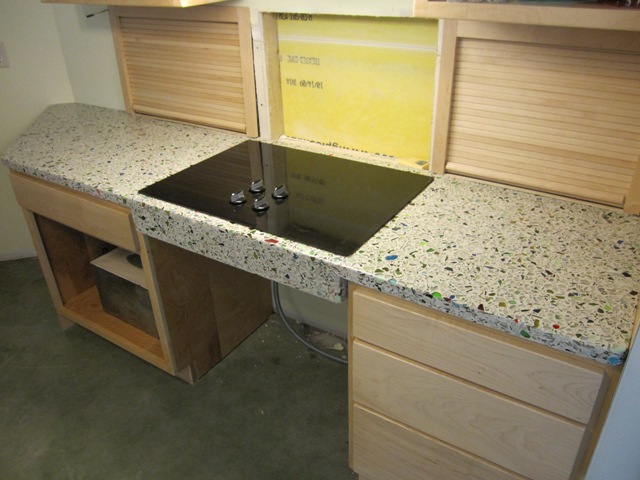
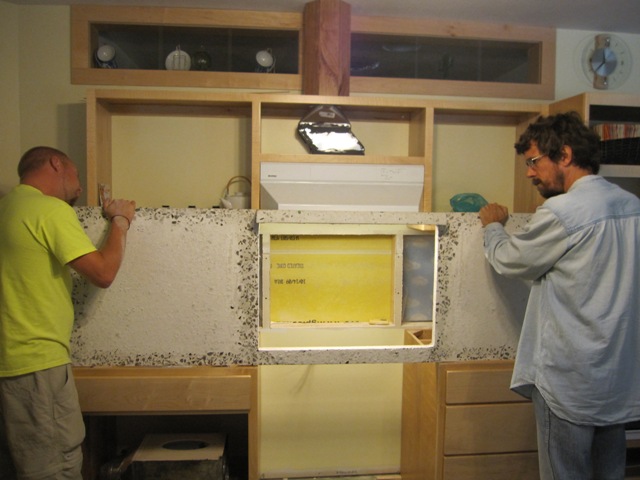
At last we wheeled the countertop into the main kitchen. Nash applied a coat of countertop wax and buffed it to a nice shine.
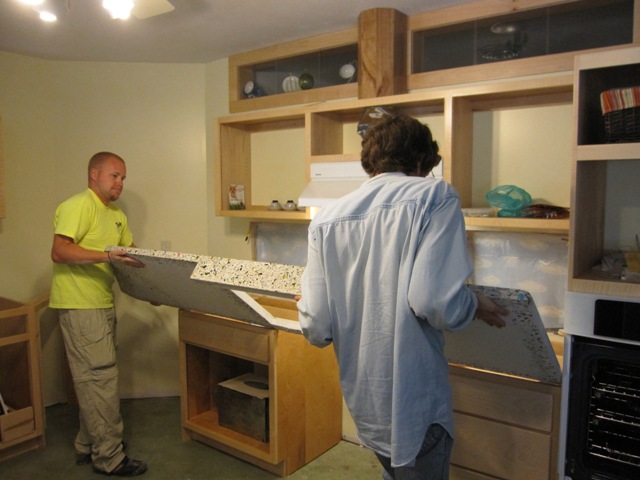
This countertop weighs about 250 pounds so installing it had to be done carefully to avoid injuring the people or the countertop. Nash and Jay stood it up on edge and then lifted it from the rolling work table onto the base cabinets.
From there it was relatively simple to tilt it down and slide it into place.

We hadn’t actually tried putting the cooktop into the opening in the countertop until now, but fortunately it fit perfectly and it looks great. This completes the first of five countertop segments in the main kitchen.