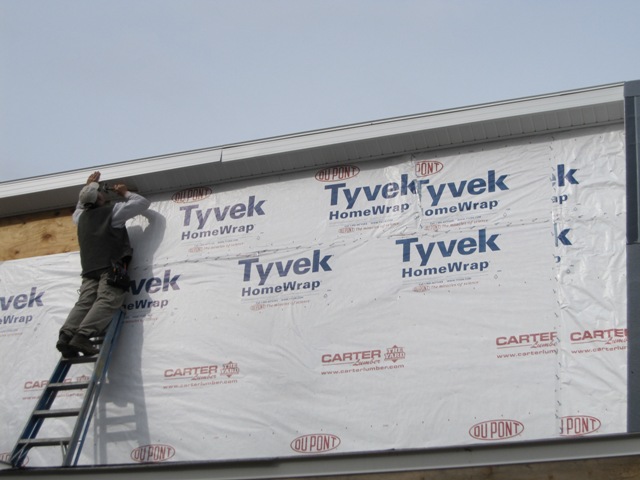
We used a conventional aluminum soffit material, which is perforated to allow ventilation air into the attic along the eaves and out of the attic along the gables. This was a low-priority task so it stretched over several months, as Dan & Bruce often worked on it when they were blocked on other higher-priority tasks.
October 1, 2009
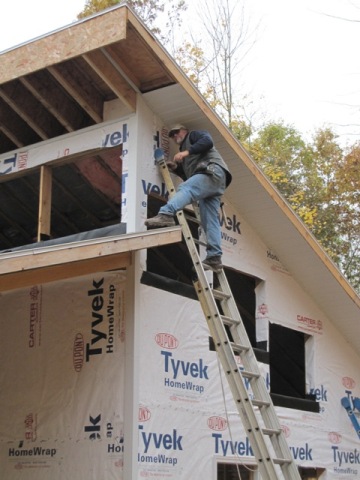
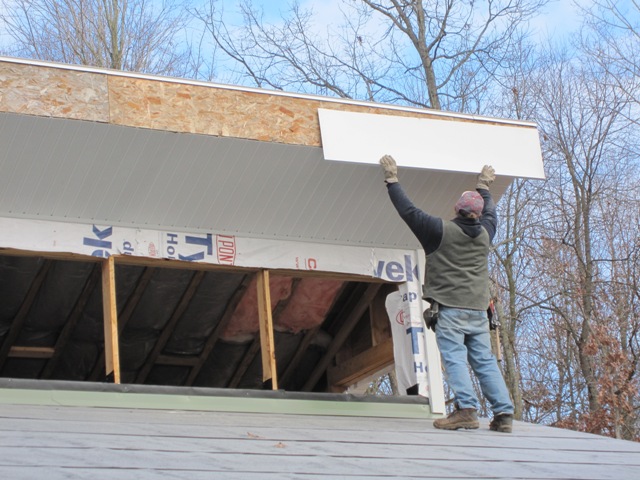
Dan and Bruce started nailing F-channel around the tops of the exterior walls, to hold the perforated aluminum soffit panels. Applying the soffit was then a matter of cutting it to length (24 inches in most cases), sliding one end into the channel and nailing the outer side. The second photo below shows Dan working on the soffit above the east end of the workshop.
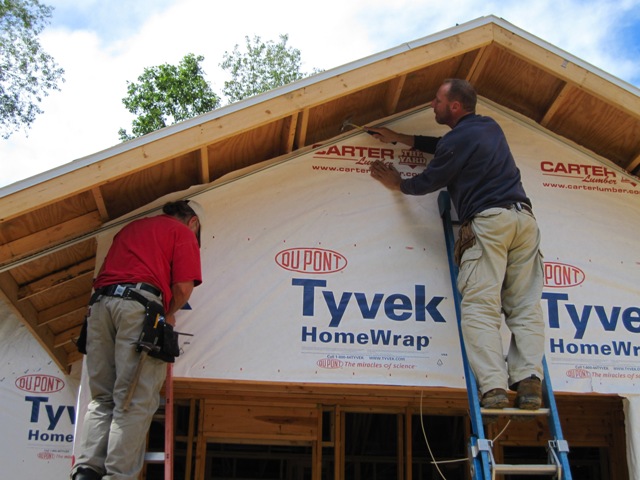
October 27, 2009
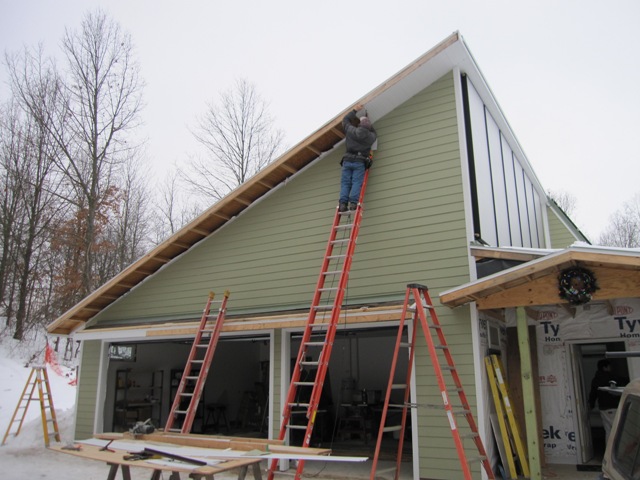
The first photo below shows Dan applying the aluminum fascia material above the wall where the solar heat collectors will be mounted. The second photo shows him covering the fascia above the front of the shop. It’s a very wide fascia here since it’s formed by the ends of the I-joists that support the workshop roof.
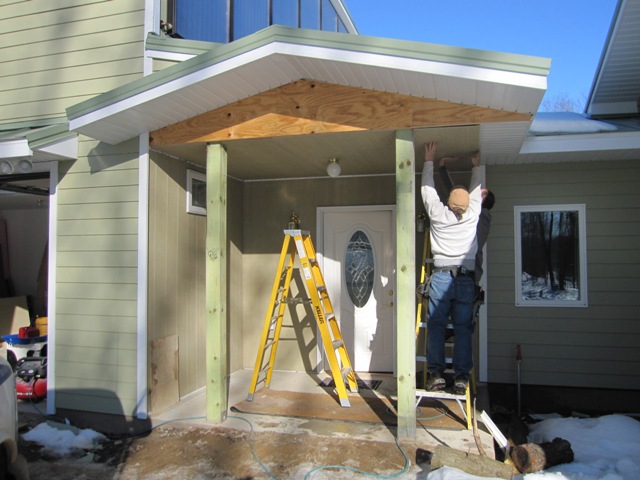
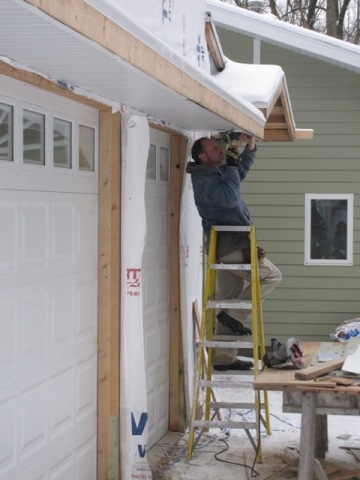
December 31, 2009
Here’s Bruce putting soffit under the eyebrow roof that extends over the garage doors, and Dan applying it to the main roof above.
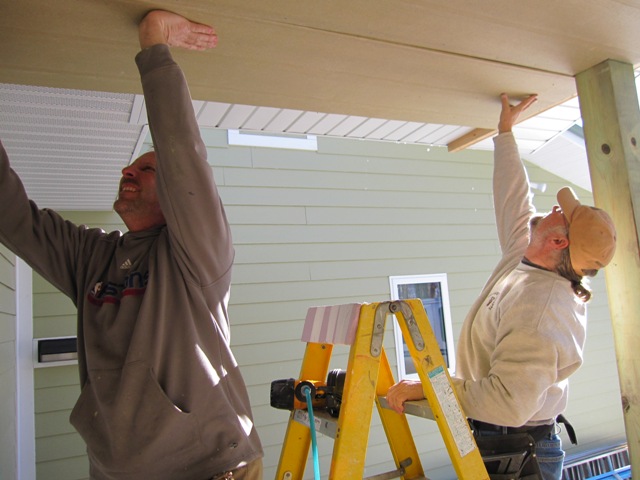
March 3, 2010
Bruce and Dan applied fibercement board to the ceiling of the front porch.