August 31, 2009
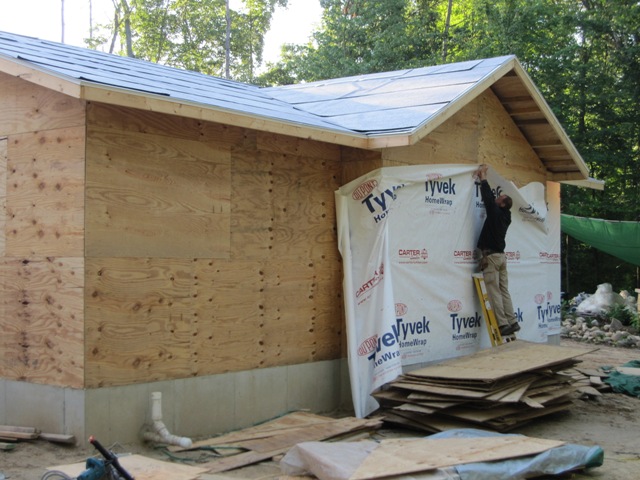
Our house is now a giant billboard advertisingTyvek and Carter Lumber. The crew applied the Tyvek to the north wall, which will help it resist the rain splatter now that the main roof is shedding water.

September 1, 2009
Here’s the Tyvek going up on the cottage, and how it looks with it done.

September 4, 2009
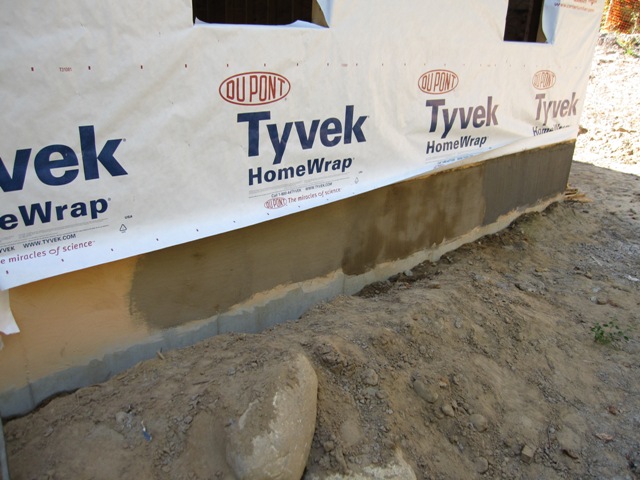
The Tyvek is now complete. These photos show the south side of the main house, and the east wall of the workshop.


September 17, 2009
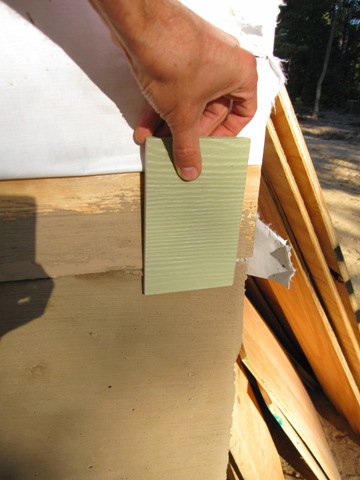
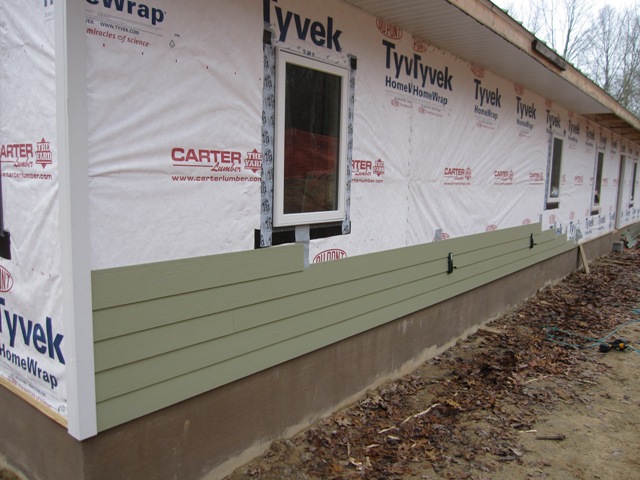
In order to improve the appearance of the concrete foundation walls below the siding, we decided to parge them using Quikrete Heavy-duty Masonry Coating with added Liquid Cement Color, both available from Lowes. We conducted a series of tests to find a reasonable mix of pigments. For our first test we used the “Buff” cement color and the result was unpleasantly peach-colored as shown on the left below. Really it looks worse than in the photo – it would look fine in Florida but not in Michigan. For the second test we added a lot of “Charcoal” color and the result was a slate gray as shown on the right. On the third try we got a decent light brown as shown in the middle, and the color matches our dirt fairly well. The blotchy area in the middle-right below was not quite dry yet.
Here’s our secret recipe for dirt-brown parge coating:
2 1/2 quarts water
1 quart Quikrete Acrylic Fortifier
8 tablespoons Buff cement color
4 tablespoons Charcoal cement color
20 pounds Heavy Duty Masonry Coating
You have to mix all the liquid ingredients first, then mix in the powered coating a little at a time. This makes a fairly thin mix, too thin for waterproofing but we only want a durable color coat and enough thickness to hide some of the concrete irregularities. Bruce skillfully applied it around the entire foundation. Eventually the top edge will be covered by the siding and the bottom edge will be covered by topsoil, with only about a foot exposed. Here’s the parging being applied, and how it looks with the “heathered moss” color ofHardiePlank siding:

October 1, 2009
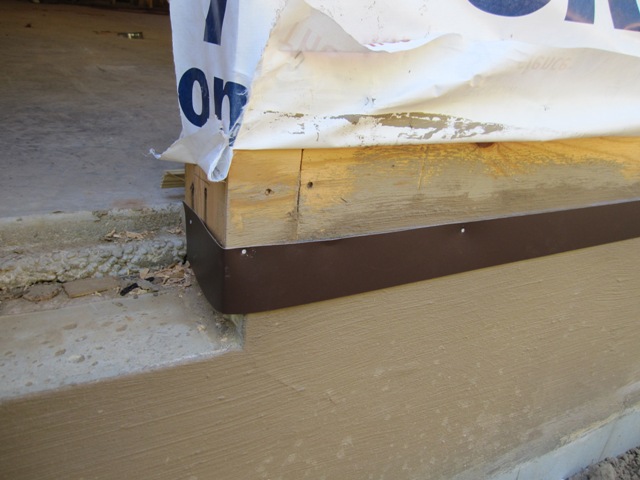
The joint where the plywood sheathing meets the concrete foundation is a likely place for water intrusion, because any water that makes it past the siding will run down the Tyvek and it ends right at the bottom of the plywood. To prevent water from seeping in at this joint, we had Dan and Bruce install a 3″ band of aluminum flashing all around the perimeter. The Tyvek laps over the flashing so any water running down is prevented from reaching the sheathing. The siding will come down almost to the bottom of this flashing.

October 29, 2009
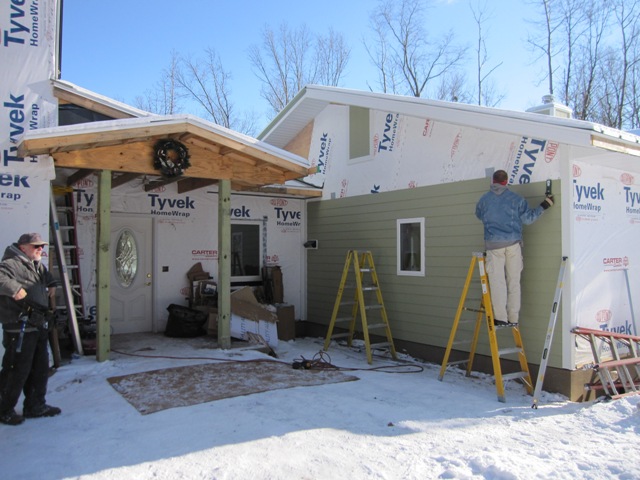
Dan and Bruce started applying the vertical siding to the wall that will hold the solar heat collectors.Then they moved on to the small adjacent wall, applying the horizontal siding that will cover most of the house.

Here’s the finished wall, all ready for the solar heat collectors. This wall is right above the south end of the garage. On the right hand side is the small triangular wall that holds the outlet vents for the heat recovery ventilator, clothes dryer, and plumbing drains.

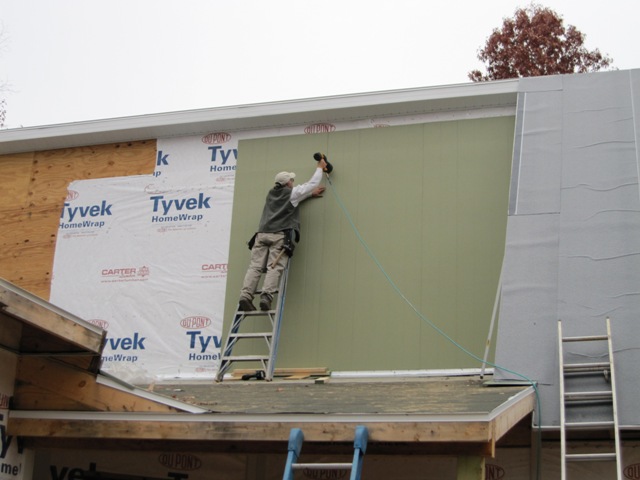
November 24, 2009
Dan and Bruce began applying siding to the north wall of the house. If you look closely in the photo below and the next one you can see the dark green clamps that grip the siding boards in order to position the next row at the proper spacing. The siding is blind nailed so each piece covers the nails of the piece below it.
Here’s a detail of the flashing around a window. The strips around the window are self-adhesive flashing material, and the Tyvec laps over it at the top. This creates a drainage plane behind the siding and fully surrounding the window. You can also see the self-adhesive flashing that goes behind each vertical butt joint in the siding. There’s no caulking at these joints, so the flashing strips behind the joints direct water out of the wall.

December 2, 2009
With today’s nice weather, Dan and Bruce made a lot of progress on the siding. The first photo below shows the east gable of the cottage, on the front of its enclosed porch.The big empty space over the windows will hold artwork of some kind but we haven’t yet decided what it will be. The second photo below shows the east wall of theworkshop. They finished detailing the clerestory windows above so we’re finally ready for the roofing over the sun porch and lanai.


December 29, 2009
We had nice sunny weather today, and Dan and Bruce sided the north wall of the cottage, just to the right of the front porch.
January 16, 2010
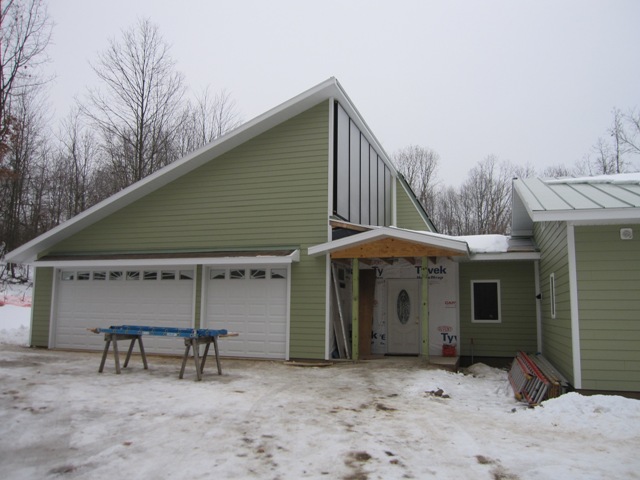
The siding is finally done on the east side of the house, except on the front porch where we’ll use a different color. The first photo shows the view looking northeast up the driveway, and the second shows the front porch and front door. We’re really tired of seeing the word Tyvek!

January 20, 2010
Dan and Bruceapplied the siding to the front of the dining room around the big windows, finally covering up that ugly pink foam! It sure makes the south face of the house look a lot better without all that pink showing.

