August 28, 2012
As we’ve expanded the gardens and vineyard we need space to store all our garden equipment, and also a dry place to store our firewood for the winter. So we decided to put a shed addition on the east side of the workshop, where it will be convenient to garden activities and also easily accessible from the shop. It’s going to be a simple structure, 24×14 feet with a deck-like floor and a sloping roof.
The first step was to dig holes for the four footings that will support the structure. The building inspector recommended that we design for additional weight due to the likelihood of snow drifting on the shallow roof, so the footings need to be pretty big. We rented a small backhoe to make the digging easier.


After a few hours Dan had all four holes dug to a depth of 42 inches as required.


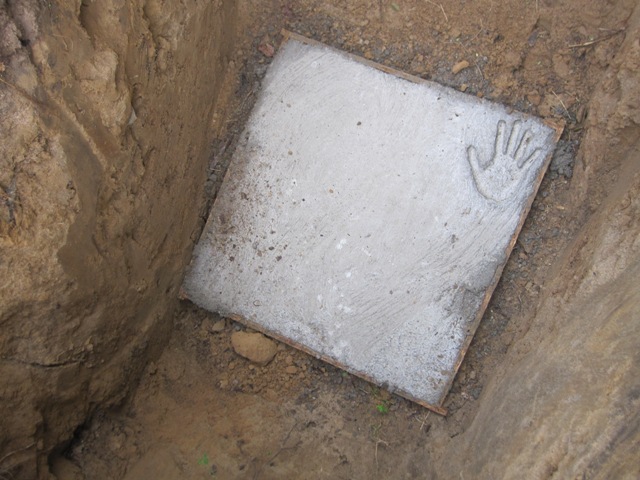
Into each footing hole goes a plywood form that’s about 29 inches square and 6 inches high. Strictly speaking we could meet code requirements with footings a few inches smaller, but making them a little bigger than required takes minimal extra time and concrete, and it will give us a little more leeway when positioning the posts.

September 4, 2012
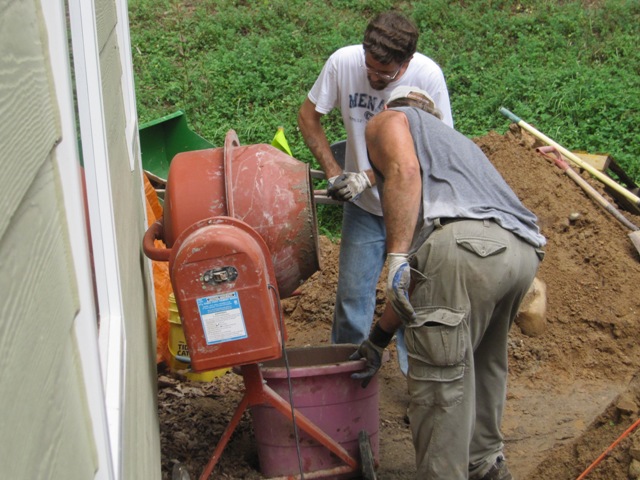
Jay and Dan mixed and poured the concrete for the footings.We used a basic bagged concrete mix, nothing special, and it took a total of 26 sixty-pound bags for the four footings.

By the next morning the concrete was set up well.
September 6, 2012
Dan drilled 1/2″ holes into the concrete stem wall of the shop, and attached a ledger with concrete anchors. Before attaching the ledger he liberally caulked behind it at the top, to prevent moisture and insects from migrating into the structure of the wall. All of the wood at or below floor level is pressure-treated.

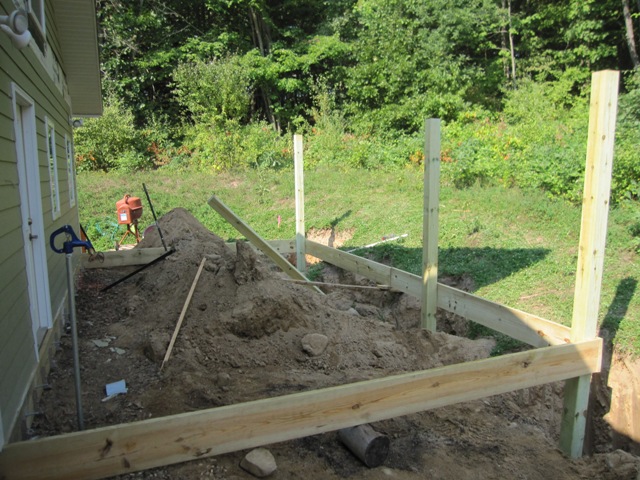
We stood up the posts on their footings, and temporarily attached a few floor joists and the beam in front using small screws, strong enough to hold the boards in place but allowing easy repositioning. We nudged the posts back and forth to get them plumb and to get the whole frame level and square.

September 7, 2012
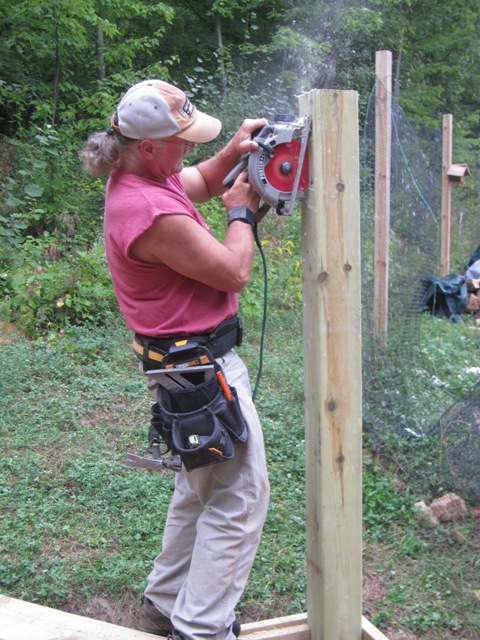
After carefully marking out the cut lines, Dan cut the posts to length and notched them to receive the upper beam that will support the roof.
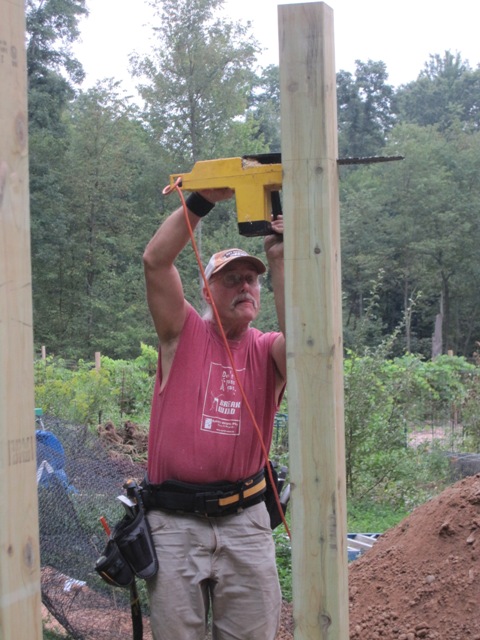
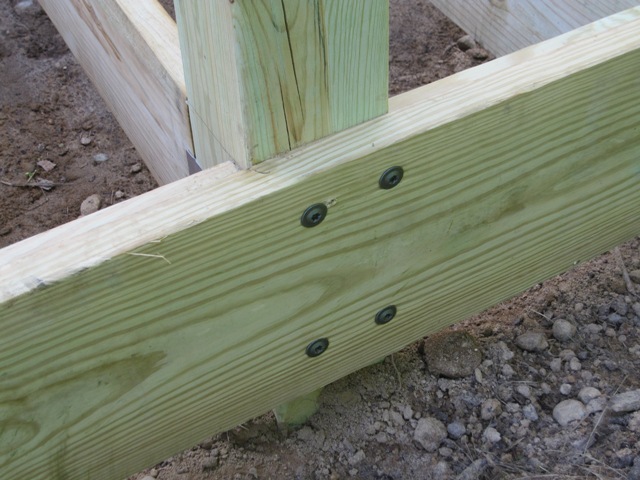
We set the upper beam, which is made from two 2×12’s, and tacked it up with small screws. Once it was all in place, we went back and readjusted the posts to get everything as level and square as possible. Then we anchored the beams solidly to the posts using heavy “power lag” construction screws that are rated for outdoor use on treated wood. The upper beam sits in notches in the posts so the screws just keep it in place and don’t support any weight, but the lower beam is directly supported by the lag screws shown in the second photo below. These screws will carry half the floor load so we used four 3/8″ lags in each post, which will put a maximum shear load of about 500 pounds on each screw and they should be plenty strong.

With the posts and beams solidly anchored together, we started backfilling the footing holes and tamping the sand down around the posts as we filled them. We filled the first one before removing the outside floor joist so the tractor could reach the next, and Dan kept checking the posts with a level to make sure we were keeping them plumb.


Once all the holes were filled, Jay graded the area so that water can drain away from the back of the house on the north side, under the shed on the east side, and down into the garden to the south. We don’t often get rain heavy enough to have surface water moving like this, but occasionally we get a downpour strong enough to create a small “river” so we want to make sure it’s directed away from the structure and won’t pool anywhere.

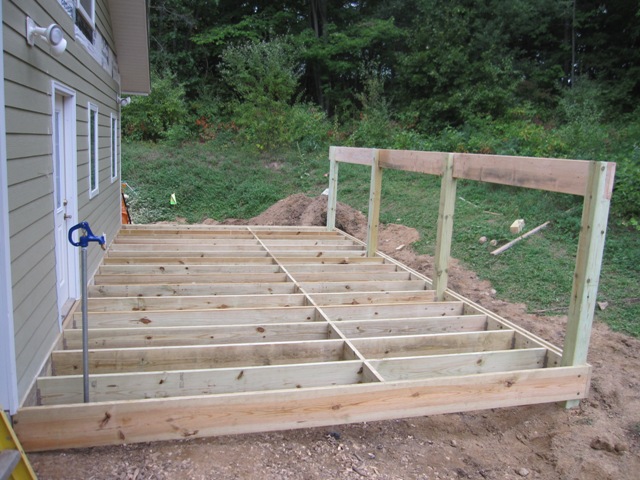
Once the filling and grading was done, Dan cut and fit the floor joists. They went up pretty fast, and it’s starting to look like a floor now. The blocking near the center of the joists keeps them from twisting, and it will also support one seam of the plywood floor. We’ll put in lighter-weight blocking where the other two seams will be, so the plywood will be supported on all edges. As you can see in the photos below, the outer frame members sit 3/4″ higher than the floor joists so the edges of the plywood will be covered on all sides.

September 11, 2012
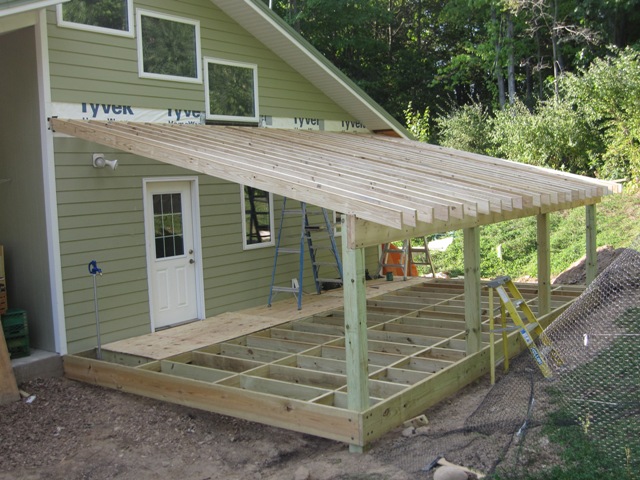
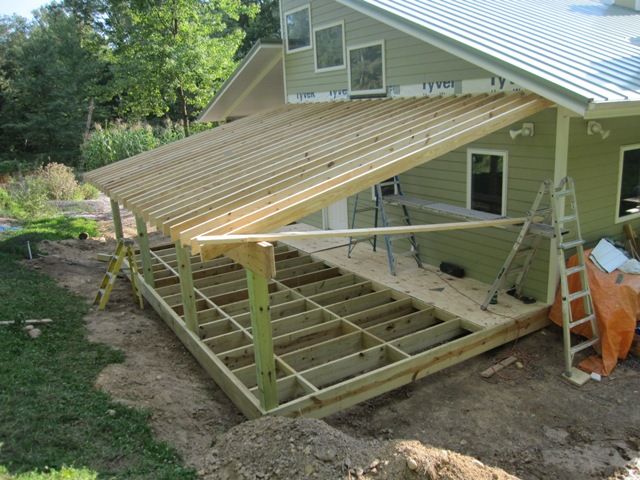
To support the roof Dan attached a ledger to the side of the house, anchoring it into the wall studs with heavy construction lag screws. Then he started cutting and fitting the rafters. The window above limits how high we can put the roof, and in order to maintain at least a 3/12 pitch the rafters get a bit low on the east side (to the right in these photos). In order to maximize the headroom we used 2×6 rafters spaced 12″ on center, which takes more rafters than if we’d used 2×8’s but it gives us 2 inches more headroom.


By the end of the day Dan had laid all the rafters in place and the roof had taken shape. Next we need to get them all securely anchored down and have the framing inspected before we can apply the floor and roof sheathing.
September 12, 2012
Dan attached the fascia to the front of the rafters, while Jay installed “hurricane straps” as required by code to anchor the roof to the wall.


Then we moved on to the roof. Dan nailed on the sheathing and it went up pretty fast.


September 13, 2012
We used a peel-and-stick roof underlayment that’s meant for use under metal roofing. It has a white non-skid coating so that it’s relatively safe to walk on, and it sheds water so it will work as a waterproof roof temporarily until the metal roofing is installed.

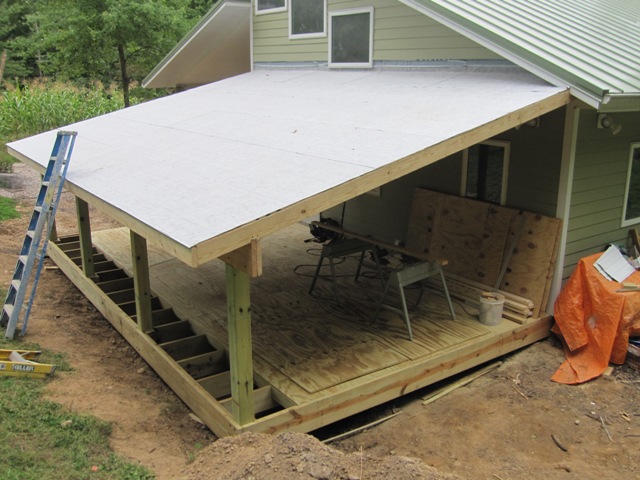
Dan started working on the floor, screwing down the treated 3/4″ plywood to the floor joists and blocking.


Around the bottom Dan attached some of the fencing material that we had left over from the deer fence, to prevent animals from crawling under the floor. The bottom edge is buried under the dirt and flared outward so it will be relatively difficult for anything to dig under it.

October 1, 2012
After Dan finished the floor and added the front wall and doorway, we stacked our firewood along the east side where it should get enough airflow to dry well. Once the wall was in place and covered with plywood sheathing, it was fairly dark inside so we decided to add a window to let more light in.

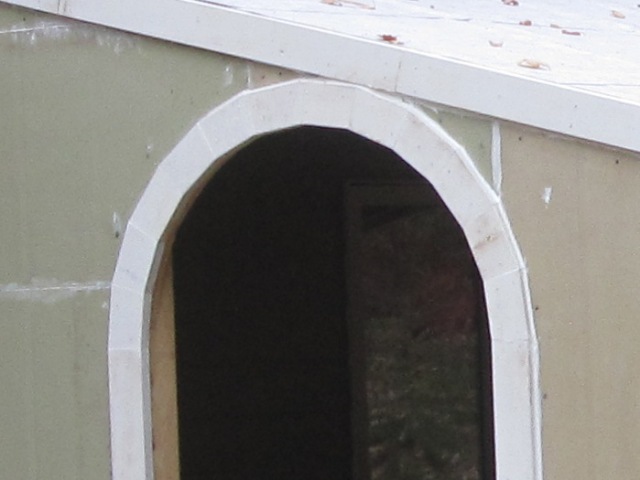
Dan framed in an opening to fit a window that we had salvaged from an old storm door, and boxed it in with fiber cement trim board to match the rest of the house. This makes it a lot lighter inside the shed.


October 2, 2012
Dan finished up the trim and siding today. He pieced together some leftover pieces of fiber cement siding board so it looks a bit odd but once it is painted it should look seamless and match the rest of the house. He had to cut and fit 12 trapezoidal segments of 1×3″ fiber cement trim board to make the arch. We’re still waiting for the roofers to come install the metal roofing so the “roof” is still just the peel-and-stick underlayment but it’s rated for a few months of exposure and it should hold up until it’s covered with metal.

October 4, 2012
The roofers installed the metal roofing today. It went up pretty fast except for the corner where it meets the soffit of the shop roof, which required some cutting and fitting.
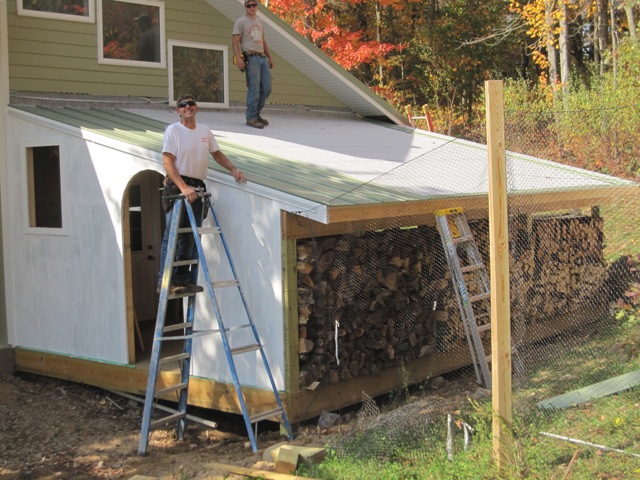
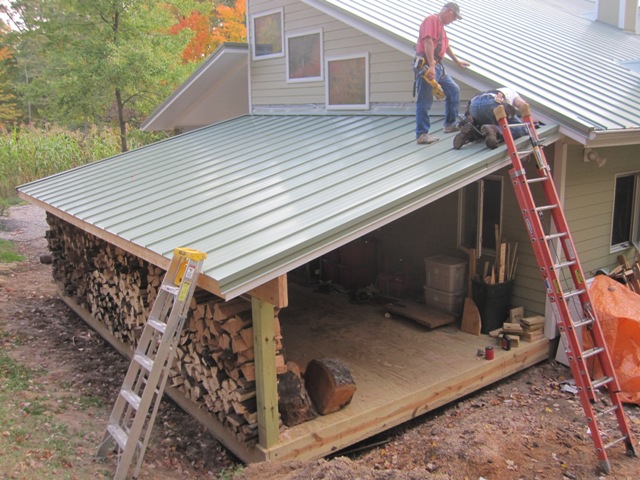
While the roofers were roofing, Jay primed and painted the front wall. It’s pretty much finished now except for some flashing on the fascia and beam, and replacing the last row of siding above the roof.
