July 10, 2009
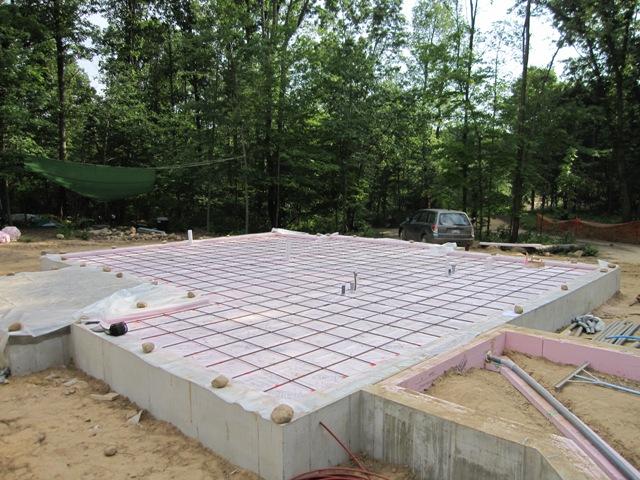
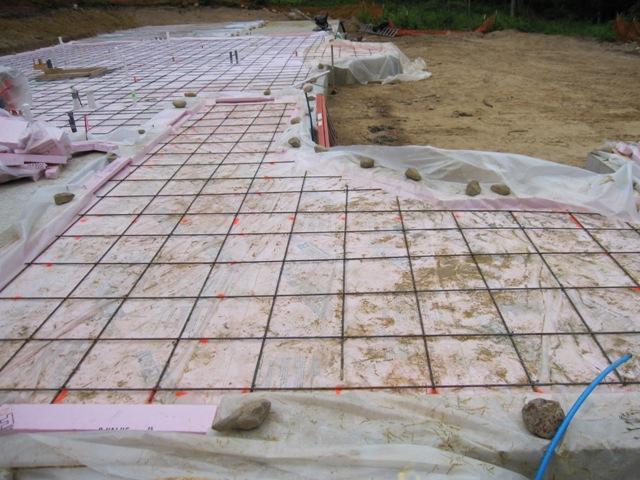
The concrete crew laid down a grid of 3/8″ rebar in the cottage. The bars are 18″ apart, and they will hold the tubing for the in-floor heat. They also provide some reinforcement to the concrete slab, which will reduce its tendency to crack and shift, but the main purpose of the rebar is to hold the heat tubing while the concrete is being poured.

July 14, 2009
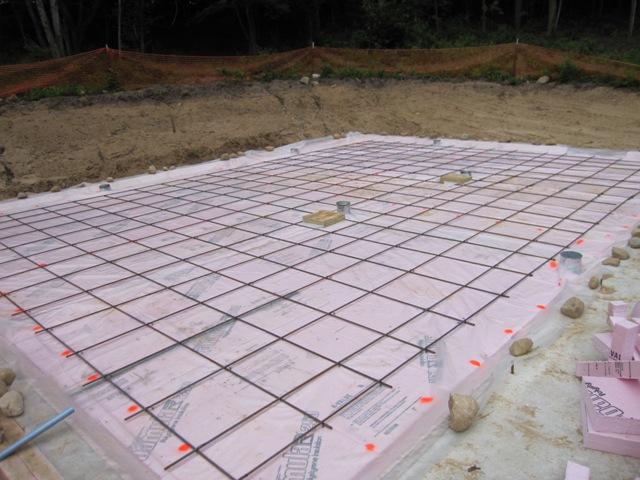
The rebar in the workshop was laid in an 18″ grid like that of the cottage.
July 15, 2009
We had some heavy rain, which left quite a bit of water on top of the plastic. This photo shows Liz vacuuming the water from the cottage with a wet/dry shop vac. A little bit of water won’t hurt the concrete, but if we were to pour it with deep puddles the excess water would weaken the concrete and make it more likely to crack.

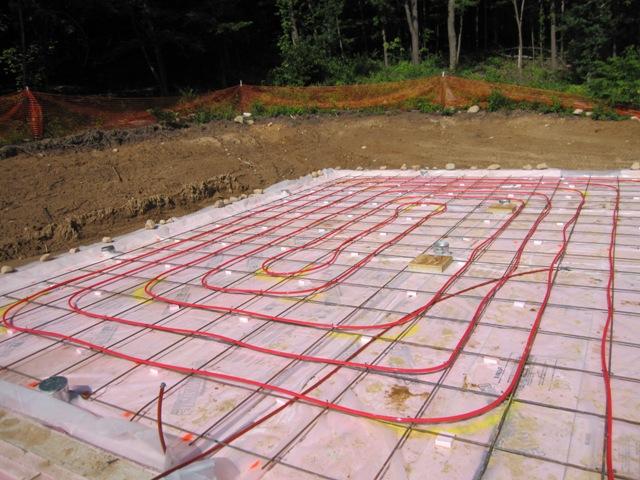
We laid the heat tubing into the workshop, tying it to the rebar with wire. We don’t actually plan to heat the workshop with this tubing, but it’s relatively cheap to put it in now and impossible later so we put it in anyway. We may be able to partially heat the shop in the spring and fall when we have excess solar heat, but we don’t expect to have enough solar heat through the winter so we’ll have to rely on the wood stove to heat the shop when it’s really cold.
July 16, 2009
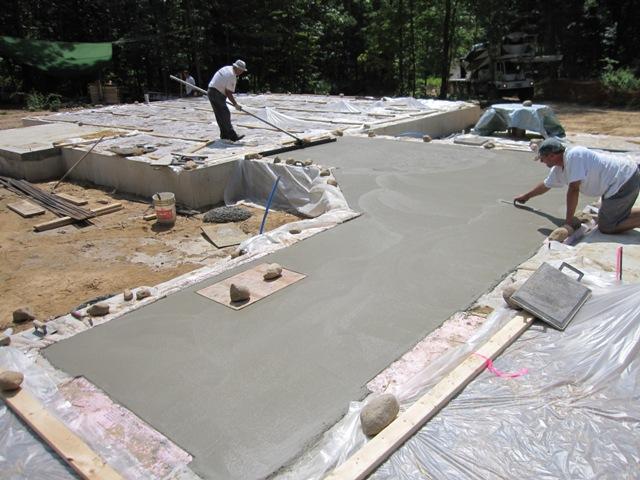
The concrete crew poured the workshop floor slab, which took two truck loads of concrete.


They leveled the concrete with a screed and then floated it smooth. The metal “cans” are the dust collection ducts, which stick out of the floor by about an inch. After the floor is done we’ll cut and grind these down flush with the floor.


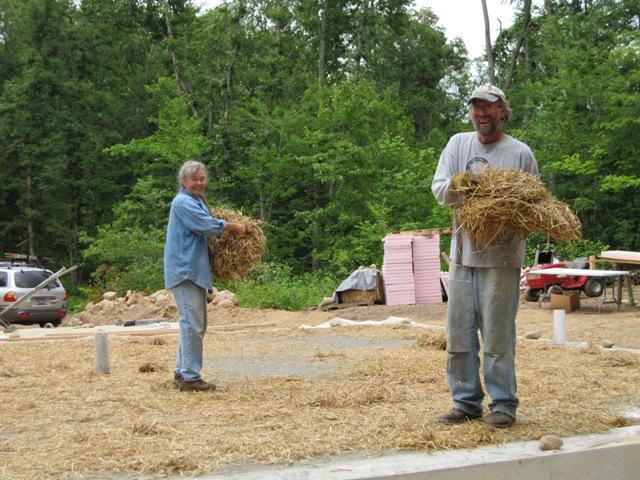
As the concrete hardened they troweled it smooth. As soon as it was done we spread straw across it and covered it with plastic to keep the concrete moist while it cures.


After the shop was done they poured the concrete floor for the cottage shower. This sits 3 inches below the main floor, and it will take a shower base with tile that sits just below the floor level. The shower is not quite this big, so the main slab will extend over this one somewhat. The heat tubes go right down into the shower base so they’ll keep it warm, since this is an outside corner of the cottage where it might get cool.

July 17, 2009
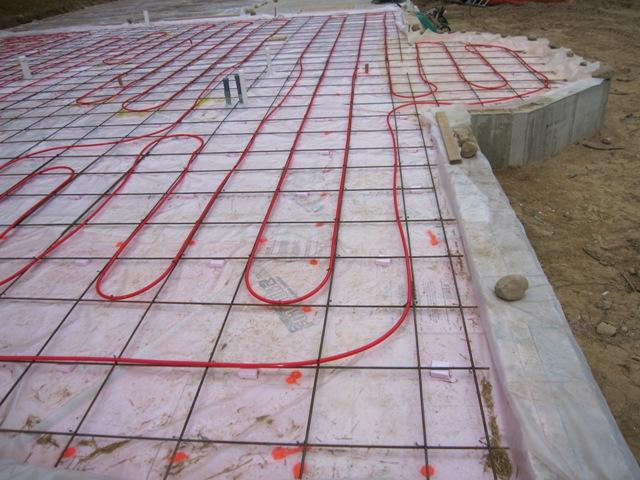
The first photo below shows the heat tubing runs going from the mechanical room out to the cottage, under the entryway floor. The second photo shows the heat tubes in the cottage.The tubes are spaced 18″ apart, which is much farther apart than is typically done in a radiant floor slab, but this house will have so much insulation that it will require very little supplemental heat so we can space the tubes this far apart and still get sufficient heat into the house when needed. The tubing has an inside diameter of 5/8″, which gives significantly more heat flow than the more common 1/2″ tubing and that will allow us to heat with lower temperature water, which lets us extract more useable heat out of the solar collectors.


Pouring the cottage slab was much like pouring the workshop.


The crew screeded the concrete as they went, and used the power screed (in the second photo) to level the concrete and also to vibrate it to eliminate voids under the heat tubes and rebar.


In front of the shower we had them form an area that is slightly lower than the main floor and slopes down into the shower. We’ll tile this area so that any water splashed out of the shower will run back in.

After all the concrete was placed, they troweled it to make a smooth surface. We want it basically smooth, but not so smooth that it will be slippery when wet.


This shows the heating manifolds that will supply hot water to the tubing. The one for the cottage is on the left, and the one on the right will supply the entryway and the main house. While the concrete was being poured, we kept the system pressurized with air so that any damage to the tubing would be detected immediately. The concrete crew was careful and no damage occurred, nor was it likely since there are no splices under the floor, but seeing pressure on the gauge was reassuring.

As soon as the cottage floor was finished we spread straw on it, and then covered it with plastic to keep it moist. It will stay that way for about a week while the concrete cures. We hope this will reduce the tendency of the slab to crack, but some minor cracks are likely because the concrete shrinks as it cures. We decided to accept some random cracking, rather than cutting control joints into the concrete. Control joints cause it to crack along straight lines, but cutting them would risk damaging the heating tubes. Some people put the tubes way on the bottom of the slab so that control joints can be cut above them, but they transfer heat more efficiently in the middle of the slab where we have them.
After the crew was finished with the cottage slab they placed the rebar grid in the main house and entryway.

July 18, 2009
We laid three loops of tubing in the main house. One loop covers the three bedrooms, the second loop covers the living room and kitchen, and the third loop covers the dining room and in front of the south windows. Each loop is a few hundred feet long.

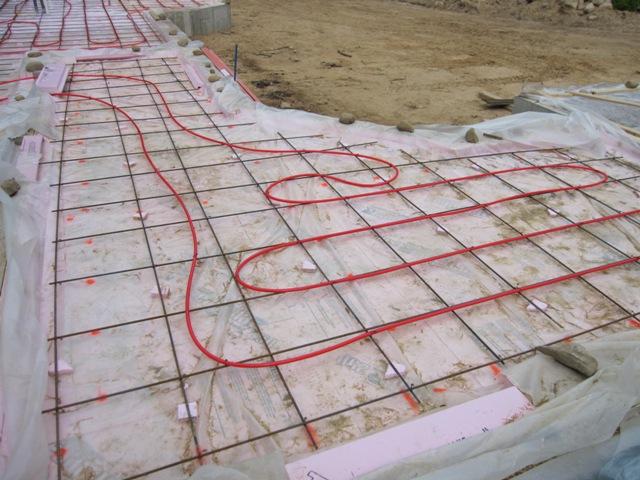
We put a short loop of tubing in the entryway. We don’t plan to heat this area as much as the rest of the house so it doesn’t take much tubing, but this should keep it from getting too cold. We plan to store coats and boots out here, so we don’t want them freezing cold in the winter.
This photo shows the tubes leading into heating manifolds that will distribute warm water to all parts of the house. They have balancing valves that let us adjust the flow to each loop, and the two manifolds will have separate pumps controlled by separate thermostats in the cottage and the main house. The 5/8″ tubing has an outside diameter of 3/4″, and we pushed it through 3/4″ conduit elbows to make the right-angle bends without kinking the tubing. Pushing it through is difficult but it works very well.

Before pouring the main house slab, we placed anchor bolts where some of the interior walls will be. Bolting down these interior walls that are perpendicular to the long back wall will give it a lot of lateral support.

July 20, 2009
At long last it was time to pour the main slab. It was poured much like the others, except that it’s rather big so they had two concrete trucks going simultaneously.

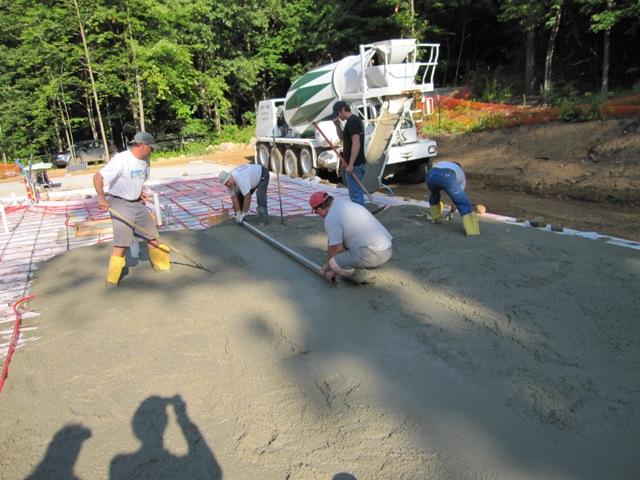
This was a big job so they needed a crew of 5 to get it done.


Around the edge of the slab that will support the hot water tank, we had them form a dam to contain any water that might leak (unlikely as it may be). We’ll grind down this dam near the floor drain in the mechanical room, and arrange it so that any leaks will be directed to the floor drain. With 2500 gallons of hot water, we want to prevent any spills from coming into the house. As the concrete hardened they troweled it to a smooth finish.


The entryway slab was poured last of all, and due to a slight miscalculation they ended up short on concrete and had to order another yard. The first photo below shows them placing the final yard and blending it in to the rest of the slab. This will probably be visible in the finished slab but most likely no one else will notice.

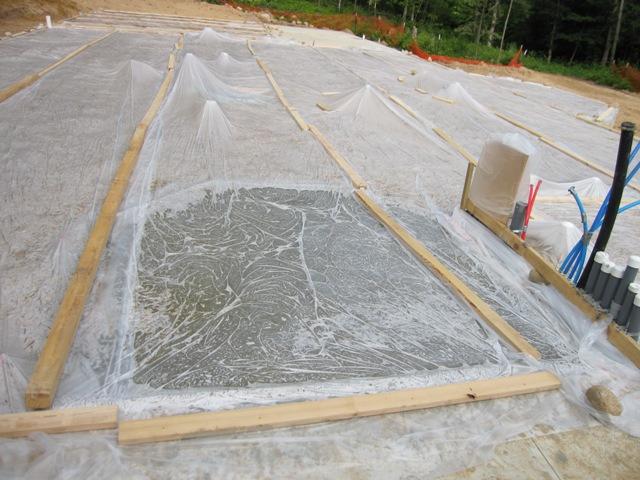
With all the concrete in place, we spread straw onto it and covered it all with plastic to cure. In this photo you can see the hot water tank area, which we didn’t bother to cover with straw. As you can see, the creases in the plastic mean that some parts are cured in contact with water and some aren’t, which causes a visible pattern in the surface. It’s somewhat attractive in this spot but in general it won’t look good, which is why we use straw in all the areas that will be visible.
July 23, 2009
Today the workshop floor had cured for a week so we removed the plastic and swept off the straw. Overall it looks good, although the areas around the central duct openings are noticeably lighter in color than the rest. Presumably this is because they had to hand trowel these areas, whereas the rest of the floor was finished with the power trowel. Hopefully it won’t be this noticeable in the similar areas of the main house slab.

July 24, 2009
The cottage had cured for a week so we removed the plastic and straw. In general the straw pattern looks nice in the floor. Some areas are darker and the straw pattern doesn’t show as well, but at least they don’t show a pattern of creases from the plastic.

