Back to Main Kitchen Countertops
August 18, 2010
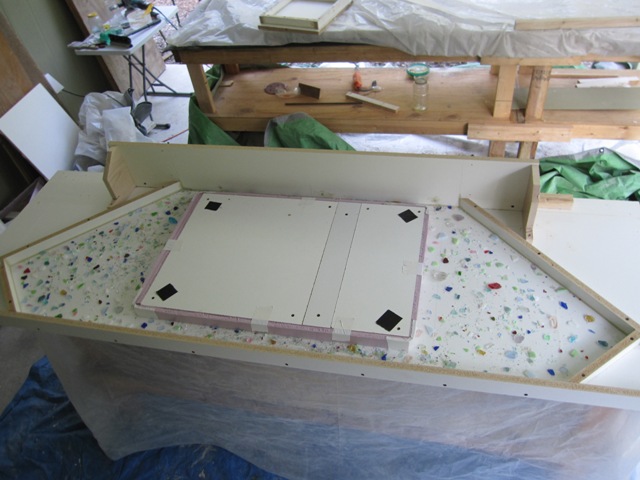
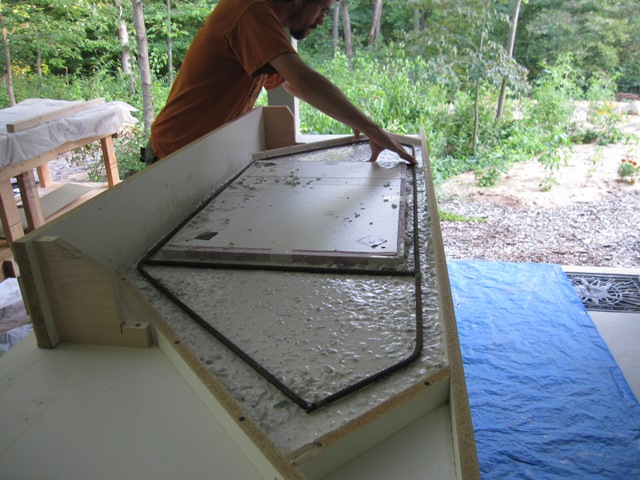
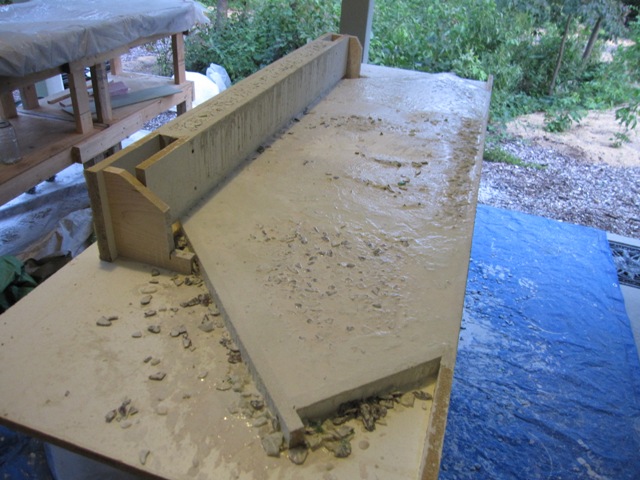
This 6-sided segment will hold the main kitchen sink, with a 7.5-inch dropped apron in front. The first photo below shows the glued up template on top of the base cabinets. After making the template, we flipped it over and used it to make the mold the right shape. The second photo below shows the finished mold with confetti glass sprinkled into it, read to pour the concrete. The side closest to the camera will go along the wall, and on the far side you can see the outer wall of the “chimney” that will form the dropped apron in front of the sink.

August 19, 2010
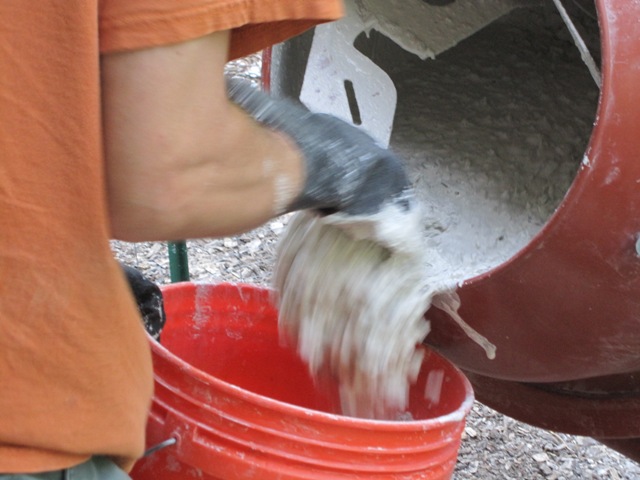
We mixed the concrete using the same proportions of ingredients as the last (north) countertop, but it came out quite a bit more fluid. Maybe we incorrectly measured one of the ingredients or maybe we just mixed it a little longer, but it was quite soupy. We quickly went back and double-checked the ingredient list, and confirmed that we had the same recipe so we went ahead and poured it even though it seemed very wet.
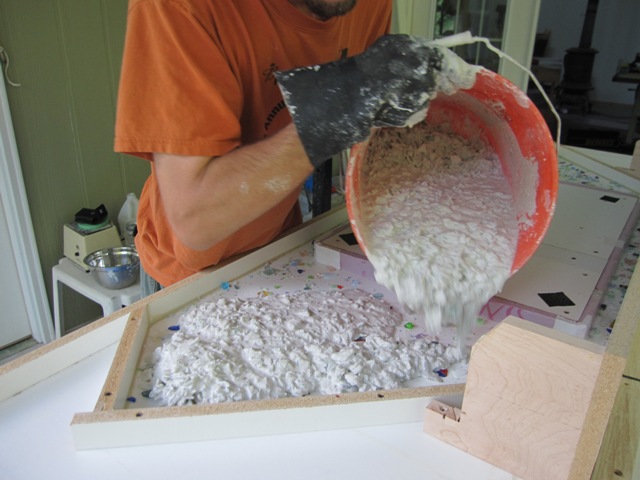
After placing about 1/2 the concrete, Jay ran the vibrator over it to remove air bubbles. Then he placed a welded-up rebar frame in the mold. Considering how wet the concrete is, it’s good that we have the extra strength of the welded rebar frame all around the sink opening to help prevent cracking. It should be plenty strong once it is installed, because it is supported by a cabinet on each side of the sink. Our main worry is that it might crack while we are removing it from the mold, when the concrete won’t have reached full strength yet.

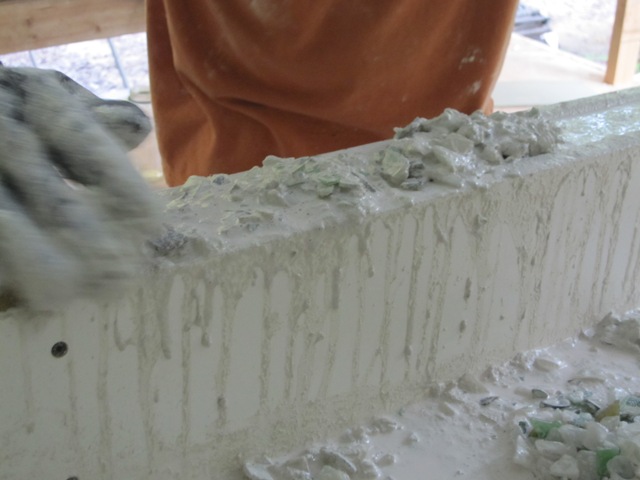
Although the concrete was quite wet on top, we did our best to screed it off level. The second photo shows the chimney being filled. This will make the apron in front of the sink, so we placed additional colored glass into it as we added layers of concrete and vibrated it.
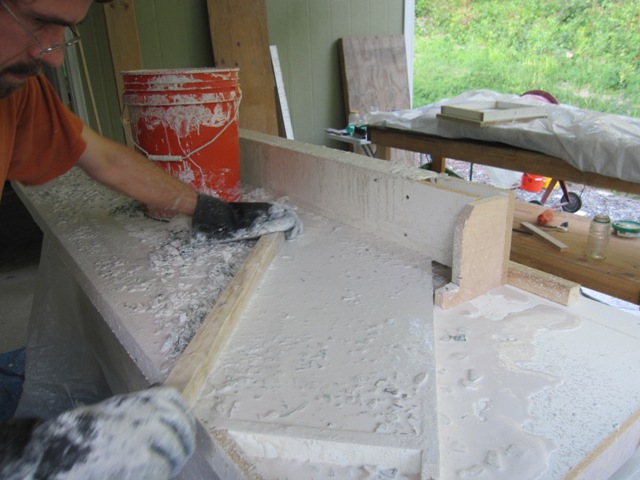
The top surface was the consistency of pea soup, way too watery to make a strong concrete. In order to save the piece, we used scrap towels to remove the excess liquid from the surface. The concrete under the soup was firm but about 1/8″ below the top of the mold, so we mixed up some mortar paste from Portland cement and sand, and troweled it up to the level of the mold. The high water content overall is still a concern but it looks like the vibration consolidated the lower layers and made the excess water rise to the top, so by removing it with towels and filling with mortar we hope we have made a strong piece. Next time we’ll cut back on the water a bit!

August 24, 2010
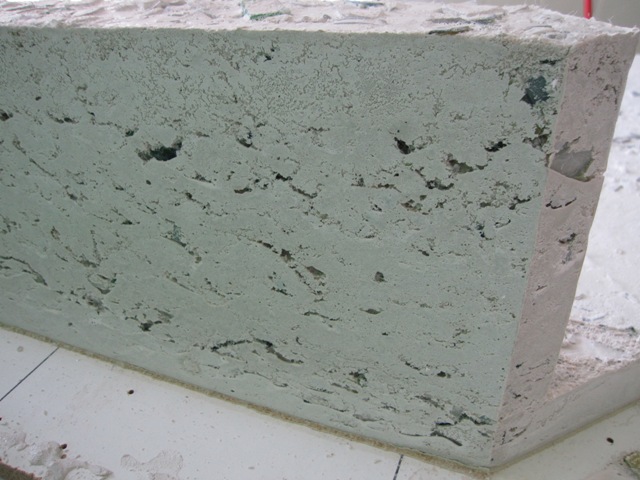
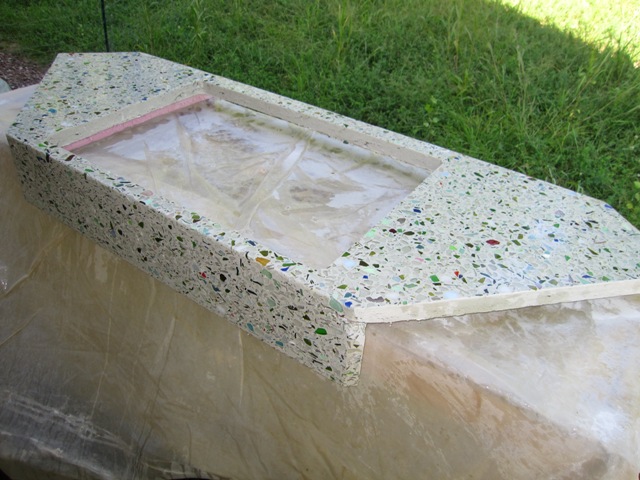
We let it cure for 5 days before removing it from the mold. This is 2 days longer than the minimum curing time, which will make it stronger and less likely to crack while we turn it over but also harder to polish. As soon as we removed the front of the mold we were disappointed in the quality of the concrete, because it shows quite a few voids in the front apron. It should be plenty strong enough, but this will mean more work to fill all these voids.
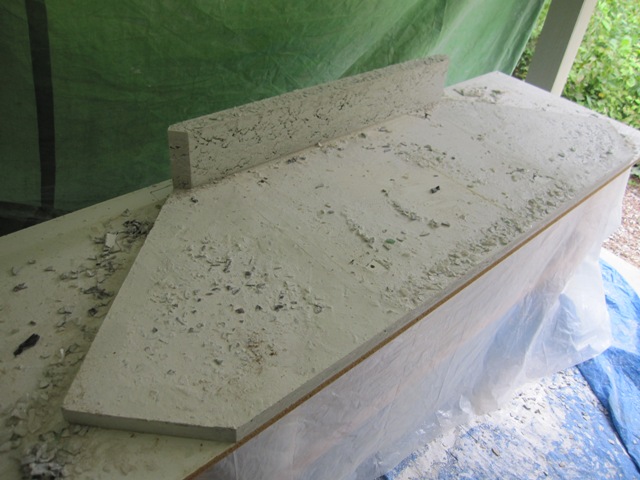
We flipped it over and removed the bottom of the mold, and were relieved to see that the top surface looks pretty good, with very few voids compared to the front apron. It doesn’t look good at this point but we won’t know how it is for sure until we grind off the outer layer.


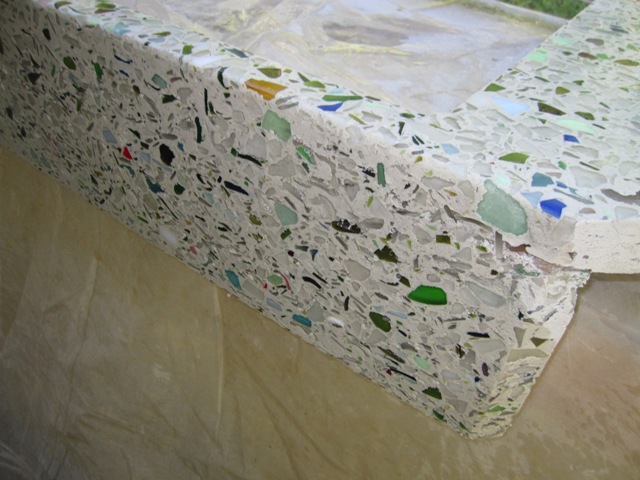
Nash spent a couple of hours grinding down to expose the glass aggregate, and overall it’s looking pretty good. In the second photo below you can see how it will look while standing just to the right of the sink.
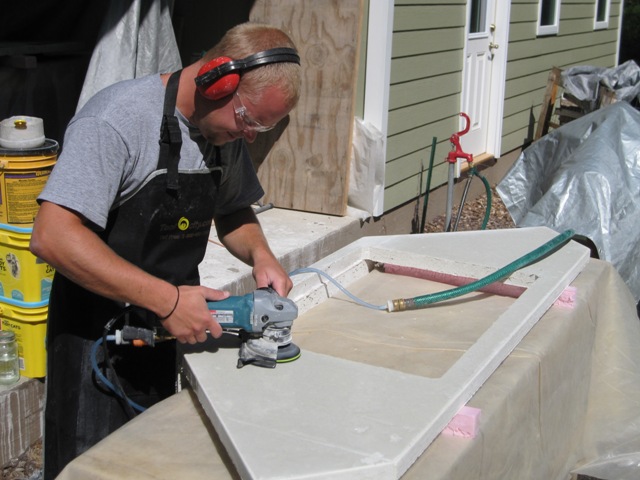
The front apron does have quite a few voids, but it’s not as bad as we had feared when we first removed it from the mold. It will be a bit of work to fill the voids but it’s definitely fixable. Next Nash will apply a slurry of Portland cement and sand to fill in all the holes, and then we’ll let it cure for a few days before polishing it again.

September 20, 2010
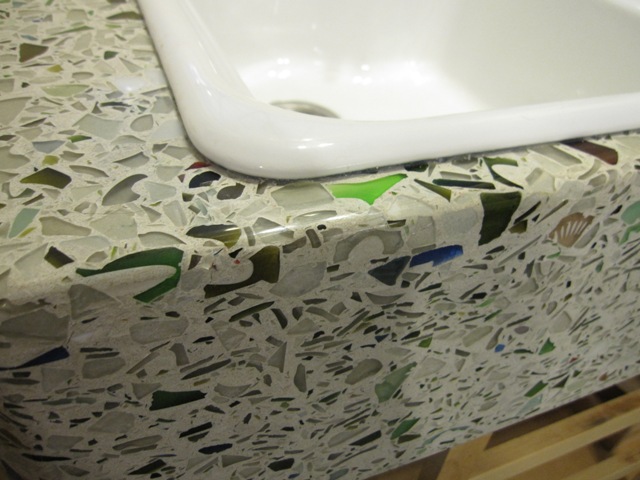
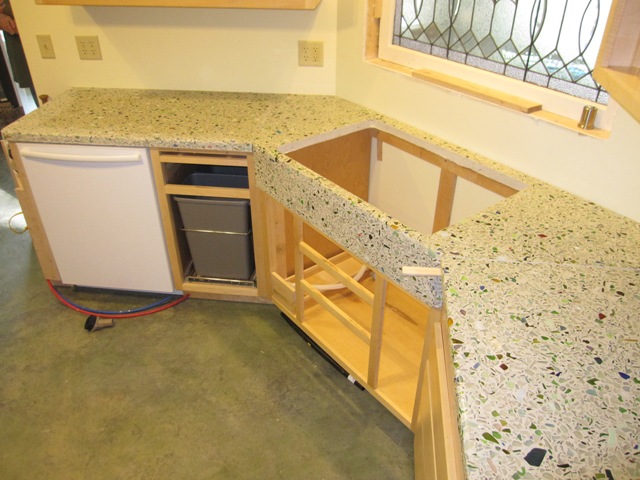
It took several coats of slurry to fill in all the voids and a lot of polishing, but at last it’s ready for installation and Ryan applied a coat of wax.

Although the south segment was not quite finished yet, we moved it into the kitchen for a temporary test fit so that we could shim up the sink segment to the proper level. Then we moved the south segment back to the polishing area, and used silicone caulk to fix the shims under the sink segment and the one to the right. Then we installed the kitchen sink.

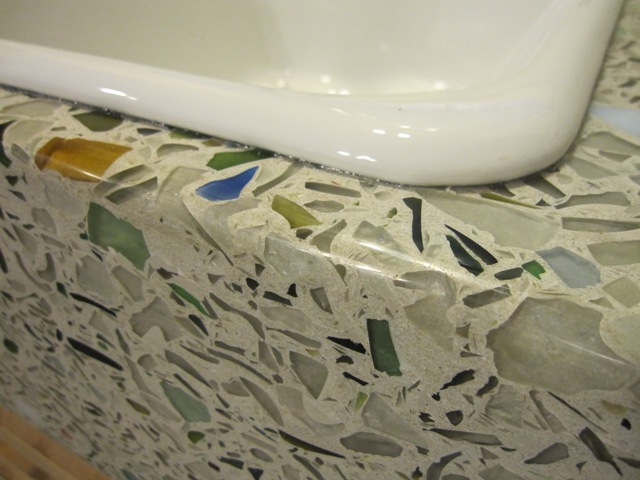
Here are a couple of close-ups showing the glass detail around the front corners of the sink. Despite the number of voids that were in the apron in front of the sink, now that they’re filled and polished you can’t even tell where they were.