Includes affiliate links that help offset our expenses at no cost to you.
Back to Main Kitchen Countertops
September 15, 2010
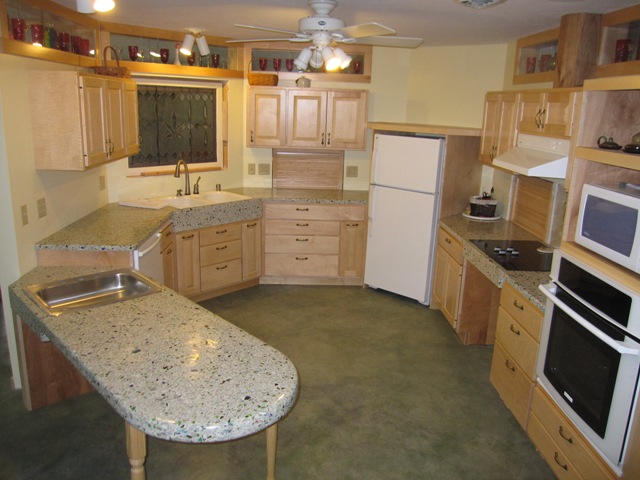
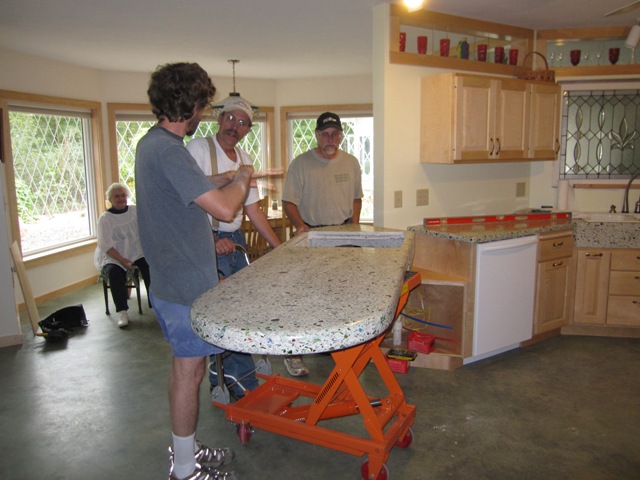
This is our magnum opus countertop! We call it a “sitting counter” because it will be placed at table height, just 30 inches from the floor, and it’s designed to accommodate wheelchair users as well as those who like to sit and give advice to the cook. It’s much like a kitchen table, except that it has its own sink and it’s attached to the base cabinets at one end to form a peninsula.
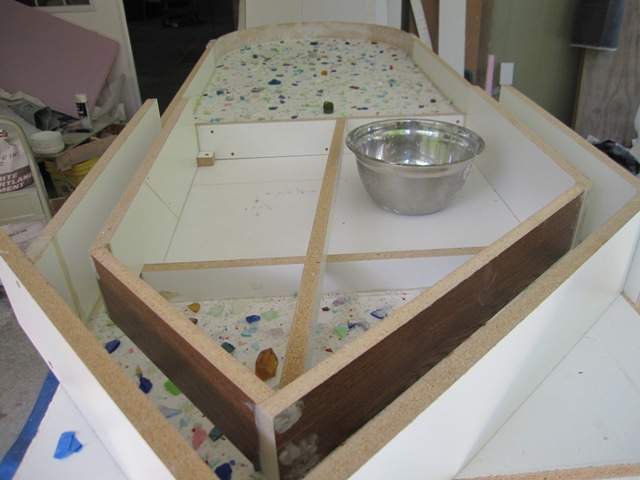
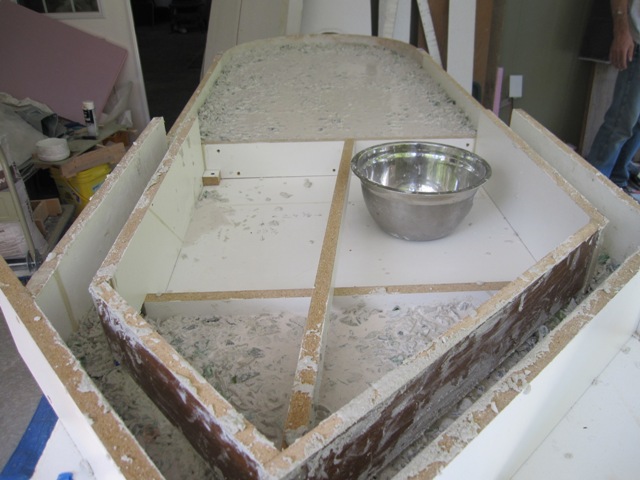
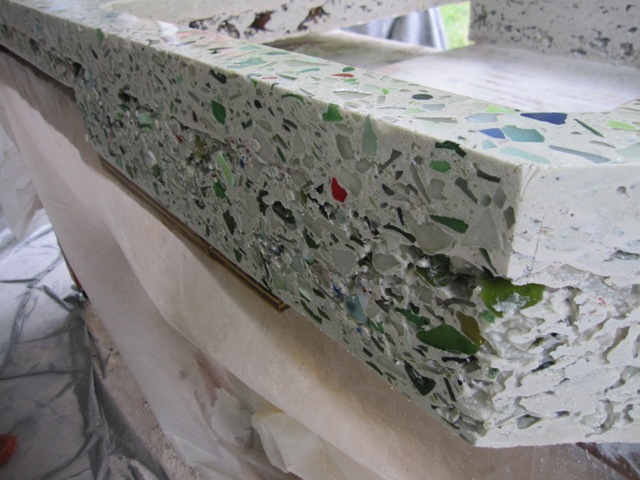
Because it will be open underneath we designed it to be extra-strong, and it’s 3 inches thick around the outside. It’s 28 inches wide and will weigh 350 pounds when finished. The mold is complicated due to the aprons on both sides of the built-in sink and the diagonal attachment to the base cabinet. In the second photo you can see the rounded front, which Jay made by cutting saw kerfs in a piece of thin plywood so that it would bend around the curve.

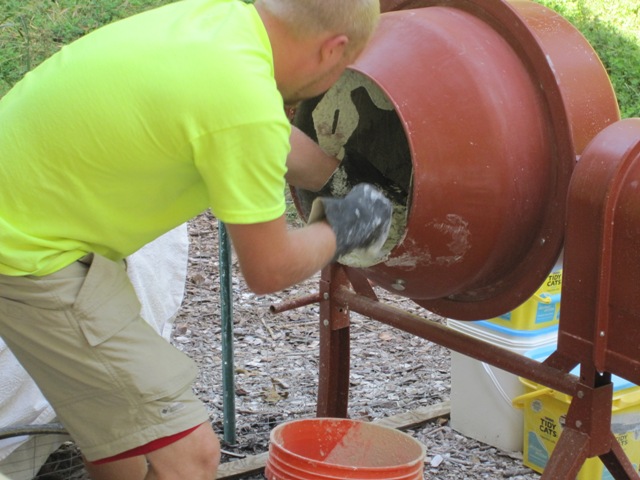
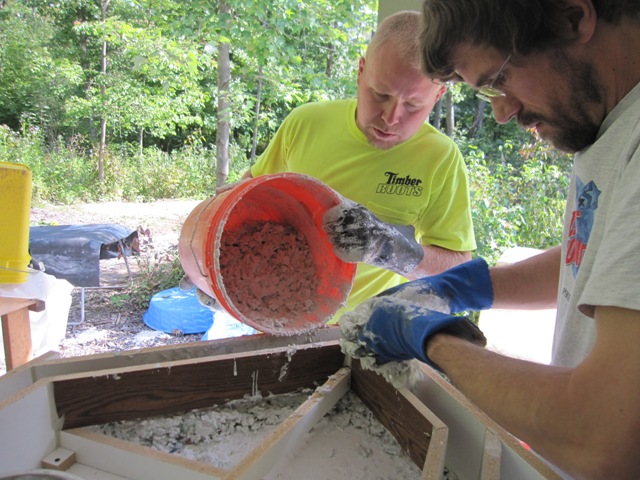
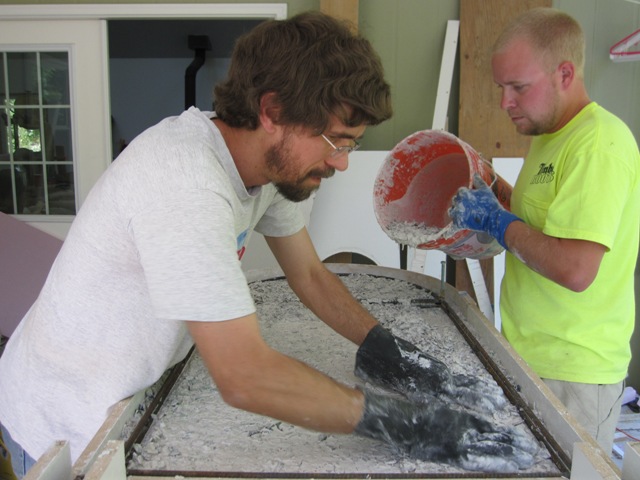
It’s a big job to weigh, mix and place this much concrete. Nash did most of the mixing and carrying while Jay spread it out in the mold.

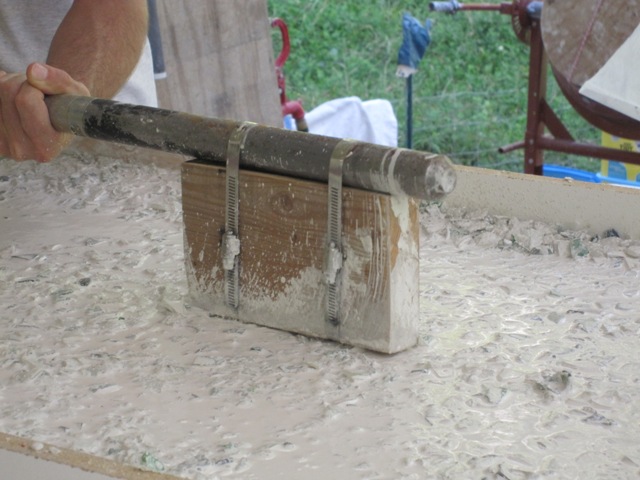
The first layer is about 1 inch thick, and we placed it all around the mold and into the bottoms of the chimneys that will form the aprons on each side. Then Jay ran the vibrator over the whole thing to consolidate it and remove bubbles.
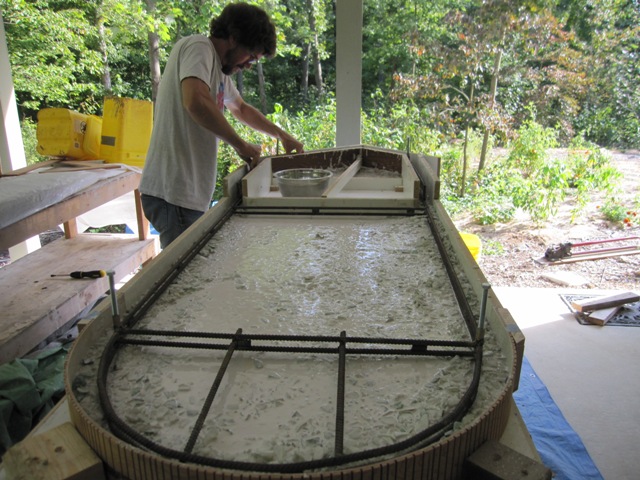
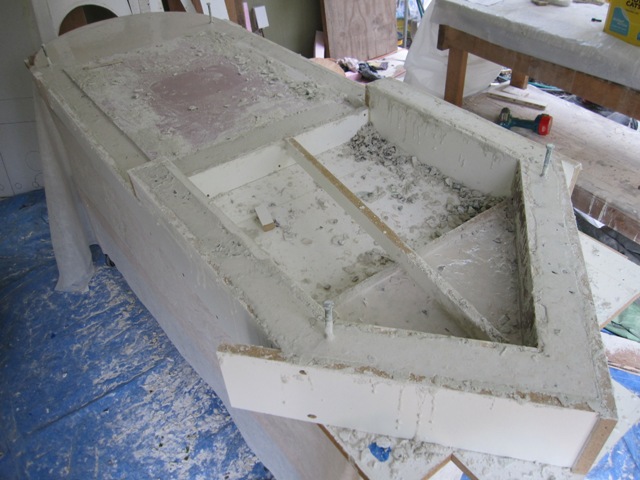
Once the first layer was in place, Nash started mixing the next batch while Jay positioned the rebar frame. This frame is welded together out of 3/8″ rebar, with double bars around the outer edges and across the middle spaced apart like an I-beam for extra strength. Additional bars extend into the aprons on each side of the sink, because otherwise this would be a weak area due to the big sink cutout in the middle. In the second photo below you can see two bolts sticking up from the rebar near the ends of the curve. These are threaded into coupling nuts that are welded to the rebar frame. Once the piece is finished, the bolts will be removed to leave threaded holes for attaching the legs that will support the free end of the countertop.
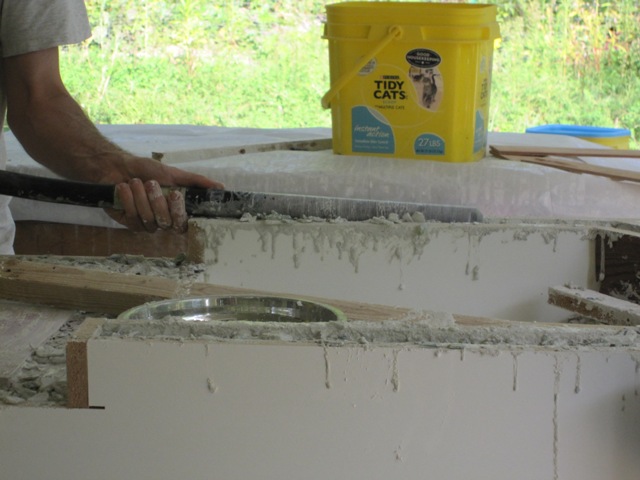
We tried a new technique for removing the excess liquid that floats to the surface after the concrete is vibrated. Using a wet/dry shop vacuum, we were able to remove the liquid quite effectively. It’s important to thoroughly wash out the shop-vac and the hose afterward!


The pointed end of the countertop will rest on a low wedge-shaped base cabinet, and the rebar frame has threaded attachment points here so we can bolt the countertop down to the base cabinet.

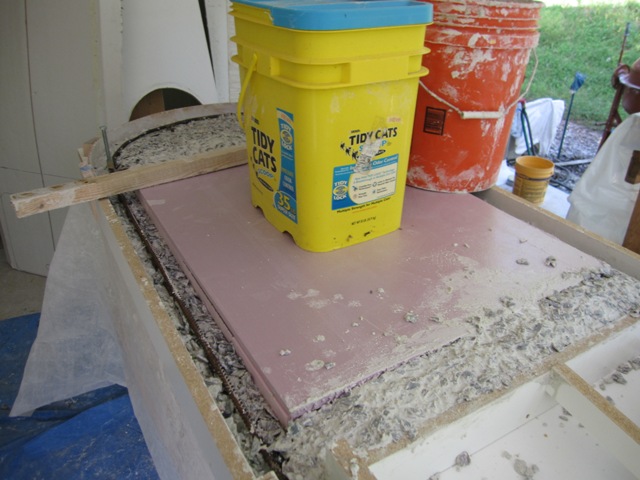
We placed the second layer of concrete, mixed from brown bottle glass, to bring the level up to about 1.5 inches. Then we set a foam rectangle into the middle. This will make the middle section only 1.5 inches thick instead of 3 inches, which saves about 100 pounds. It will also provide a protected space for an electrical outlet strip underneath the countertop. We placed a weight on top of the foam to keep it from floating upward if some liquid seeps underneath.
The third and final batch of concrete was mixed with clear and green glass like the first batch because it will be visible. We packed it around the edges and into the chimneys and then vibrated to consolidate it.

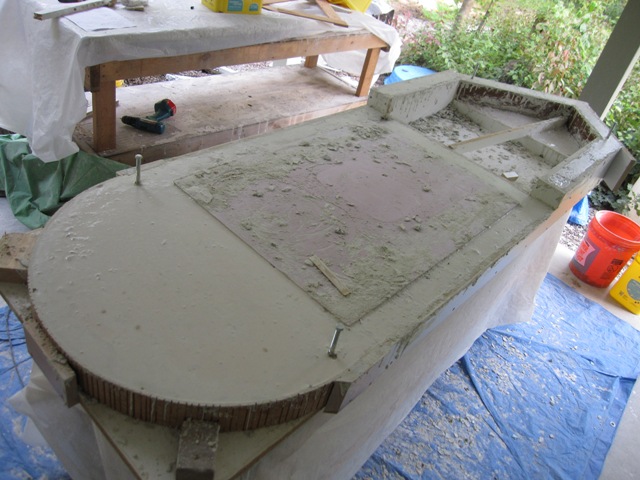
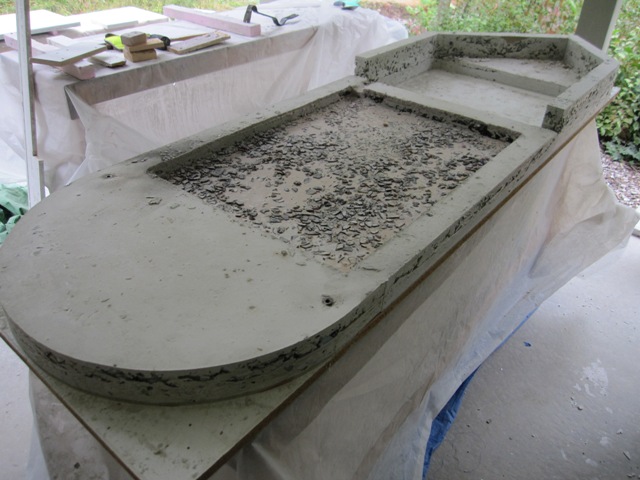
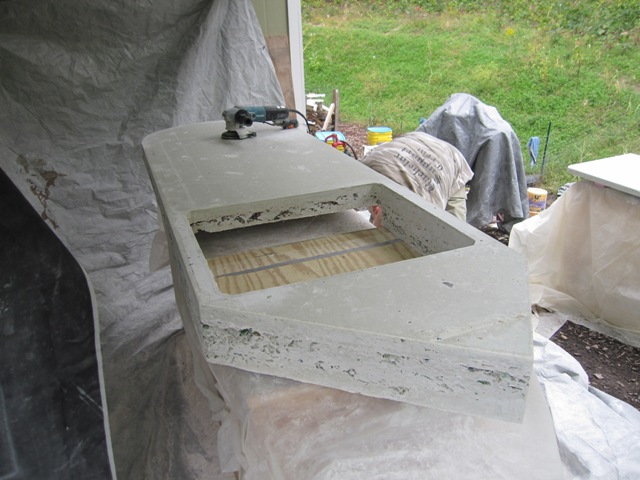
Once all the concrete was in place, we added an extra layer made from just cement and sand, no glass, to fill any low spots and form a smooth surface. We’ll polish the underside of this countertop so it’s reasonably smooth since we’ll be sitting under it, so we want a flat surface to begin with. The photos below show the finished piece in the mold. Now we’ll let it cure for about 5 days before removing it from the mold.
September 20, 2010
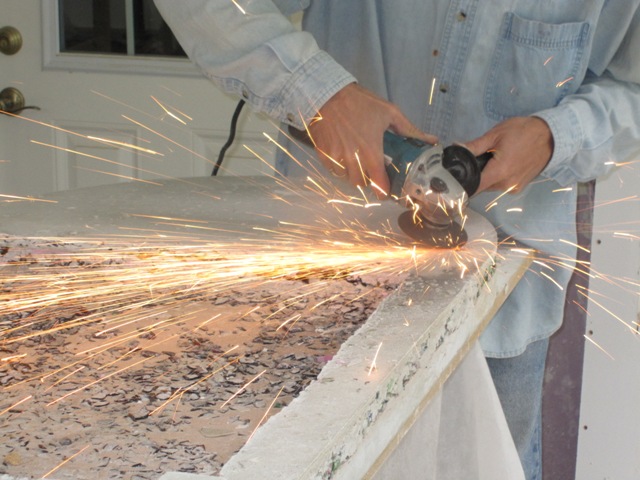
Today we removed the sides of the mold and, while it was in a convenient position, we ground down the coupling nuts that protruded slightly above the surface. That way it will sit flush on the legs and base cabinet.

As we removed the sides of the mold we could see a lot of voids in the concrete, despite having used the vibrator to consolidate it. It looks a lot like the front of the kitchen sink countertop, and it’s going to take quite a bit of filling to make a good surface.

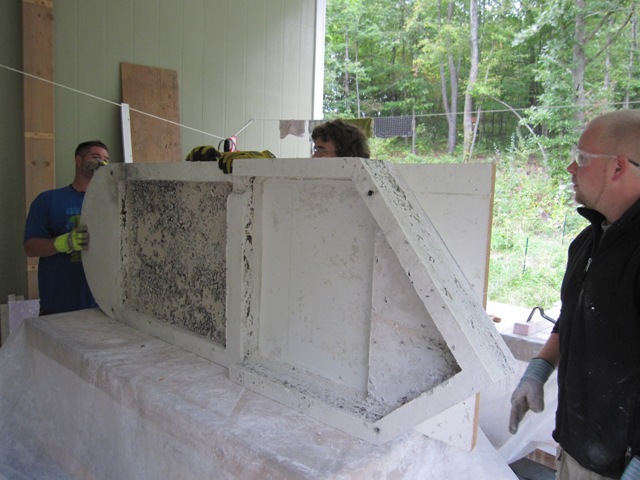
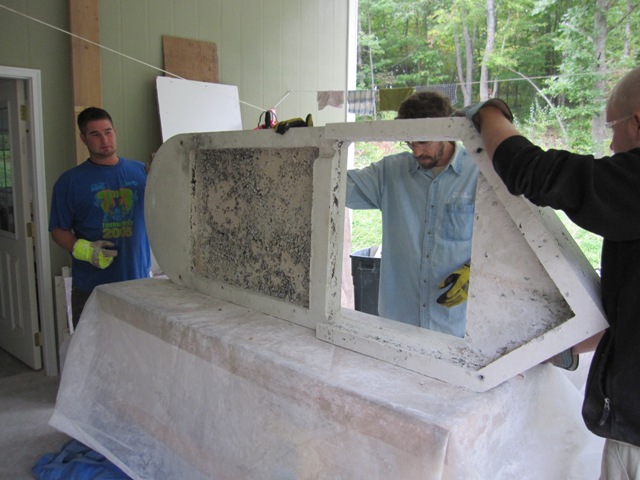
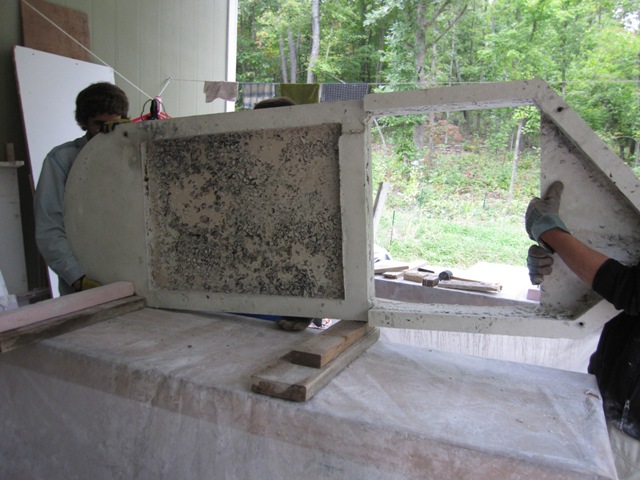
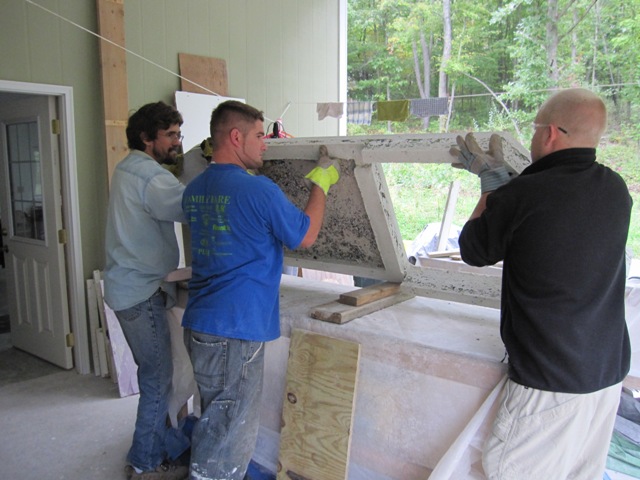
The next step was to flip it over, which must be done carefully since the concrete is not yet cured and could crack if we’re not gentle. First we stood it on edge and then we peeled off the bottom of the mold from the top of the countertop.
Then we lifted it up onto supports so we could lower it right-side-up without putting any weight on the aprons around the sink area.
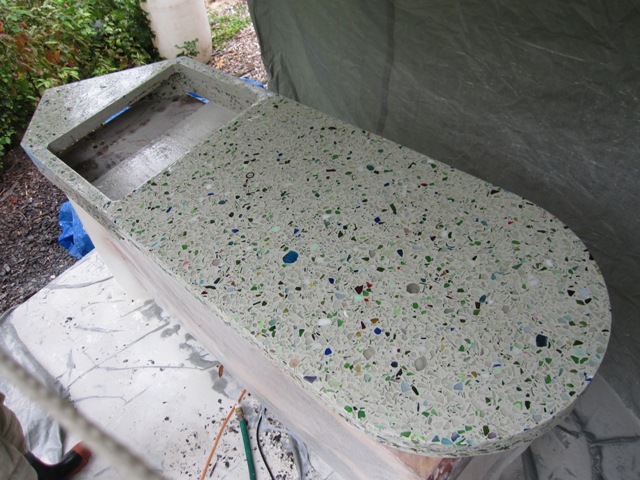
After it was safely flipped over, we wheeled it to the polishing area so Nash could start grinding down the surface. The second photo below shows how it looked a few hours later after Nash had ground down into the glass aggregate with the 50-grit diamond wheel. The top is looking nice!
The voids in the sides are going to take some work, but they’re fixable. Here you can see some of the worst spots where there’s more glass than concrete. Nash filled in these voids with a slurry made from Portland cement and sand, and it should blend in pretty well once it’s polished again.

September 30, 2010
It took a lot of polishing and filling of the voids, but at last it’s ready to be sealed. On the last segment we did, Liz applied the sealer outside on a somewhat windy day and it dried too fast leaving streaks on the surface, which we had to clean off with scrubbing pads in order to get the surface smooth. This time we moved the countertop inside so that Liz could seal it without the sealer drying on the surface, and it worked very well.

October 1, 2010
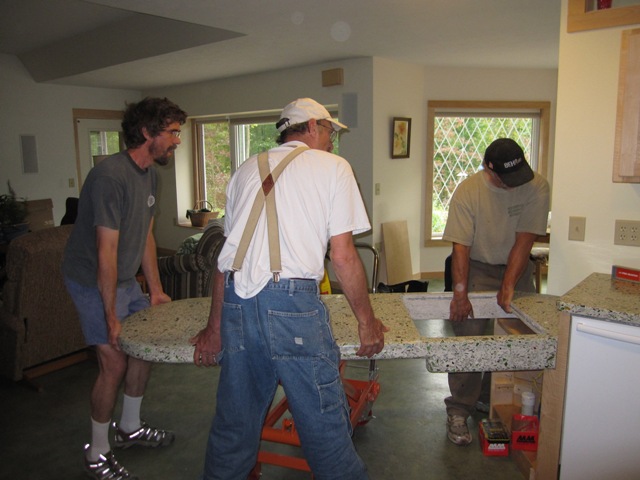
To manipulate the heavy countertop into position we used a hydraulic scissor lift table. That made it easy to position the countertop at the correct height and to slide it into place on the wedge-shaped cabinet that supports it.
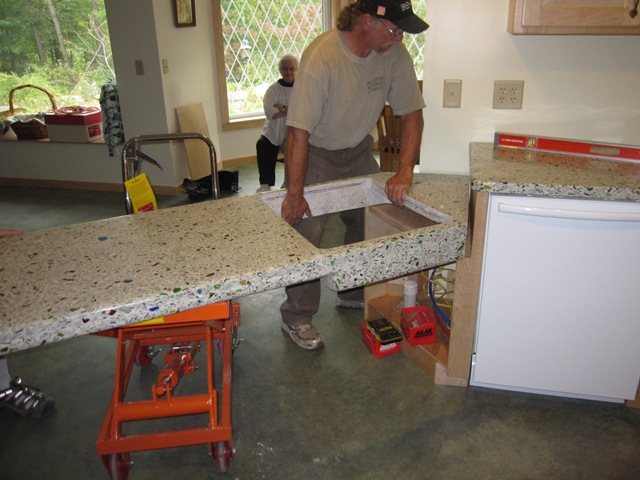
Once we had it in the correct location, we carefully leveled it so that we could measure the exact distance to the floor in order to cut the legs to the proper length.

Since Jay’s wood lathe is not yet set up, we attached some inexpensive store-bought pine table legs in order to get it installed. We’ll probably replace them with homemade legs at some point but they’re adequate for now. People don’t really look at the legs much anyway since they’re fascinated with all the different shapes and colors of glass.