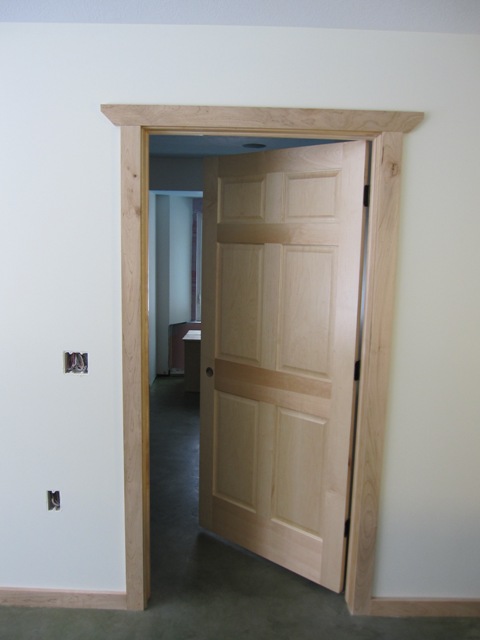
Our trim is made from locally-harvested maple in a #1 common grade, which is relatively free of knots but has quite a bit of character. Rather than using a typical molded profile for the baseboards and casings, we decided to use a simple rectangular profile to highlight the beauty of the wood. Our cabinetmaker Jack milled most of the trim 3/4″ thick and 3″ wide for the baseboards and casings for the doors and windows.
January 26, 2010
The painters sprayed two coats of Sher-Wood Kem Aqua water-base lacquer onto the first batch of interior trim boards, along with the cabinets for the cottage kitchen and bath. The first photo below shows Scott applying the lacquer, and the second photo shows the trim boards drying. After these two coats are dry, they’ll sand them and spray on two more coats.
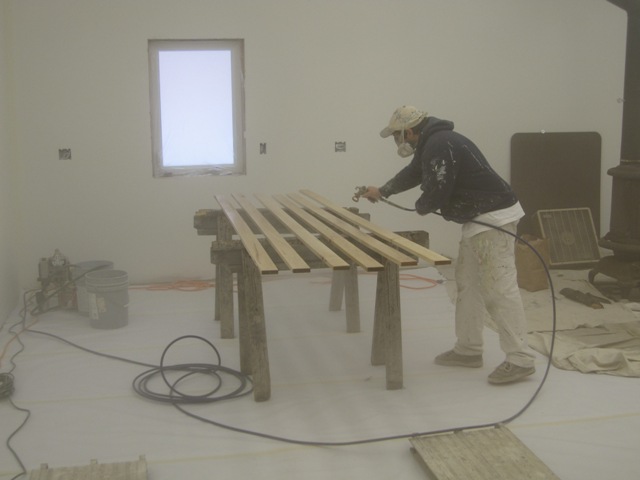
![]()
February 5, 2010
With the interior floors done, Dan and Bruce started installing the interior doors and the maple trim around them. The first photo below shows one of the bedroom doors in the cottage, and the second shows the door into the pantry of the main house. This lets a lot of light in from the exterior pantry door, so that the hallway area has plenty of natural light.

February 13, 2010
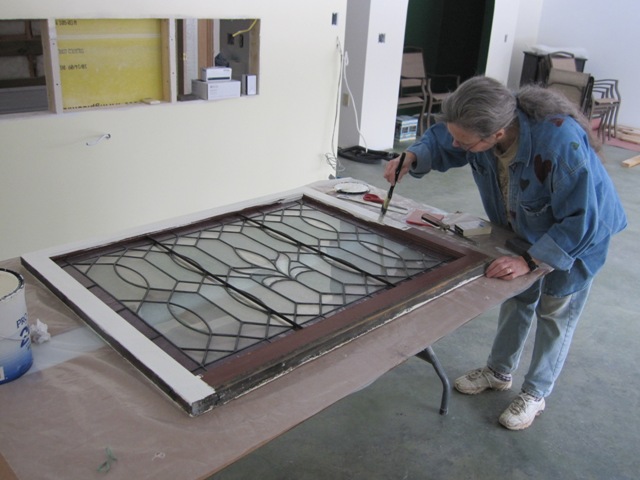
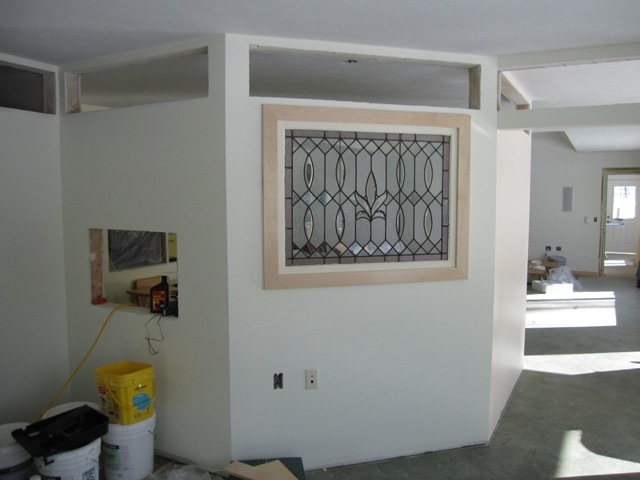
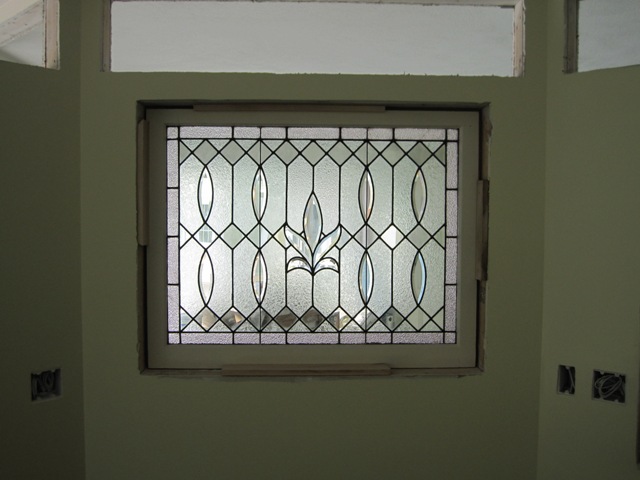
Liz cleaned and painted the antique leaded glass window that will go over the sink in the main kitchen. Dan built a frame for it out of maple trim.

February 18, 2010
Dan mounted and framed the window in the opening over the sink. The trim on the inside will be added after the cabinets are installed.
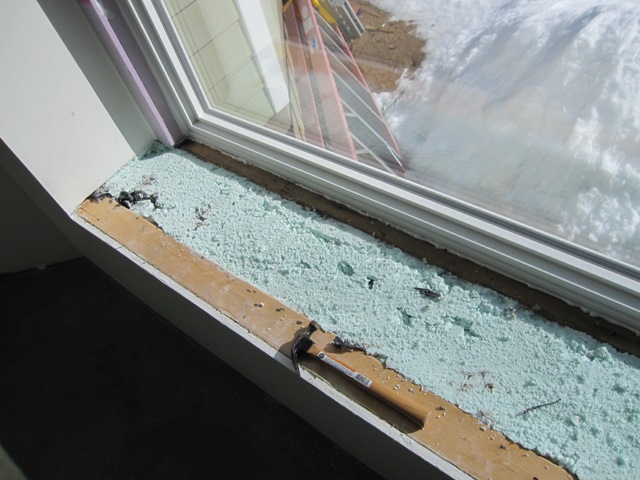
Bruce applied spray foam insulation to the open tops of the window seats, to seal in the cellulose insulation below. After it was trimmed with a hand saw it left a flat surface for mounting the window seats.

February 19, 2010
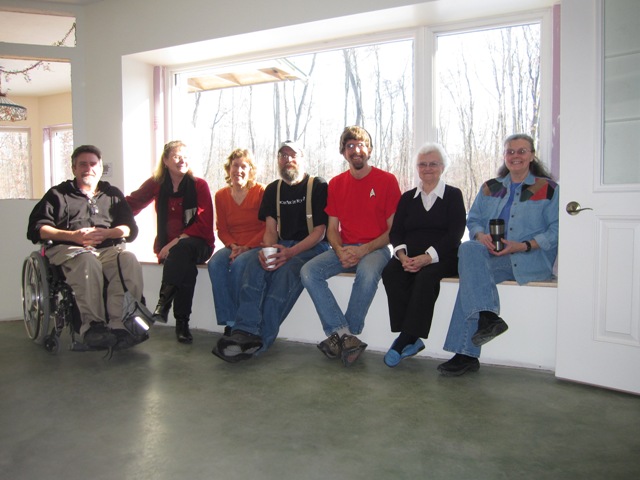
Dan trimmed and mounted the maple window seats underneath the large south windows in the main house and under the south window of the cottage. These are glued-up maple boards 3/4″ thick and about 14″ wide.
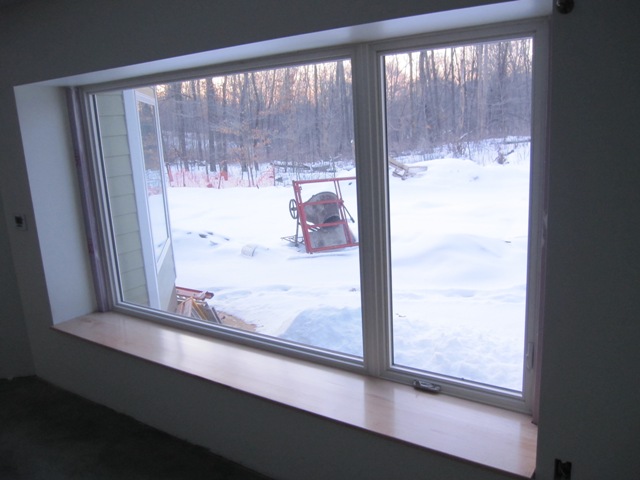
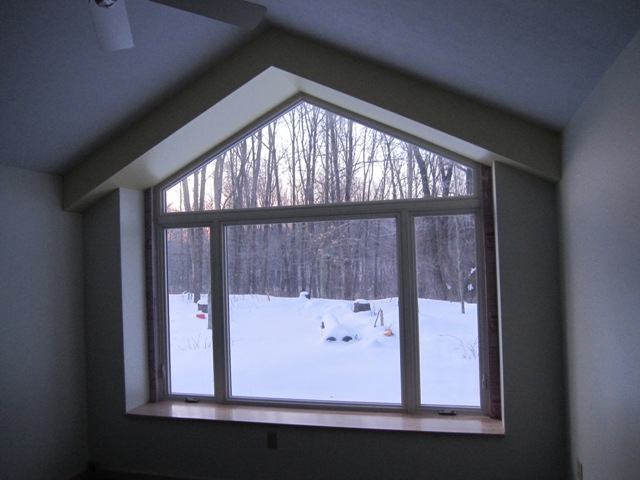
Each window seat is long enough to seat 6 or 7 people, or about 20 cats!