Includes affiliate links that help offset our expenses at no cost to you.
I like to experiment with new optical systems for my macro/micro videography projects, and that often means connecting together various microscope objectives, lenses and extension tubes in novel ways. It’s usually impossible to buy off-the-shelf adapters in exactly the sizes I need, so I built the Adapt~O~Matic to generate custom threaded adapters that I can 3D-print.
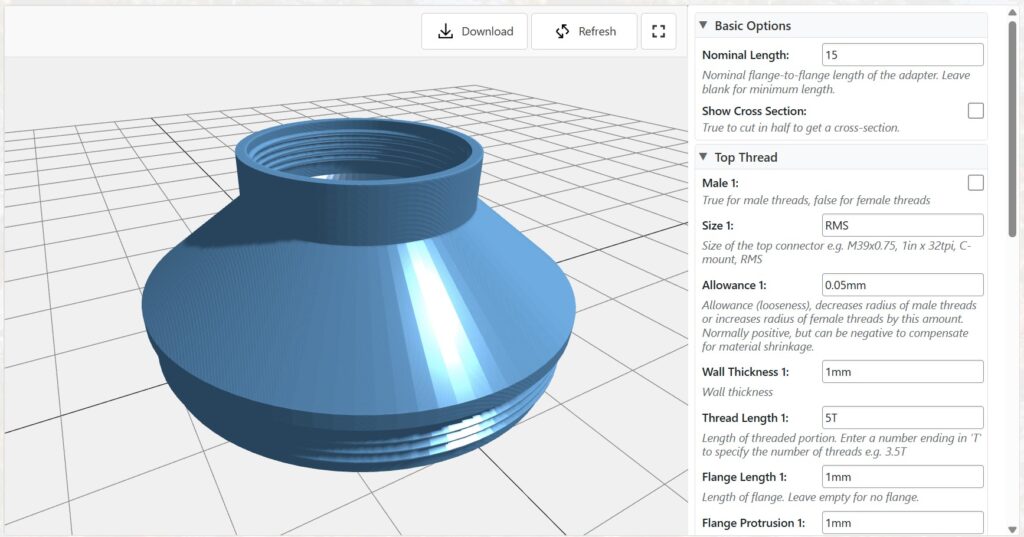
I was actually surprised that 3D-printed threads work for lens adapters with thread pitches of 0.75 or even 0.4mm, but they do. The finer threads take more experimentation to get the “allowance” (looseness) and the slicing parameters dialed in just right.
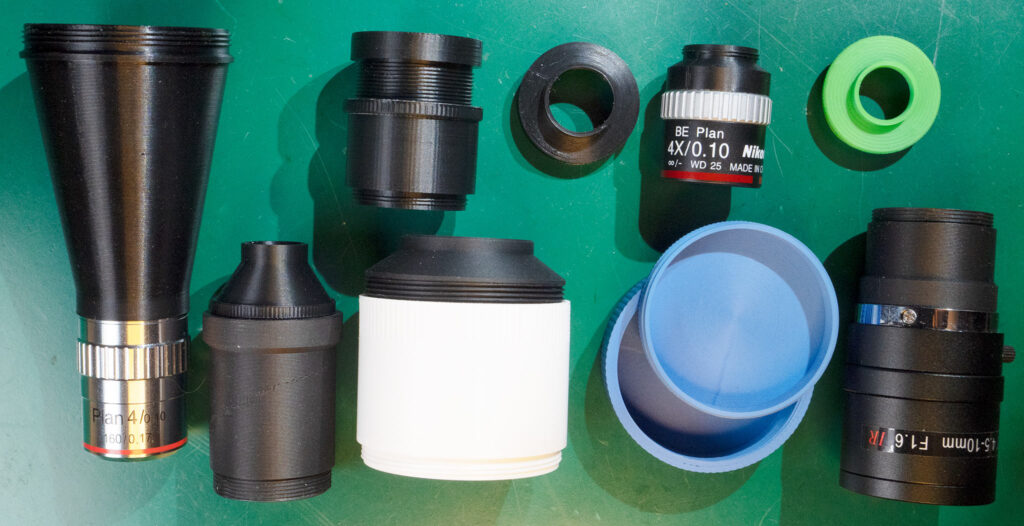
I use a couple of different 3D printers, a middle-of-the road Bambu Lab P1S and a higher-end Bambu Lab H2D. I really haven’t noticed much difference in quality when printing threaded adapters, and I think any mid-range 3D printer would work fine. Even a lower-end printer should work, though it might struggle with finer-pitched threads down to 0.5mm.
Making a Microscope
It’s relatively easy to turn an ordinary camera into a microscope by attaching a microscope objective, and possibly an intermediate lens. Rather than duplicate the information that’s already available, I’ll refer you to this excellent write-up on the photomacrography.net forum: FAQ: How can I hook a microscope objective to my camera?
That article explains the two main types of microscope objectives, “finite” and “infinite”, which differ in cost and complexity but are both viable options. Although most modern higher-end microscope objectives use an infinite-conjugate design, one can get very good results with simpler and less expensive finite objectives so that’s often a good place to start. I won an honorable mention in the 2023 Nikon Small World in Motion Competition using an inexpensive 4X finite objective, so it’s possible to get good results with simple and inexpensive gear.

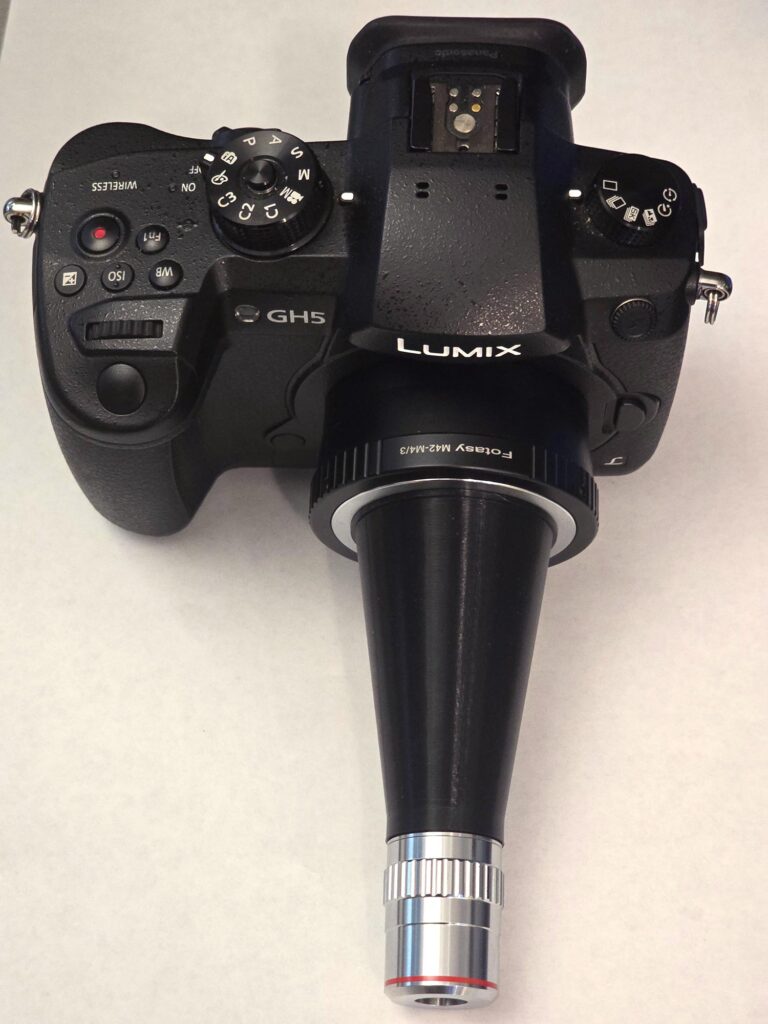
To hook a finite objective to a camera, all you need is an M42x1mm lens mount adapter for the camera plus an adapter to go between M42x1 threads and the microscope objective. That’s where the Adapt~O~Matic comes in. Most inexpensive microscope objectives use RMS threads, so you can generate this adapter simply by specifying RMS female for the top thread, and M42x1 male for the bottom thread. The Adapter Length setting is an interesting choice because it will determine the actual magnification.
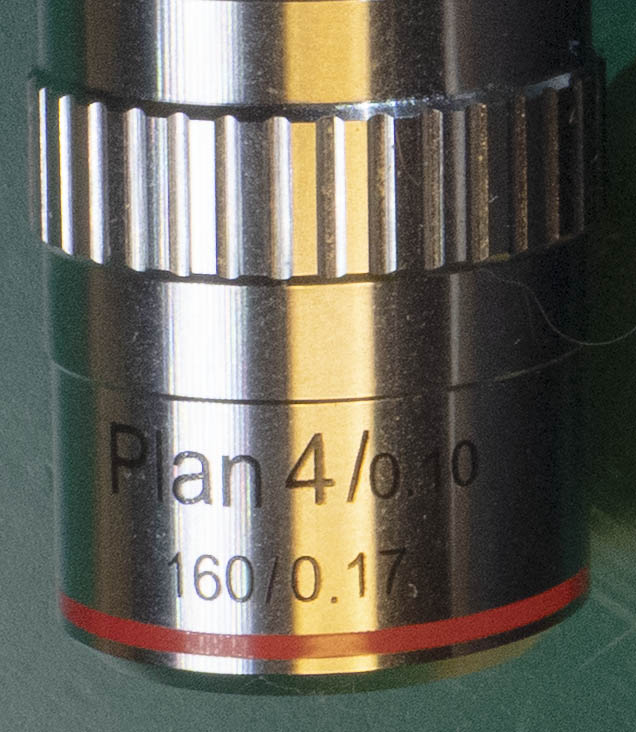
Many finite objectives will have the number 160 on the barrel, which specifies the physical length of a microscope tube for which they are designed. But the actual image is focused 10mm closer than that, meaning that placing the objective’s back flange 150mm from the camera’s sensor should give the nominal magnification such as 4X – which means that a 1mm wide subject would make a 4mm wide image on the sensor. Some objectives use other tube lengths such as 210mm, but by historical convention it’s always 10mm longer than the actual flange-to-image distance. The standard M42x1 lens mount has a flange 45.46mm in front of the sensor, so we must also subtract that in order to get the desired adapter length. For example with an objective having a 160mm nominal tube length, we compute 160 – 10 – 45.46 = 104.54mm, and that is the number to enter into the Nominal Length parameter of the Adapt~O~Matic.

Finite microscope objectives can be “pushed” up or down in magnification by using a longer or shorter distance from the sensor, and we often want to do this in order to match the image circle of the objective to the size of the camera’s sensor. Most objectives will focus an image that covers an APS-C sensor at their nominal magnification. For a larger full-frame sensor you might want to increase the magnification to about 150% of nominal to cover the sensor better, and for a smaller micro-4/3 sensor you might want to decrease the magnification to about 66% of nominal. With high-magnification objectives the image quality may suffer, but at 4X or 10X they’re usually pretty flexible in this regard.
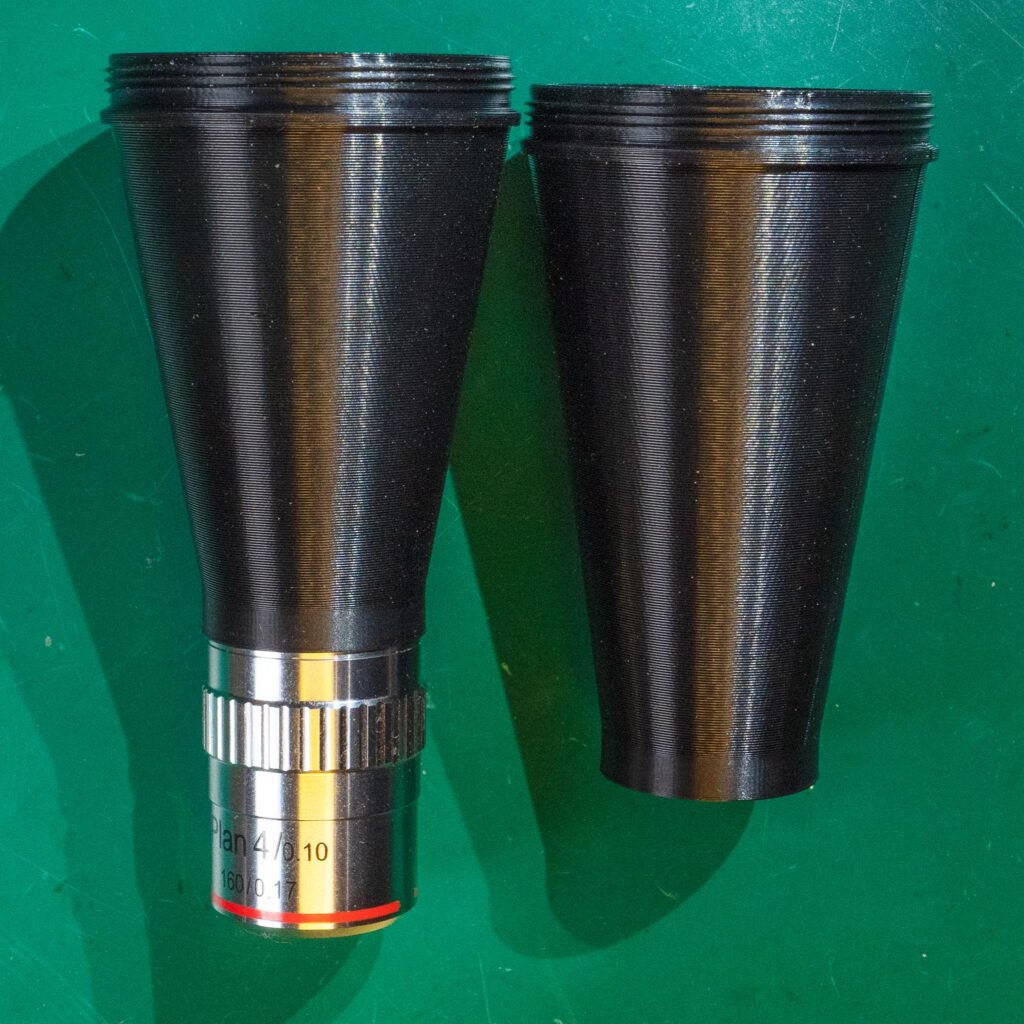
You can achieve this just by scaling the actual flange-to-sensor distance (150mm in the example above) by the desired change in magnification. So for a micro-4/3 sensor a focal distance of 100mm is usually about right, and we subtract the M42 flange distance of 45.46mm to get a desired adapter length of 54.54mm. I’ve specified these numbers to 0.01mm but in actuality the distance is not critical, and you can experiment with different magnifications to get the best results you can.
