June 5, 2009
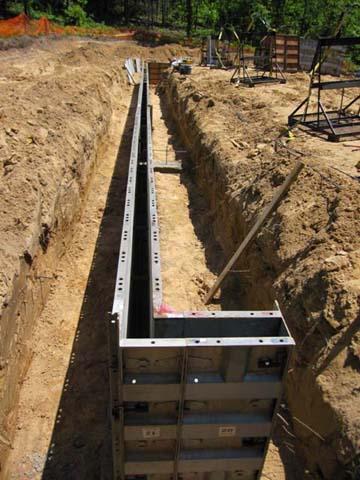
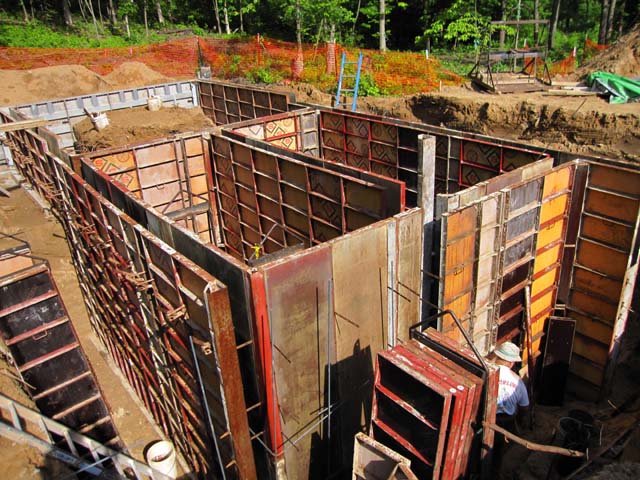
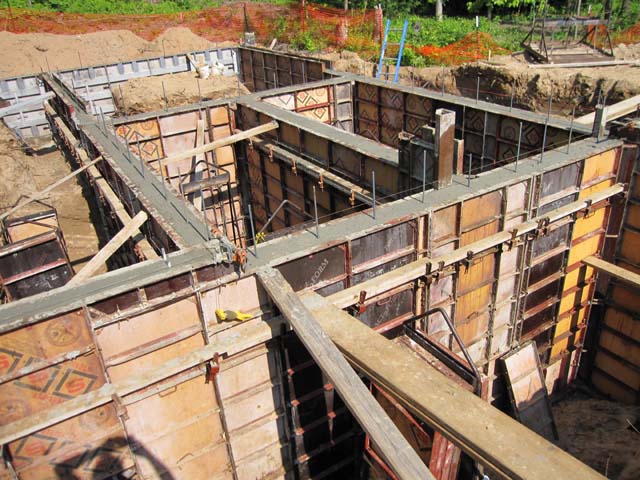
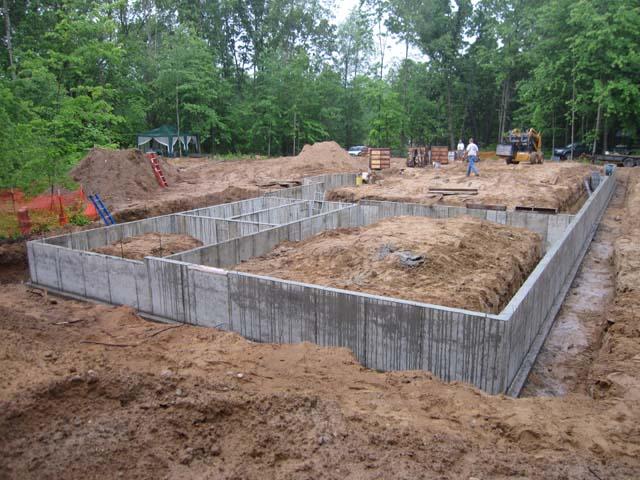
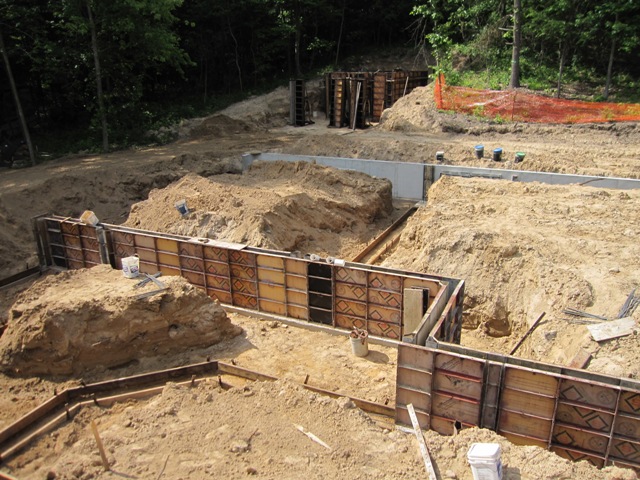
Today the crew started setting forms for the foundation walls. The second photo below shows the assembled forms for the north wall of the house, looking east. The wall will be 4 feet high and 6 inches thick.
June 8, 2009
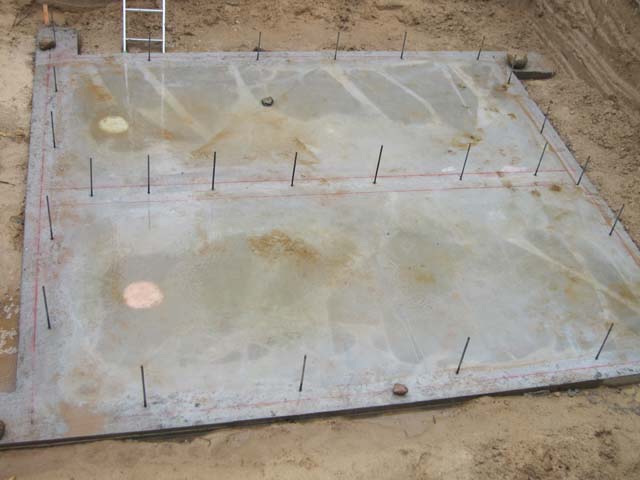
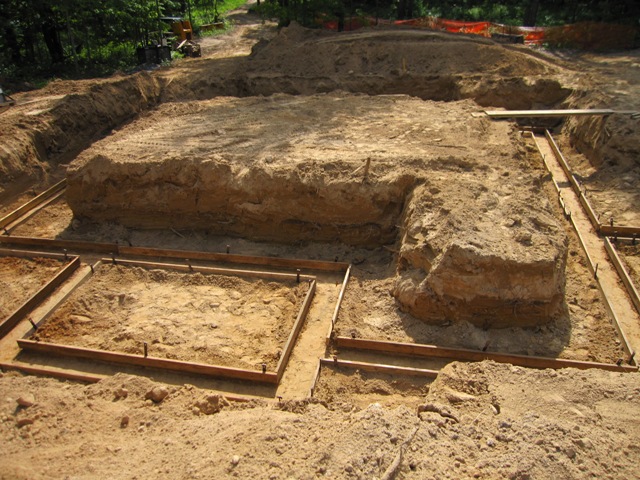
We had some fairly heavy rain, and the cistern floor was full of water. We can tell that the floor is nicely sloped toward the sumps on the left (west), where the water is about 2 inches deep. This will make it easier to clean out the cistern when the time comes.
June 9, 2009
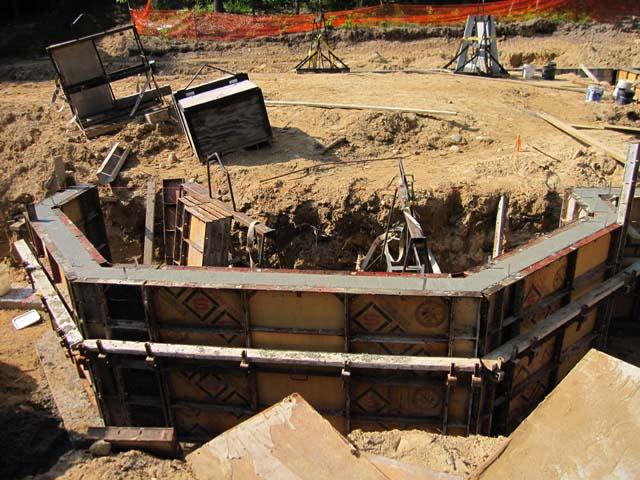
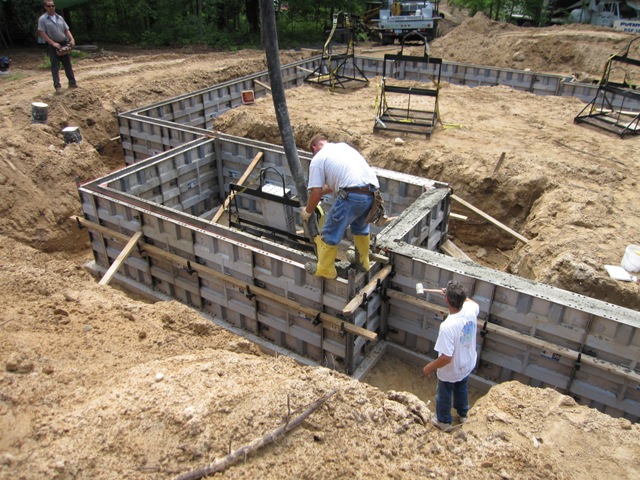
Today the forms for the cistern walls arrived, and the crew set them into the hole using a crane.
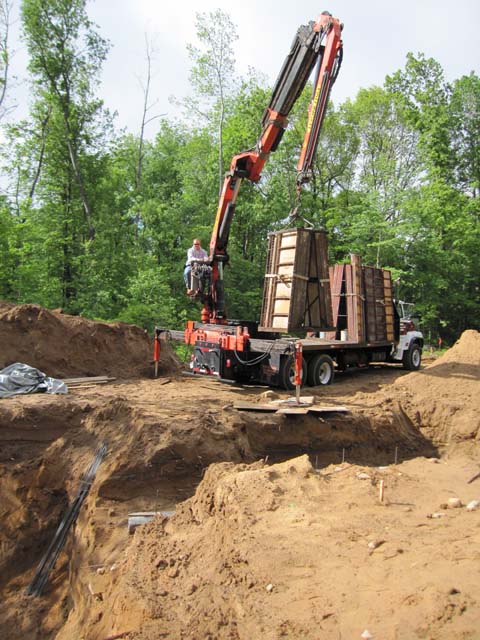

The following sequence shows the cistern wall forms being erected, which took most of the day. Unlike the rest of the foundation walls, the cistern walls are 8″ thick because when the cistern is empty the walls must resist pressure from the earth against them. The center wall has extra rebar so that it can resist the pressure from water when one half of the cistern is full and the other half is empty. Normally the water level will be the same in both halves, but with the sturdy center wall we can pump all the water into one side (if we start with it half full) in order to clean the cistern one half at a time without having to discard all our water.
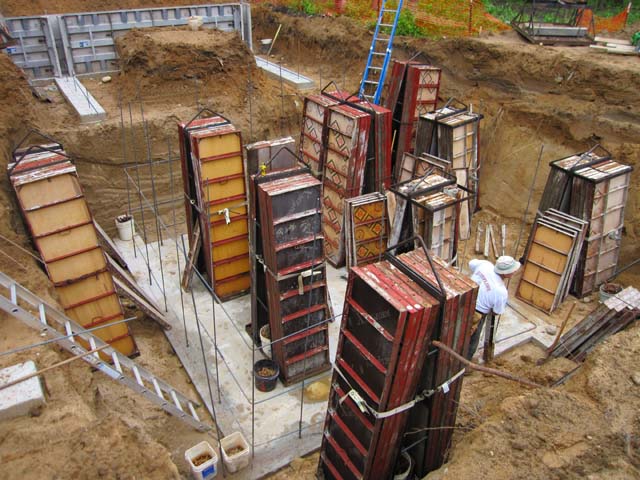
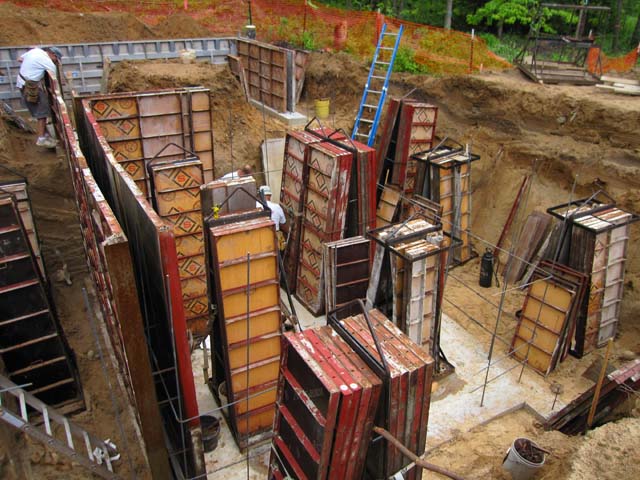

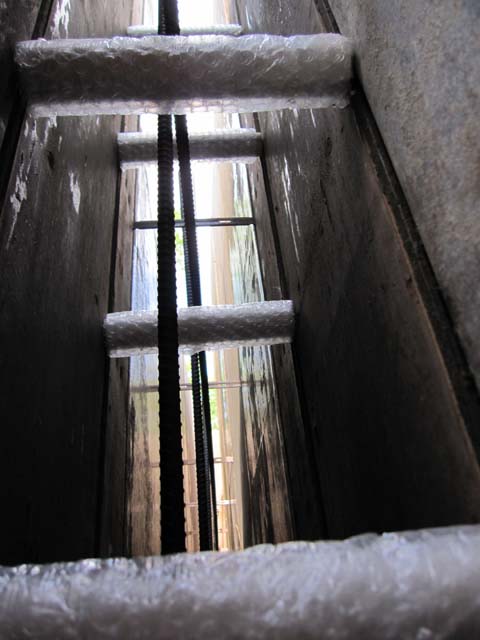
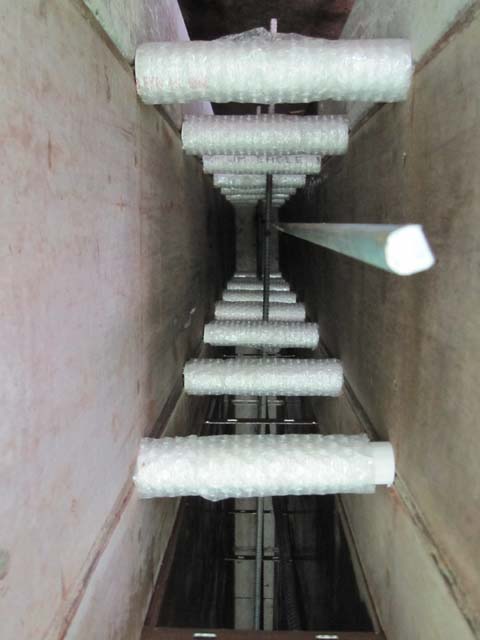
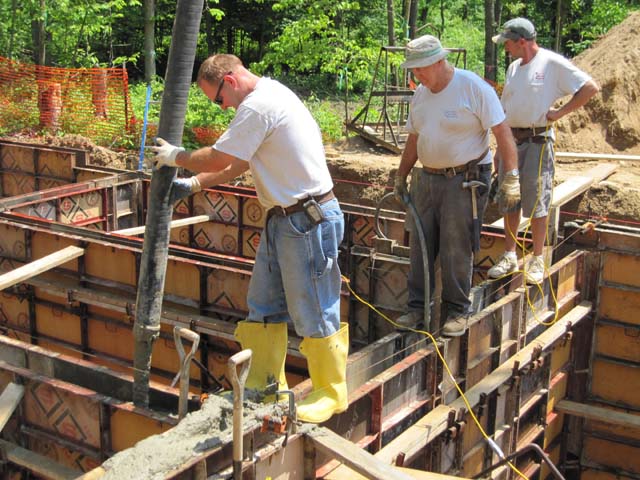
Into the center wall running through the cistern, we had the crew place 1″ PVC pipe wrapped in bubble wrap. These are supported on form ties in two vertical rows a foot apart, with a pair of pipes every foot. The bubble wrap will (we hope) enable us to knock the pipes out after the concrete is poured, leaving two rows of holes. We will bend pieces of 5/8″ epoxy-coated rebar and mortar them into the holes from each side, forming a permanent ladder in each half of the cistern leading up to the hatchway above. That way there’s no possibility of getting trapped in the cistern without a way out. The first picture below is with the camera held inside the bottom of the wall looking east and upward, so the two closest pipes are from the near side of the ladder and the others are from the far side of the ladder. The second picture is from the top of the wall looking down through the ladder rungs.
June 10, 2009
The crew finished up setting the forms in the morning, and the concrete arrived in early afternoon. First they filled the cistern walls, which took two trucks full of concrete.

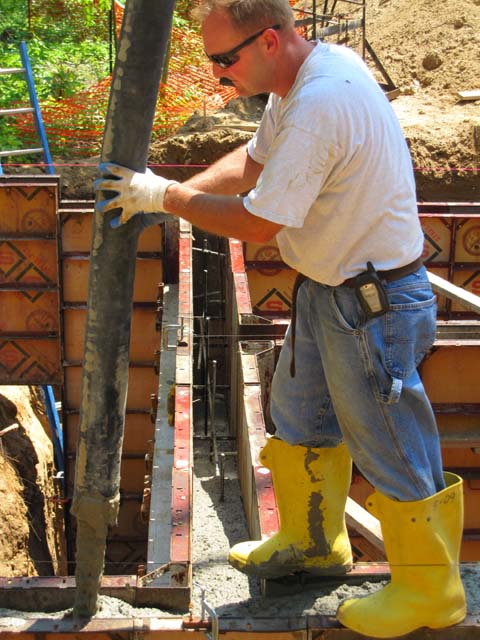
As the walls were filled they followed along with a vibrator to consolidate the concrete, in order to remove large bubbles that would create voids in the walls. The long boom of the pump truck made it easy to reach the far corners of the foundation.
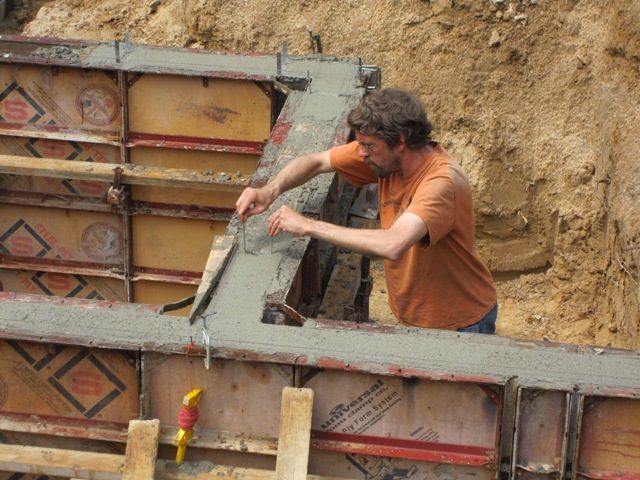
As soon as the walls were filled and troweled, we set anchor straps about every 6 feet, to hold down the stud walls of the house. The first photo below shows Jay setting anchors along the east wall of the workshop, and the second photo shows Dan setting anchors in the dining room bump-out.
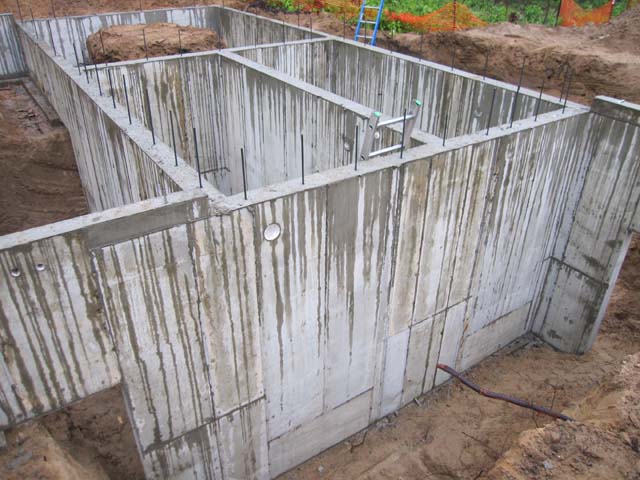
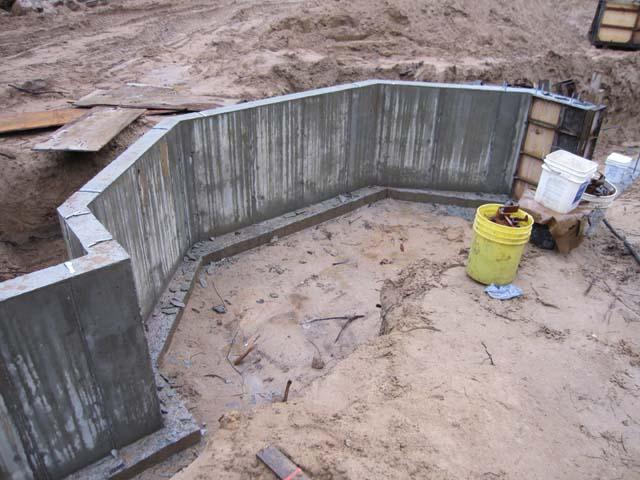
These photos show the completed walls of the cistern and dining room.
June 11, 2009
Today the forms were removed, and the photos below show the forms coming off the cistern and how it looks. The drips down the sides in the second photo are water from a light rain, which is good for the walls because the concrete will develop greater strength if it remains moist as it cures.

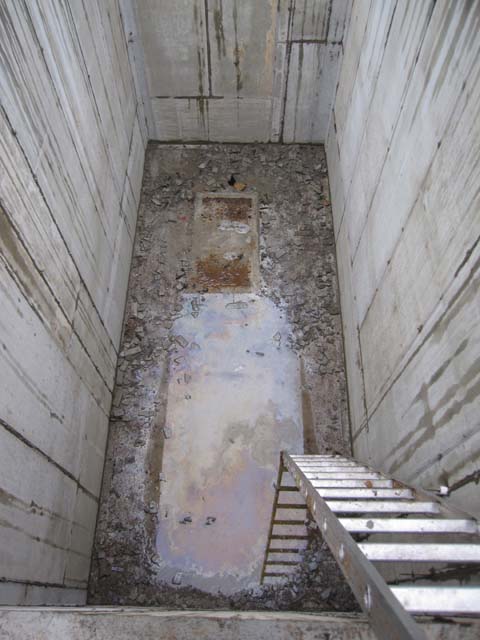
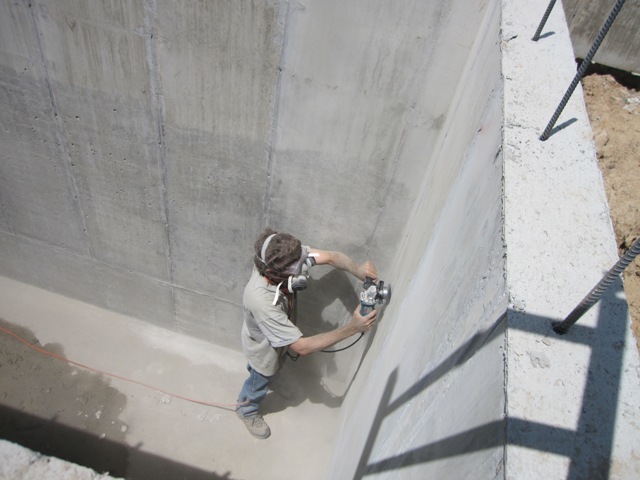
Here’s a view looking down inside one half of the cistern. There’s a bit of a mess to clean up before we can drink from it! The second photo shows an example of how the walls look inside. We need to grind down all the surface irregularities and residue from the forms before we can apply a sealer to the inside. That’s going to be a dirty job.

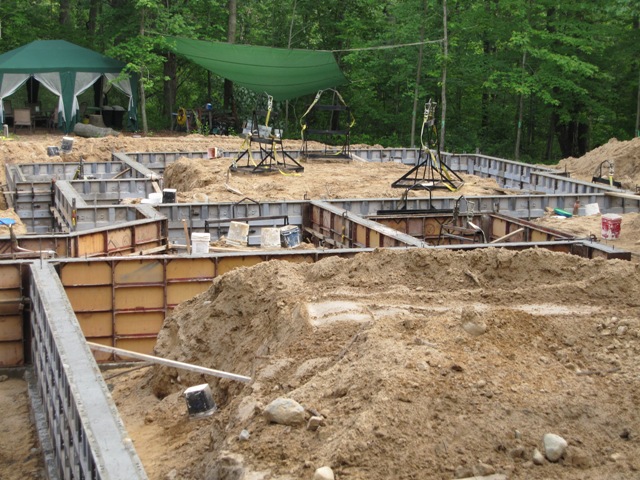
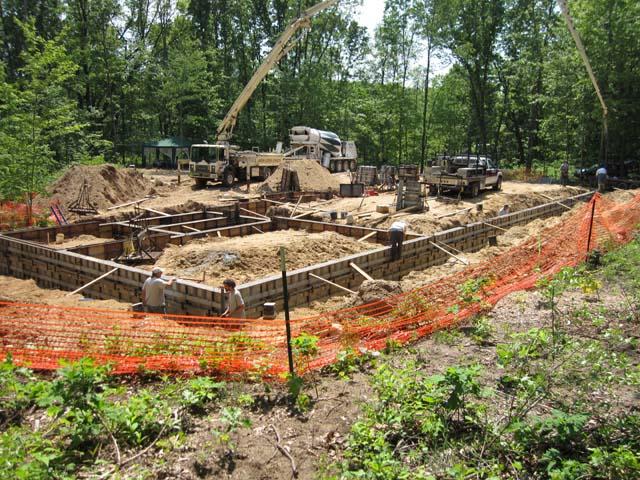
The first photo below shows the whole foundation viewed from the northeast corner of the workshop, and the second photo shows the dining room bump-out looking southwest.
June 15, 2009
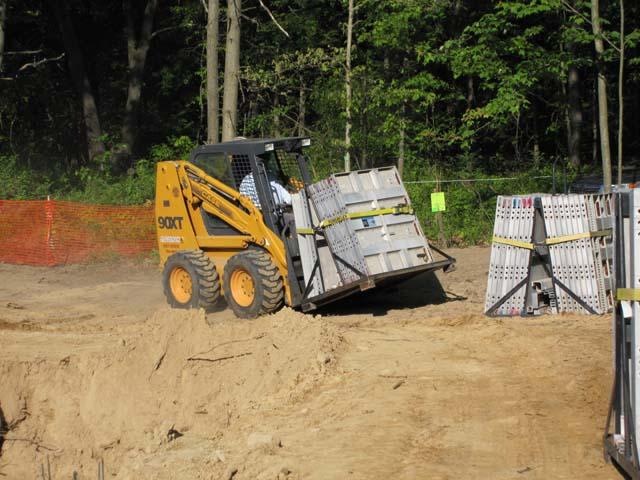
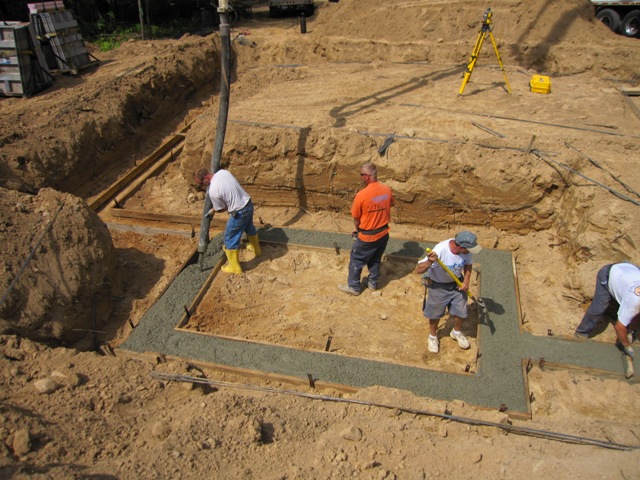
Excavation resumed, to dig out the footings for the east and west garage walls and for the cottage.
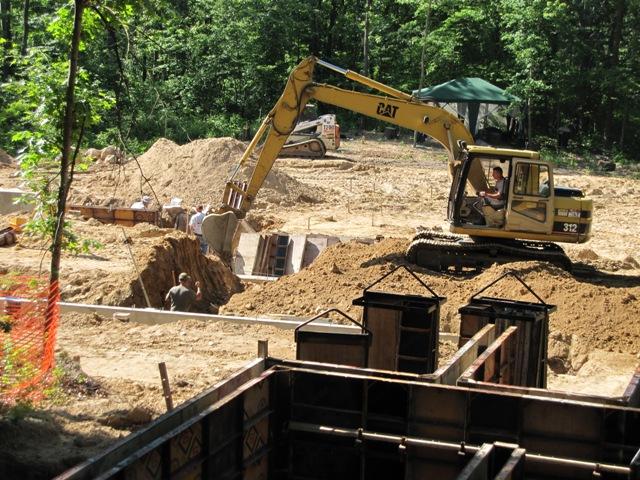
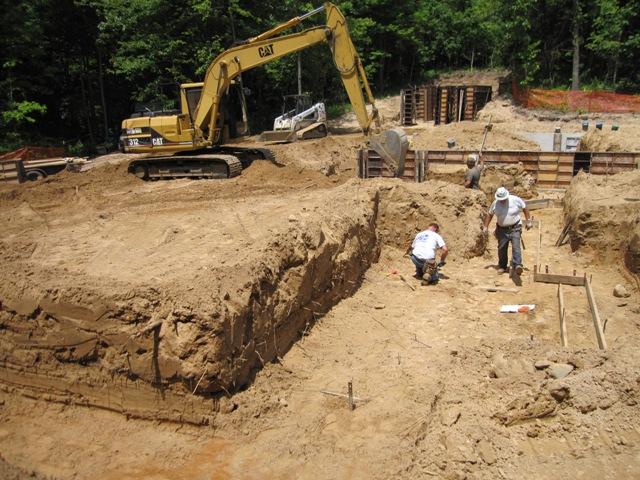
Then the concrete crew set the footing forms for the garage and entry, and the cottage.
We fabricated the ladder steps that will be mortared in to the cistern walls, by bending lengths of #5 rebar.
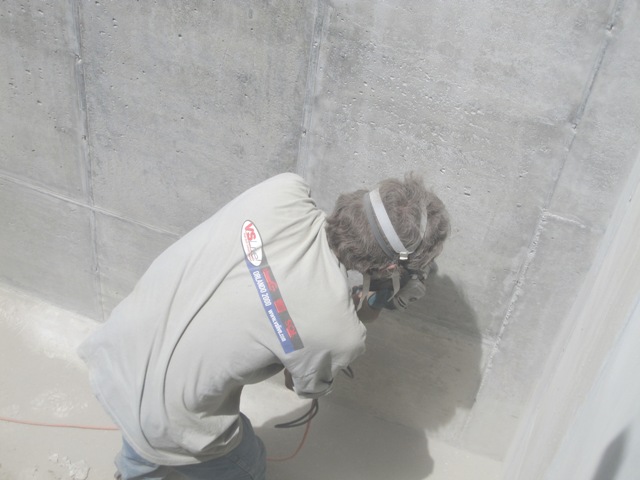
The cistern walls had excess material along the form joints that needed to be ground down relatively flat. And they had a somewhat porous surface in some areas, so Jay used a rotary wire brush to remove all loose material prior to sealing. This is a very dirty job!
June 16, 2009
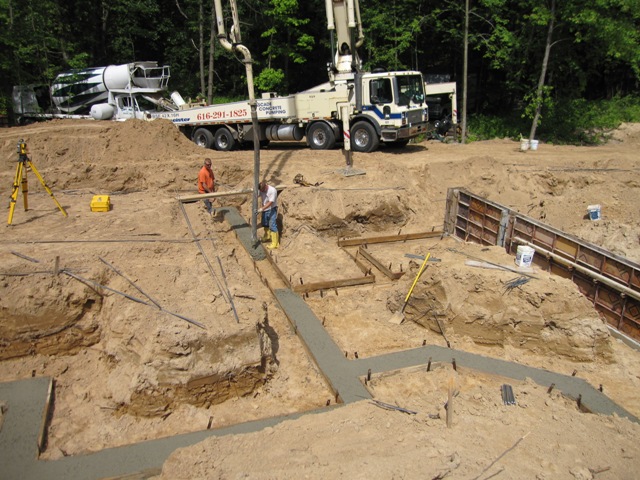
After pouring the walls for the root cellar, the crew moved on to pour the footings for the cottage and entry. This completes all the footings for the house.
June 18, 2009
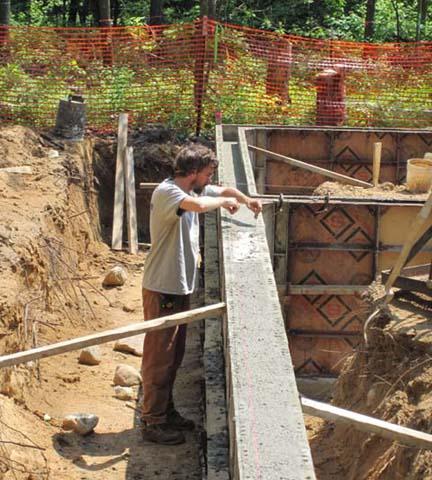
The first photo below shows the pouring of the entryway walls. The box in the second photo is the foundation for the cottage porch, with the dining area to the right.
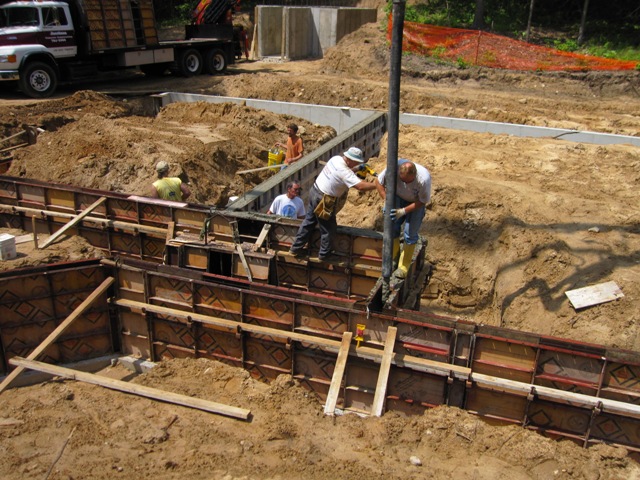
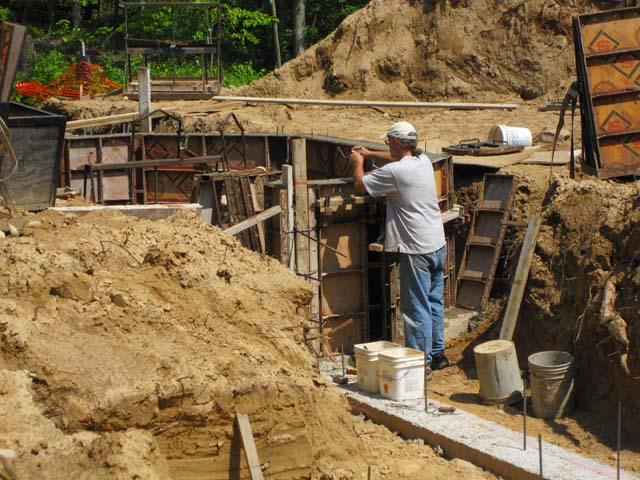
Notice Jay’s intense concentration as he sets wall ties into the wet concrete. These straps will anchor the stud walls down to the foundation. The second photo shows the completed foundation of the cottage and entryway. The wall in the foreground separates the garage from the main house.