June 3, 2009
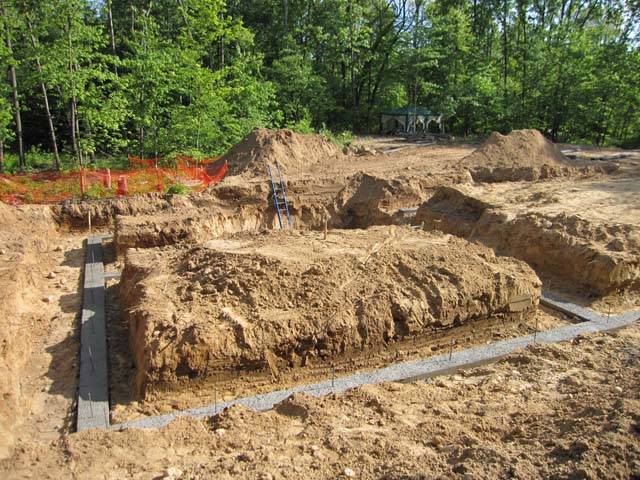
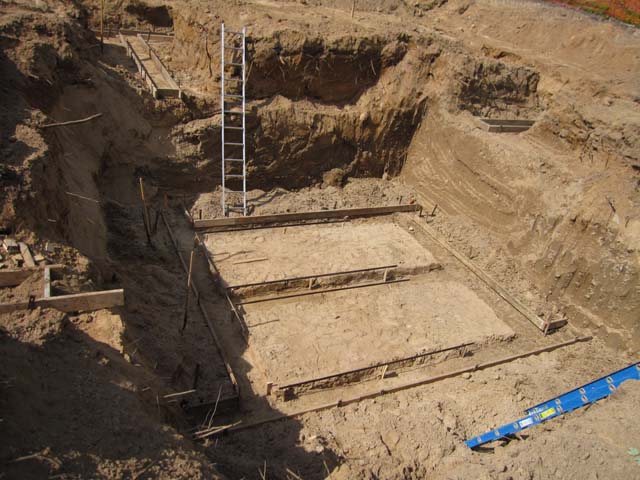
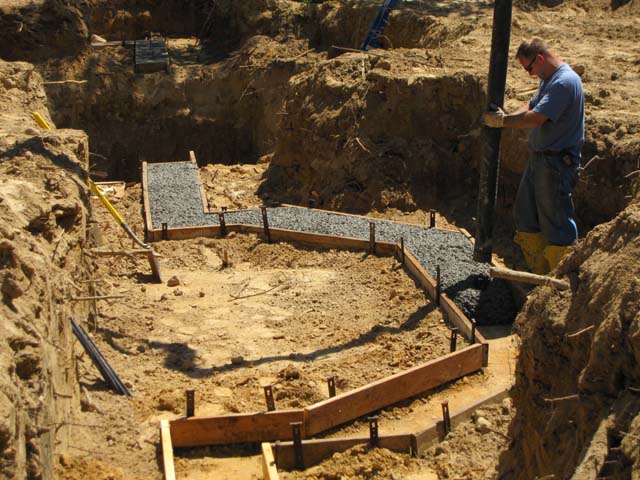
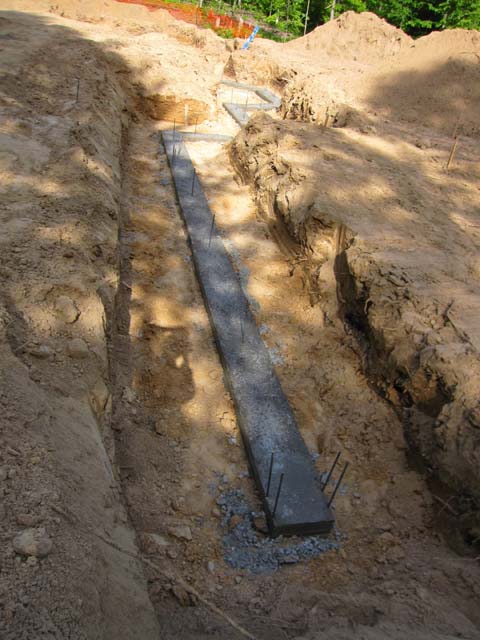
The concrete contractors arrived today and set up forms for the footings in the house walls and the cistern. The first photo below shows the forms for the house footings around the dining room bump-out on the south. These are about 4 feet below the house floor level. The second photo shows the cistern footings, which are 10 feet below the house floor level. The footings and slab floor will be poured together, so the floor is just thicker where the footings are. These will support the walls at the edges plus a wall running east-west across the center that divides the cistern in two. The cistern will hold about 12,000 gallons of rainwater.

June 4, 2009
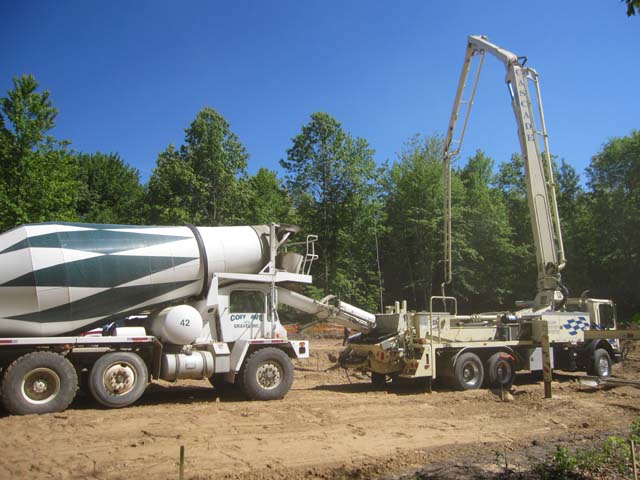
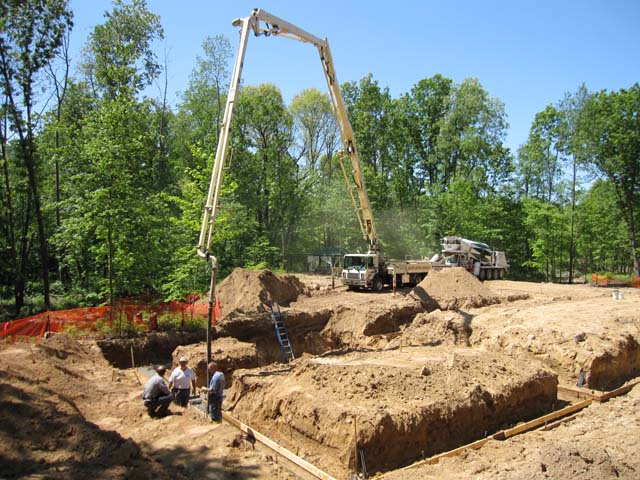
Today they poured the first concrete, including all of the footings dug so far plus the floor slabs for the cistern and root cellar. Because the north side of the house is not easily reachable by concrete truck, they used a pumping rig to pump the concrete from the truck to the forms.
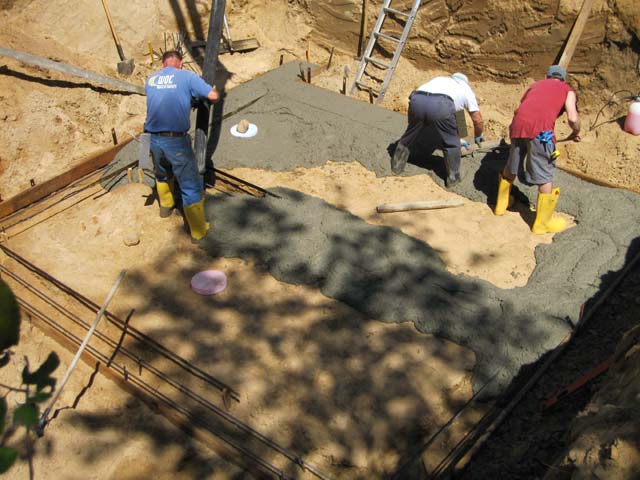
First they poured the cistern floor with integral footings around the perimeter and across the center to support the central wall. This concrete contains polypropylene fibers that strengthen the concrete and reduce cracking. It also has a water-to-cement ratio of only 0.4 with a water reducing agent that makes it thin enough to pump, which also reduces the tendency to crack by reducing the amount that the concrete shrinks as it cures. Foam disks were inserted into the concrete to form shallow sumps from which we can pump water in order to clean the cistern, and the floor is sloped slightly toward the sumps so everything will drain into them.

Once the floor was poured they moved on to the footings. The first picture below shows the pumping rig delivering the concrete, and the second photo shows the footing forms around the dining room bump-out on the south side of the house.
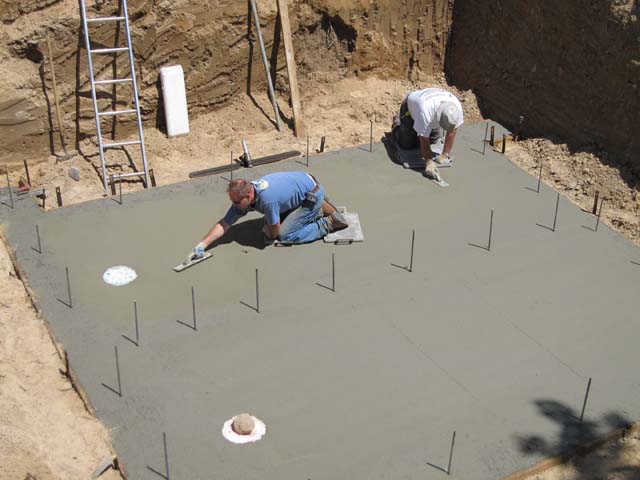
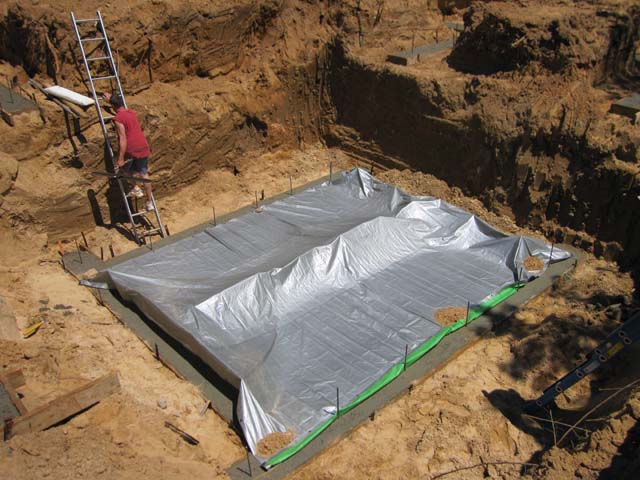
Once the footings were done, they moved back to the cistern floor which was somewhat hard by now, in order to trowel the surface smooth. The two foam disks will be removed later, to leave a drainage sump in each half. After it was finished we covered it with a silver tarp to reduce the rapid moisture loss from the surface, again to help reduce the tendency to crack if the concrete surface dries too rapidly.
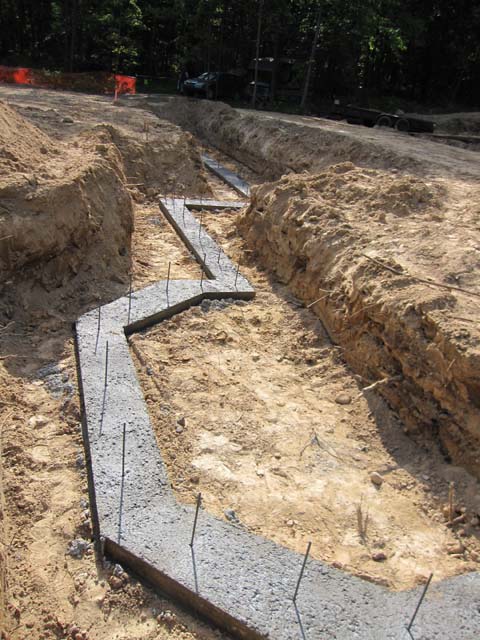
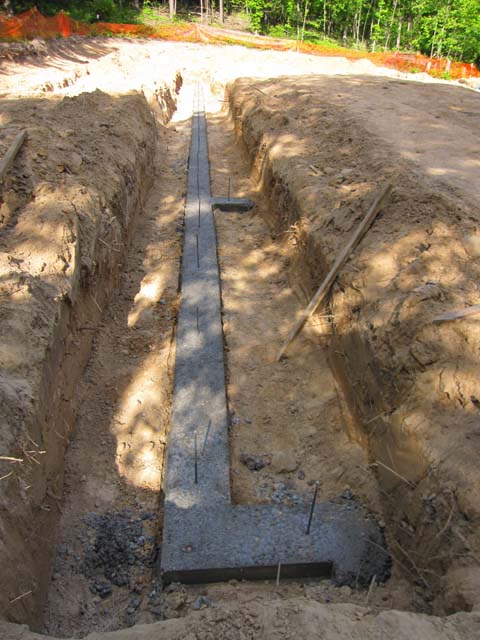
The first photo below shows the footings from the southwest corner of the garage, looking east. The second photo shows the same footing from the other end, looking west from the dining room.
The photos below show the back (north) wall of the house, first from the northwest corner of the garage looking east, and then from the northeast corner of the workshop looking west.
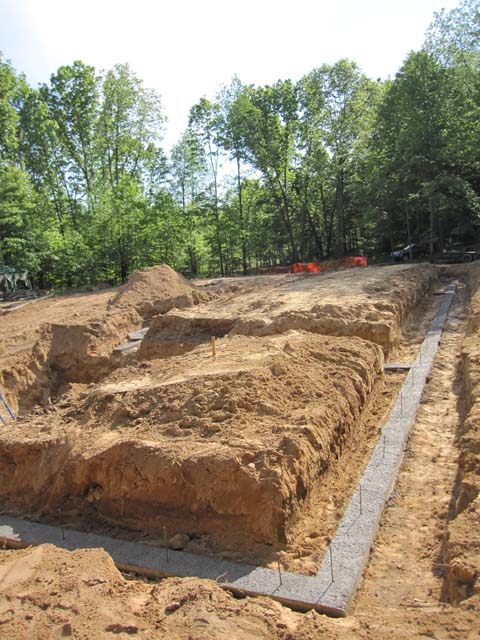
Here’s a view from the northeast corner of the house. The central area will become the workshop, and beyond it is the lanai on the left and the cistern on the right.