Includes affiliate links that help offset our expenses at no cost to you.
Our cistern is designed to store up to 12,000 gallons of rainwater collected from the main roof surface of the house. It is divided into two chambers by a wall that runs down the middle. This wall serves to support the roof so the roof slab only needs to span about 6 feet. The interior dimensions of each half are roughly 6 feet wide by 13 feet long by 10 feet high.
June 4, 2009
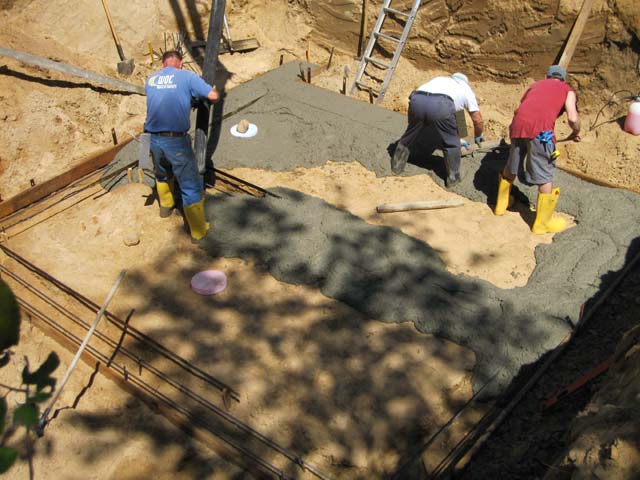
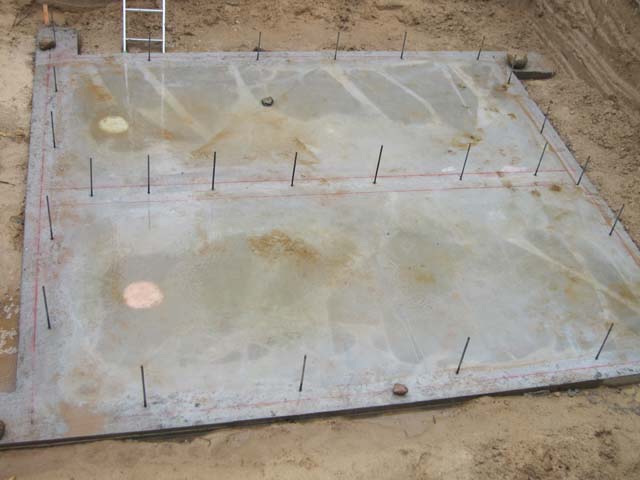
Today the concrete crew poured the cistern floor with integral footings around the perimeter and across the center to support the central wall. This concrete contains polypropylene fibers that strengthen the concrete and reduce cracking. It also has a water-to-cement ratio of only 0.4 with a water reducing agent that makes it thin enough to pump, which also reduces the tendency to crack by reducing the amount that the concrete shrinks as it cures. Foam disks were inserted into the concrete to form shallow sumps from which we can pump water in order to clean the cistern, and the floor is sloped slightly toward the sumps so everything will drain into them.

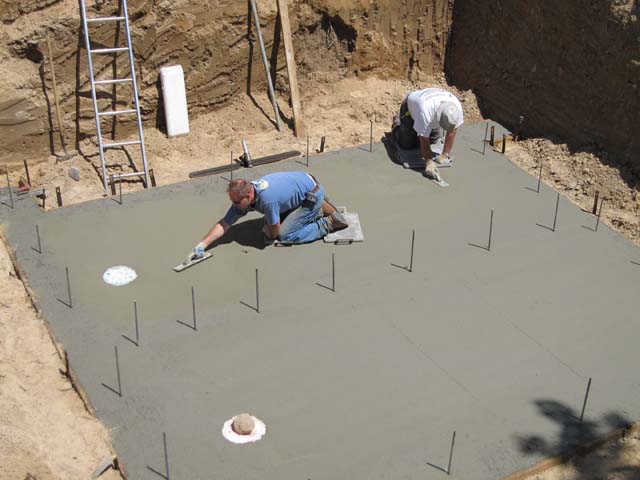
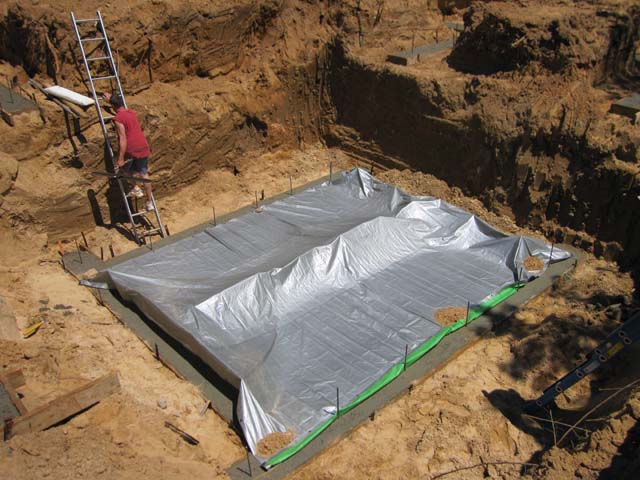
After the cistern floor had hardened somewhat they troweled the surface smooth. The two foam disks will be removed later, to leave a drainage sump in each half. After it was finished we covered it with a silver tarp to reduce the rapid moisture loss from the surface, again to help reduce the tendency to crack if the concrete surface dries too rapidly.
June 8, 2009
We had some fairly heavy rain, and the cistern floor was full of water. We can tell that the floor is nicely sloped toward the sumps on the left (west), where the water is about 2 inches deep. This will make it easier to clean out the cistern when the time comes.
June 9, 2009
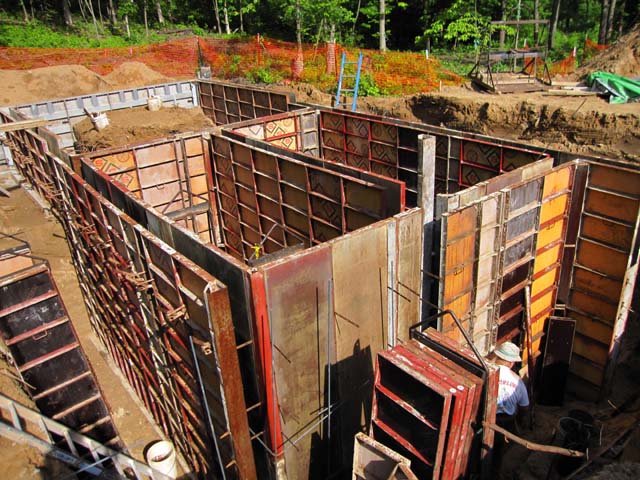
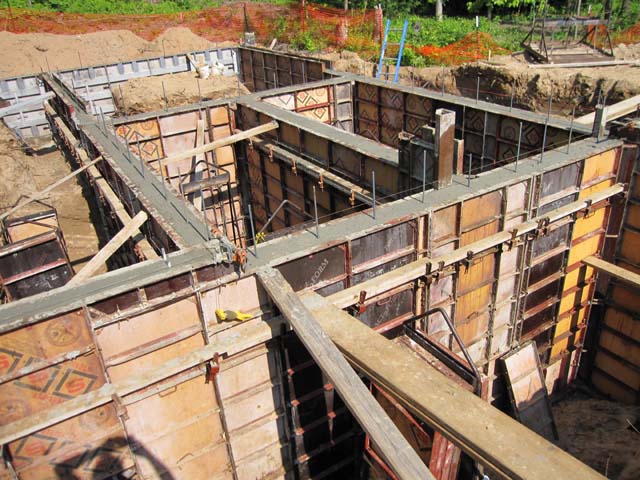
Today the forms for the cistern walls arrived, and the crew set them into the hole using a crane.
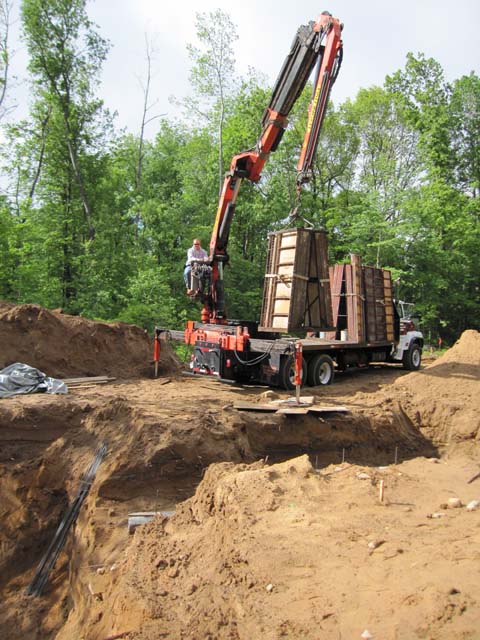

The following sequence shows the cistern wall forms being erected, which took most of the day. Unlike the rest of the foundation walls, the cistern walls are 8″ thick because when the cistern is empty the walls must resist pressure from the earth against them. The center wall has extra rebar so that it can resist the pressure from water when one half of the cistern is full and the other half is empty. Normally the water level will be the same in both halves, but with the sturdy center wall we can pump all the water into one side (if we start with it half full) in order to clean the cistern one half at a time without having to discard all our water.
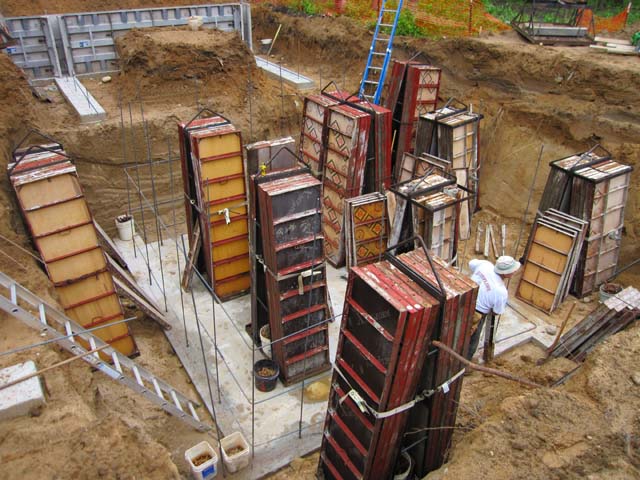
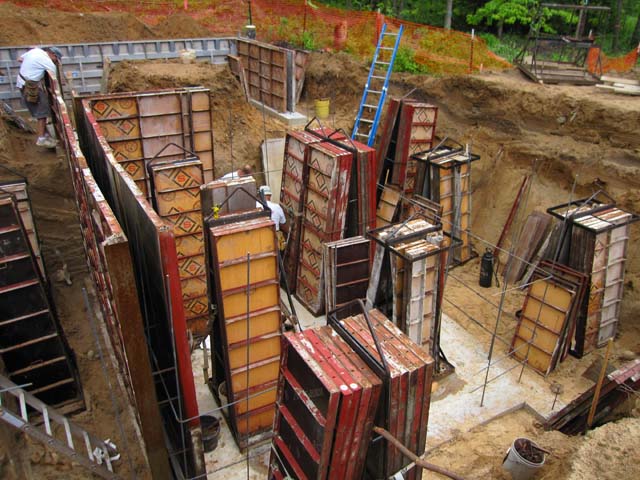

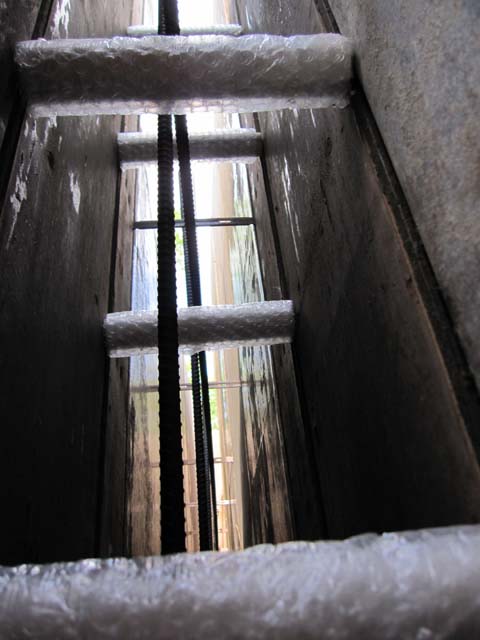
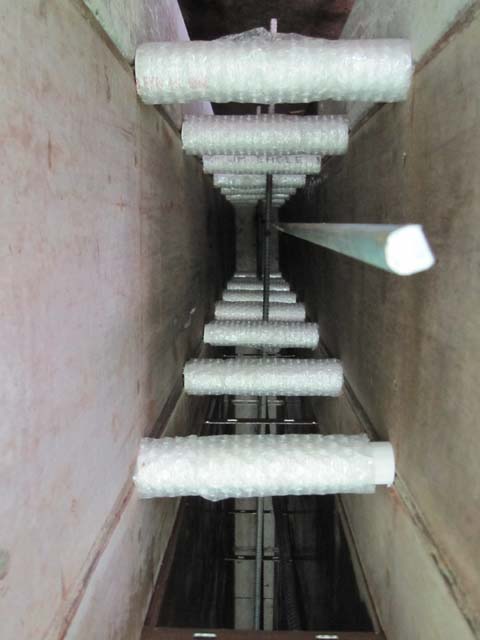
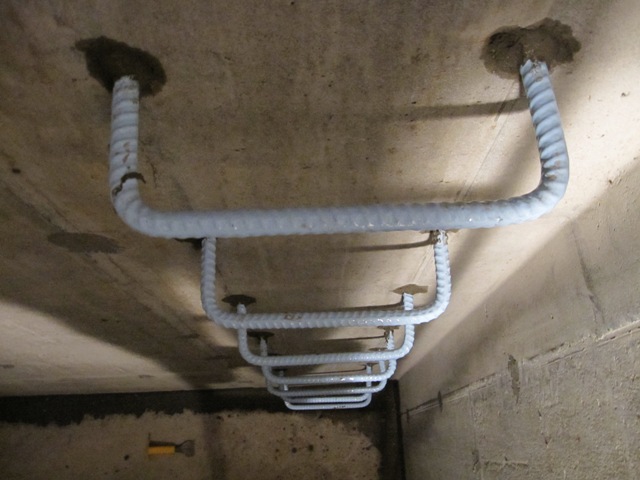
Into the center wall running through the cistern, we had the crew place 1″ PVC pipe wrapped in bubble wrap. These are supported on form ties in two vertical rows a foot apart, with a pair of pipes every foot. The bubble wrap will (we hope) enable us to knock the pipes out after the concrete is poured, leaving two rows of holes. We will bend pieces of 5/8″ epoxy-coated rebar and mortar them into the holes from each side, forming a permanent ladder in each half of the cistern leading up to the hatchway above. That way there’s no possibility of getting trapped in the cistern without a way out. The first picture below is with the camera held inside the bottom of the wall looking east and upward, so the two closest pipes are from the near side of the ladder and the others are from the far side of the ladder. The second picture is from the top of the wall looking down through the ladder rungs.
June 10, 2009
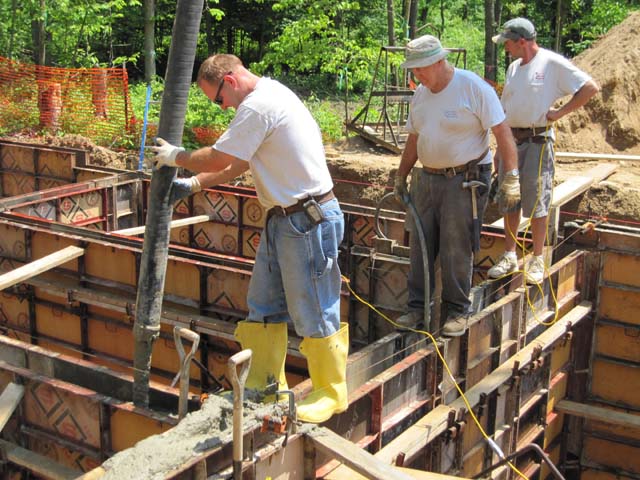
The crew finished up setting the forms in the morning, and the concrete arrived in early afternoon. First they filled the cistern walls, which took two trucks full of concrete.

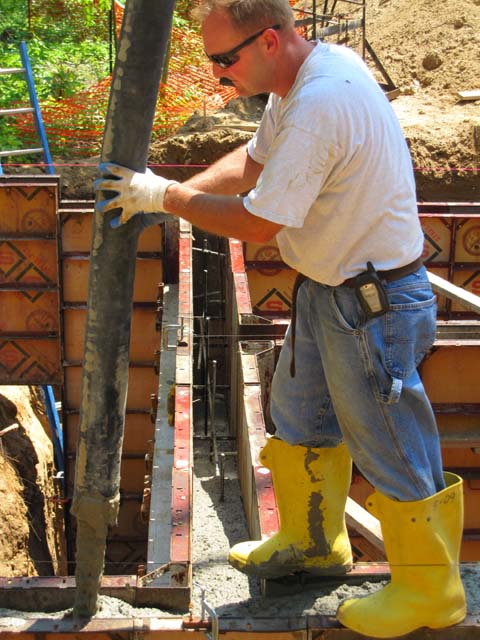
As the walls were filled they followed along with a vibrator to consolidate the concrete, in order to remove large bubbles that would create voids in the walls.
June 11, 2009
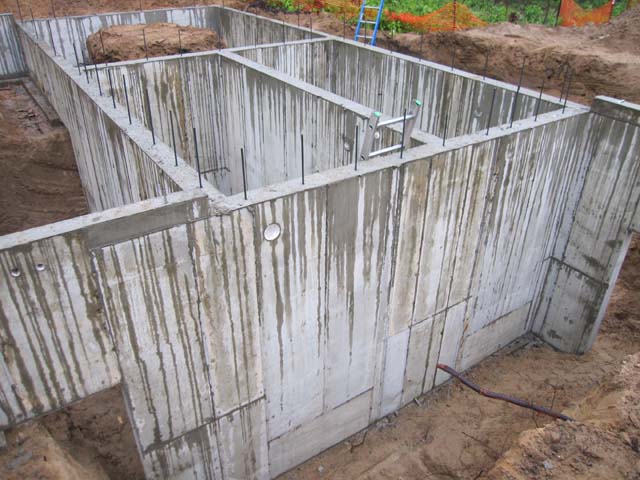
Today the forms were removed, and the photos below show the forms coming off the cistern and how it looks. The drips down the sides in the second photo are water from a light rain, which is good for the walls because the concrete will develop greater strength if it remains moist as it cures.

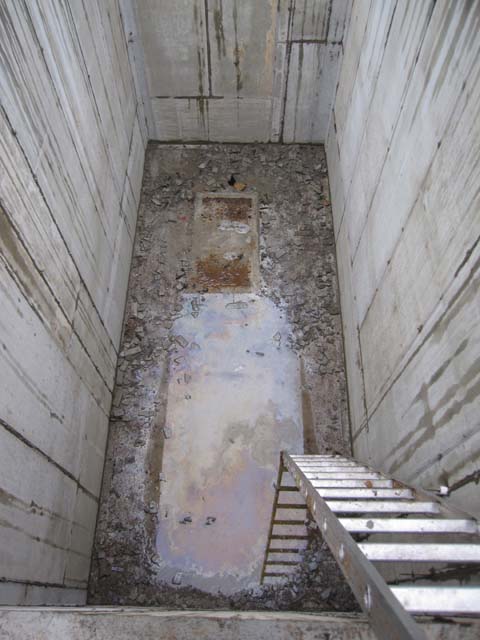
Here’s a view looking down inside one half of the cistern. There’s a bit of a mess to clean up before we can drink from it! The second photo shows an example of how the walls look inside. We need to grind down all the surface irregularities and residue from the forms before we can apply a sealer to the inside. That’s going to be a dirty job.

June 15, 2009
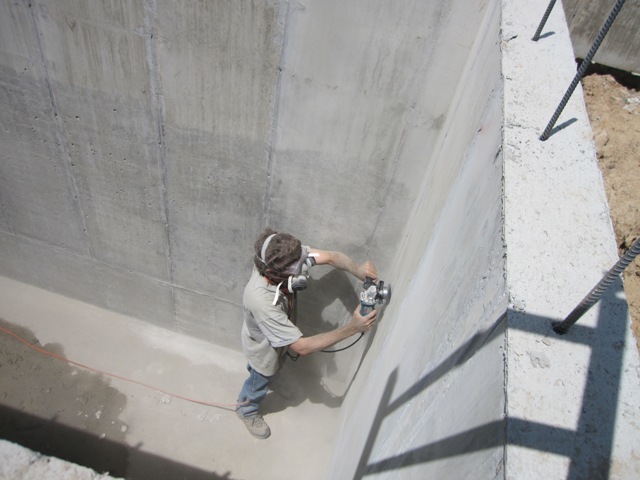
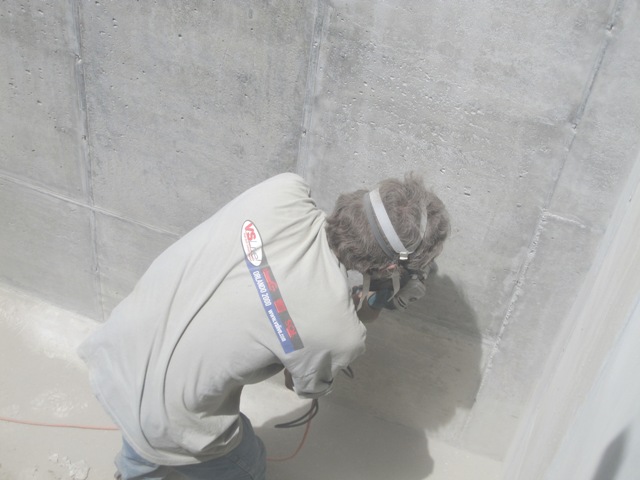
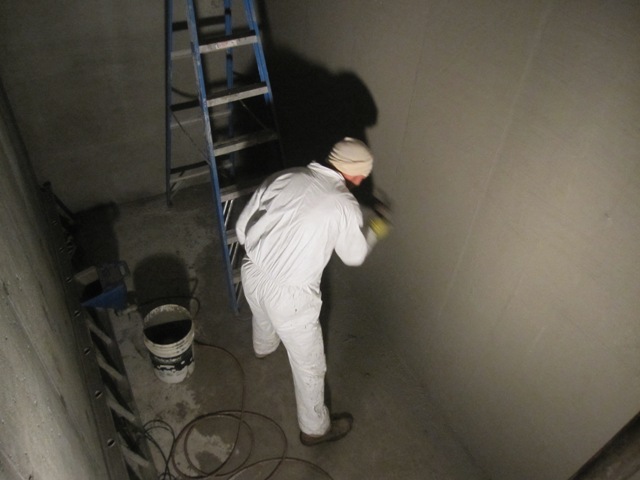
Jay used an electric angle grinder to grind down the seams. The walls also had a somewhat porous surface in some areas, so he used a rotary wire brush to remove all loose material prior to sealing.
June 20, 2009
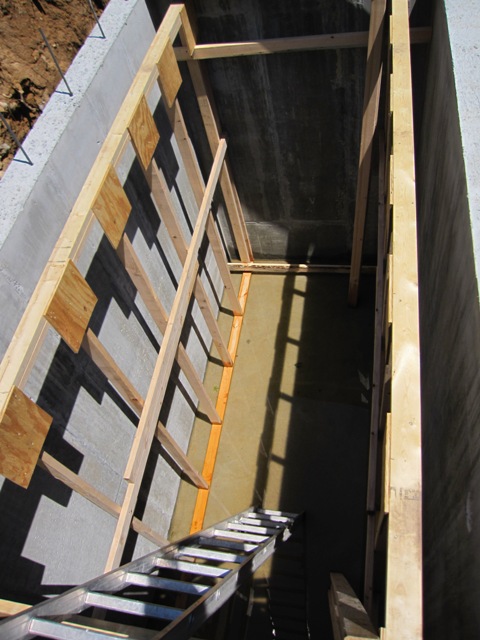
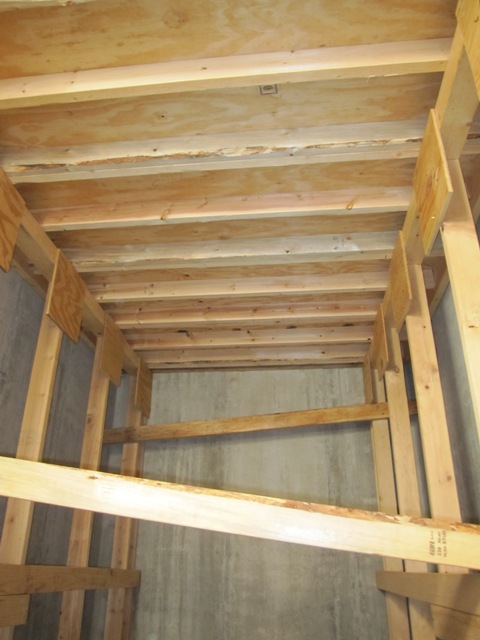
In order to support the weight of the concrete roof as it is poured, we built wooden shoring. This must support a total weight of about 16,000 pounds of wet concrete so it was engineered using the design process outlined in Concrete, Masonry and Brickwork: A Practical Handbook for the Homeowner and Small Builder (Revised 1998 Edition) published by the U.S. Army. In addition, all the shoring had to be extracted later through a 2-foot-square hole without cutting it up so that we could reuse it in the root cellar, and that made the design a bit more challenging. In each half of the cistern we built two stud walls with studs 2 feet on center. Then we made 2-foot by 6-foot “tables” that were placed atop the stud walls. Here’s a view of the walls in place from above, and a view of the tables looking up from inside. Note the ample cross-bracing to stiffen the 10-foot studs so they can’t bend when compressed.
June 26, 2009
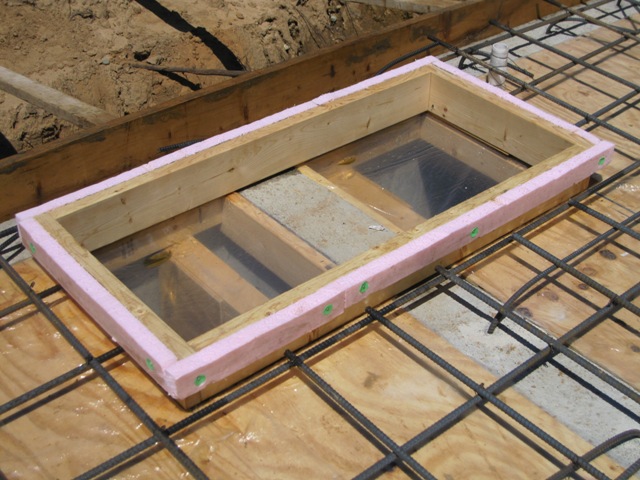
With the shoring in place, we laid down polyethylene sheeting and then the concrete crew placed a grid of heavy rebar 12″ on center across the top. We also placed a form around the hatchway, with pink foam added in order to form a recess around the edge to support the hatch cover later.

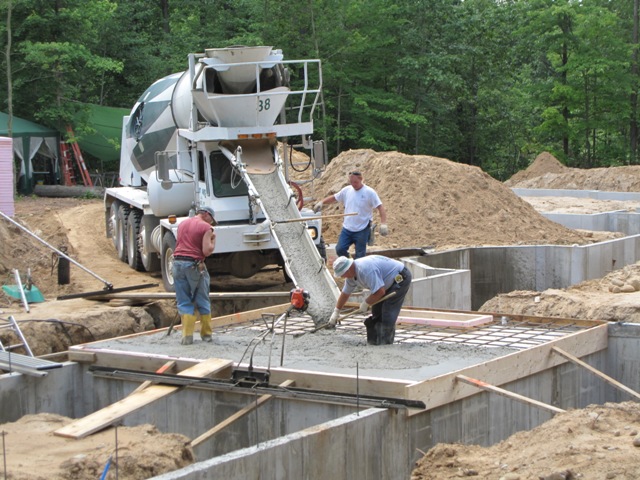
The concrete crew poured the 6″ thick roof slab, and used a power screed to vibrate and consolidate the concrete.


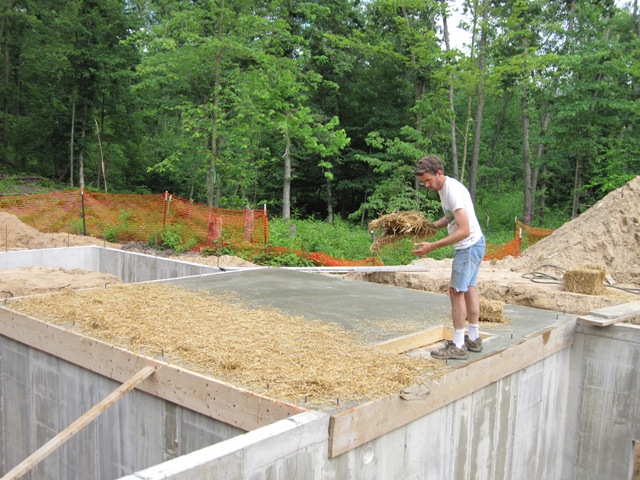
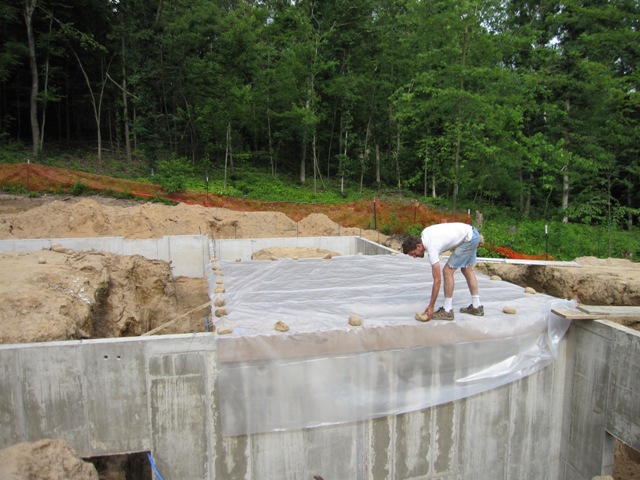
As soon as the concrete was hard enough to walk on, we sprinkled straw on the top and then covered it with plastic sheeting. This will keep it moist while it cures, and the straw imparts an interesting pattern in the finished floor. This will be the floor of the sun porch eventually.
July 9, 2009
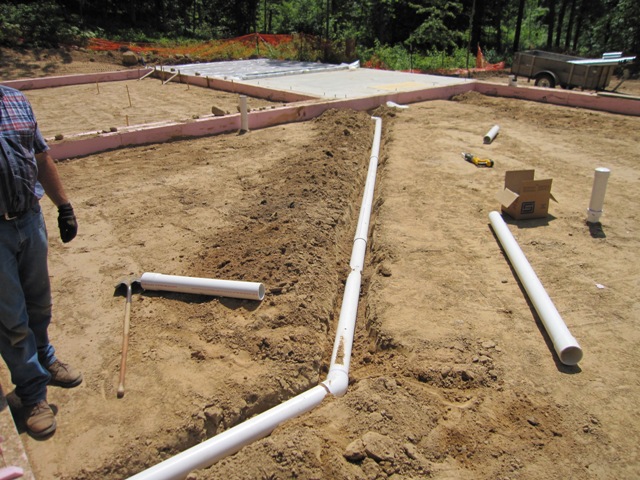
To let water into the cistern we ran a 4″ PVC pipe from the north side of the house and under the main floor slab. We made sure to get fittings and pipe that are rated for potable water, rather than the drain/waste/vent pipe commonly sold at home centers. The potable-rated pipe was only a little more expensive, and it gives us some measure of comfort that the pipe won’t introduce harmful substances into the water. This 4″ pipe is sufficiently large to handle the runoff from all but the most extreme rainstorm, in which case excess water may run harmlessly along the back of the house where the ground is sloped to drain into the valley. An overflow pipe on the south, not shown, prevents the cistern from overfilling.
October 5, 2009
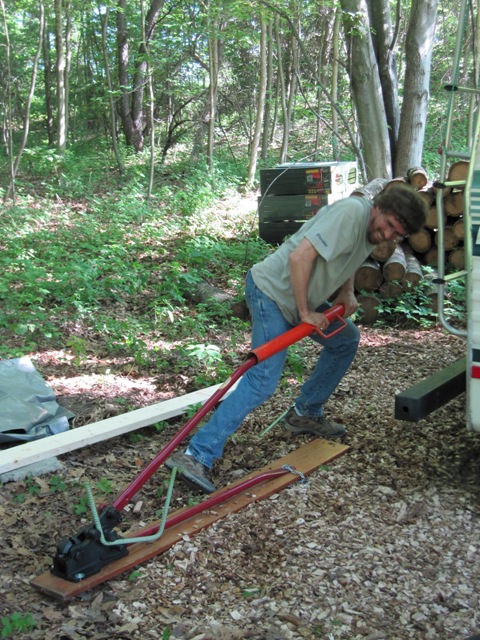
We fabricated the ladder steps that will be mortared in to the cistern walls, by bending lengths of #5 rebar.
In order to seal the rungs and to avoid introducing any harmful substances into the water, Bruce applied two coats of potable water approved epoxy paint. This encapsulates the rungs in an extremely tough coating that is approved for contact with potable water.

October 7, 2009
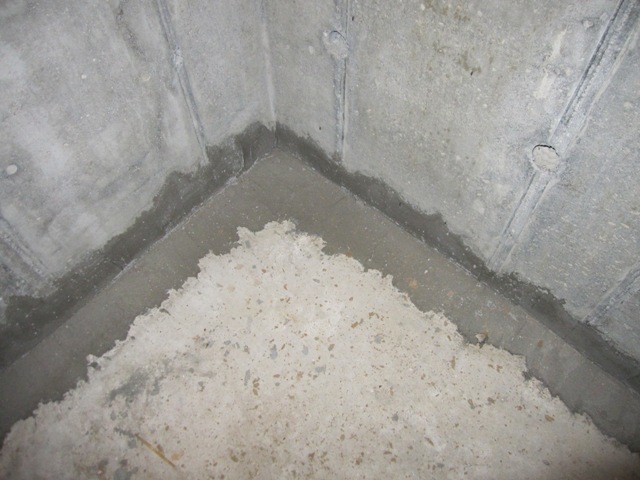
We used Quikrete Precision Grout to anchor the rungs into the holes we had created in the cistern walls. Each half of the cistern has a set of rungs like this, forming a permanent ladder. They also serve a secondary purpose as a water gauge, since they are spaced exactly 1 foot apart. Assuming that the water level is the same in both sides, as it is designed to be, each foot of water equals about 1200 gallons. We’ll collect that much from about 1/2″ of rain on our roof. We also used the same grout to seal the bottom corners of the walls.
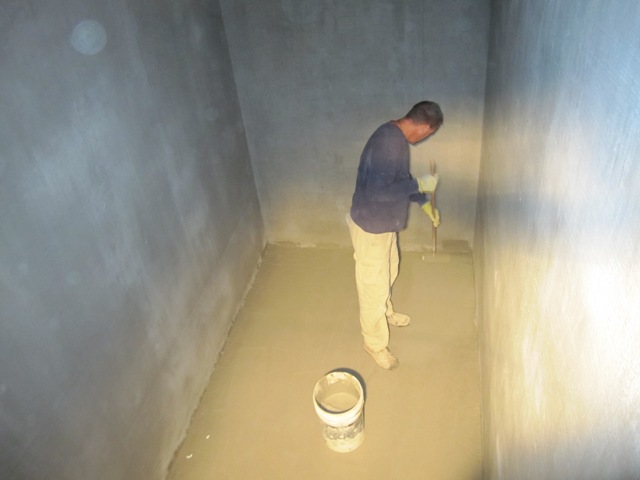
October 12, 2009
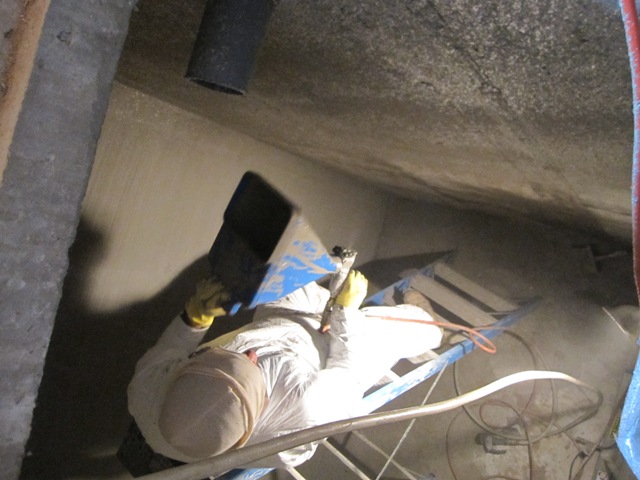
Bruce started applying the first coat of Thoroseal to the inside of the cistern. This is a waterproof cement-based coating that is approved for use in potable water tanks. As specified by the manufacturer, we mixed it with Acryl 60 acrylic additive to improve adhesion and curing. We used a rate of 1/2 gallon of Acryl 60 per 50-pound bag of Thoroseal, about 1:3 Acryl to water. These photos show him spraying it on with a drywall-type sprayer gun and then brushing it in with a masonry brush to make sure all the irregularities are filled. The resulting rough brushed surface will help the second coat to bond well to the first.
October 20, 2009
After two coats of Thoroseal had been applied to the ceilings and walls, Bruce applied two coats to the floors using a paint roller with a 3/4″ nap. This completes the sealing of the cistern and it should be very watertight. It took a total of 12 fifty-pound bags of Thoroseal, plus 6 gallons of Acryl 60 additive.