Includes affiliate links that help offset our expenses at no cost to you. Affiliate programs and affiliations include Amazon Associates and the eBay Partner Network.
This shows how I use my CNC Router with a diamond drag engraving bit to engrave anodized aluminum. I’m making a credit-card-sized map ruler, which I designed for Fortune Bay Expedition Team, as a trinket that we can leave in geocaches when we’re out practicing our navigation skills.
Engraving Feed and Speed
I tried a few different feed depths, which is the distance the Z axis plunges the bit “below” the surface to compress its spring-loaded tip. A depth of 0.5mm gave good results, because it didn’t apply too much pressure and was far enough that it wasn’t significantly affected by variations in the surface height. So I zeroed out the Z axis when the diamond just touched the surface, and then set the depth of cut in VCarve to 0.5mm.
After trying a range of travel speeds, I settled on 1500 mm/min as the fastest speed that gave good-looking results. This has a lot to do with the rigidity of my machine, or lack thereof, as faster speeds gave lines that had more wiggles in them. I think the diamond bit itself could give good results with a faster speed on a more rigid machine.
Vacuum Fixture Details
The vacuum fixture is made from MDF, and I sprayed it with two coats of polyurethane to seal the pores. Probably any type of clear finish would work fine, polyurethane or acrylic for example. It’s not going to seal the material perfectly but it does result in MUCH less air leakage versus unsealed MDF.
It took some trial and error to get a good fit with the 3mm diameter rubber seal, and in the end I cut the groove 2.85mm wide. That gave enough snugness to hold the rubber in place, but not so much that it was hard to put in. The side-to-side compression of the rubber squishes it up a little, so the groove is a full 3mm deep but the rubber gets squeezed above the surface in order to make a seal against the card.
Stuff That I Used
Here are links to the diamond drag bit that I used, plus the parts for the vacuum fixture and the 0.8mm thick business card blanks.
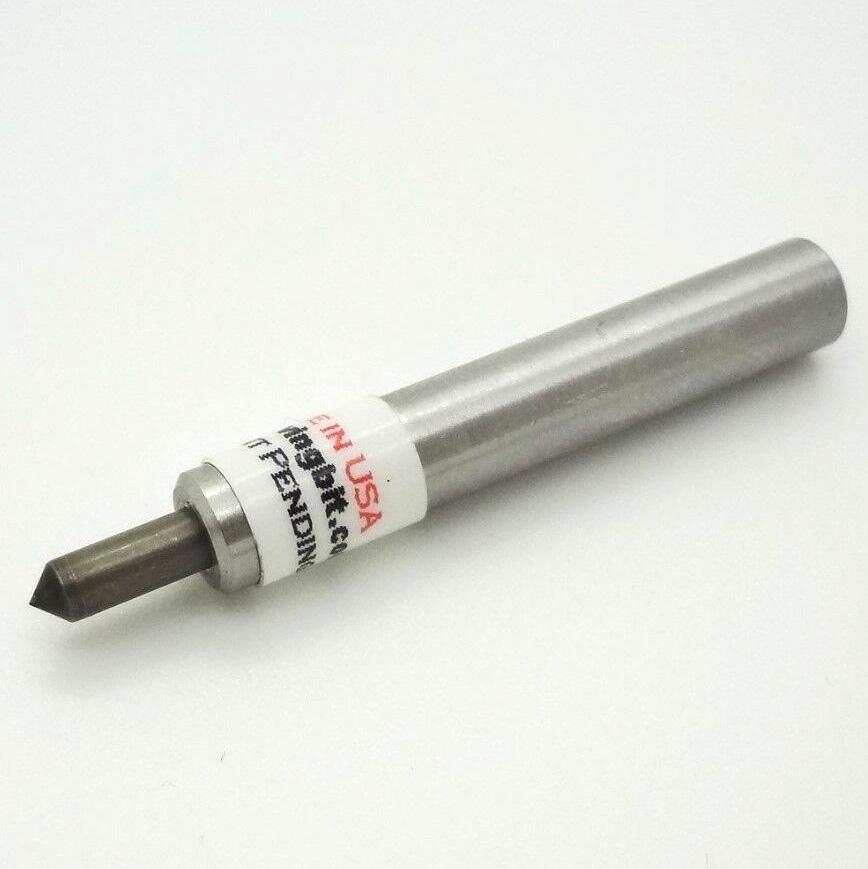
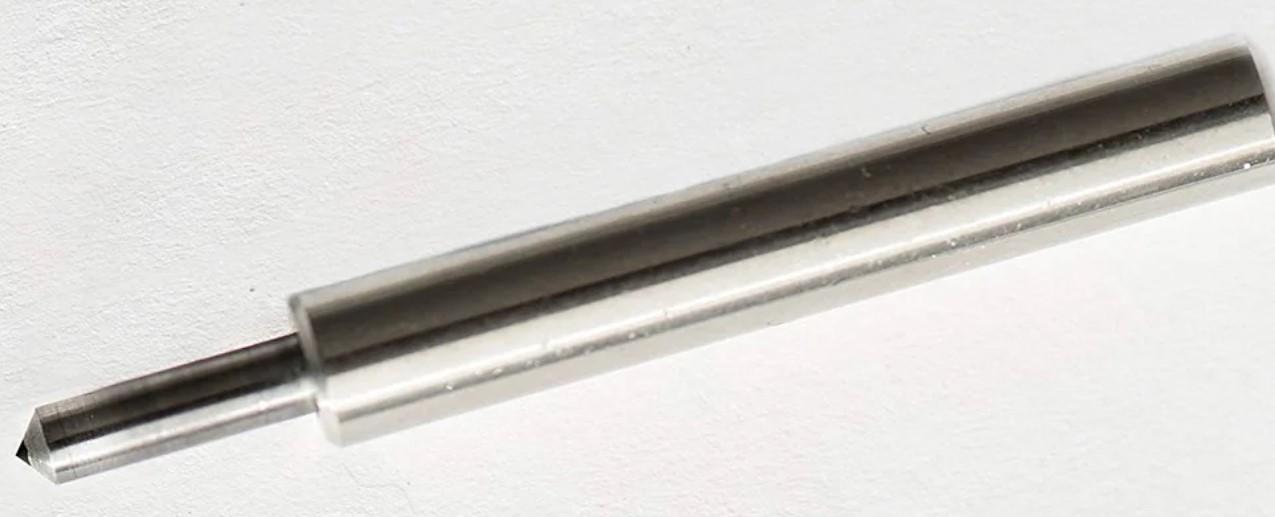
CNC Diamond Engraving Bit 90-degree
The above link takes you to this item on eBay, where the manufacturer sells it for a little less than on their own website at engravingbit.com.
RDZ Engraver For CNC Machine
This is a similar alternative that’s somewhat less expensive on Amazon. I haven’t used this one, but I would expect very similar performance.
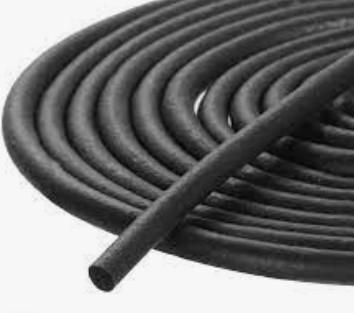
Foam Rubber Weather Strip
I used the 3mm size for this vacuum fixture, and I also got some of the 4mm size to use for larger parts in the future.
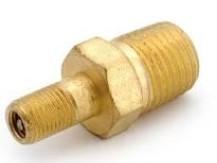
Air Tank Valve 1/8″ MNPT
These work well for making an air outlet fitting attached to the vacuum fixture, and my vacuum pump hose has a quick connector that just clips on. Remove the valve core to use as a vacuum fitting.
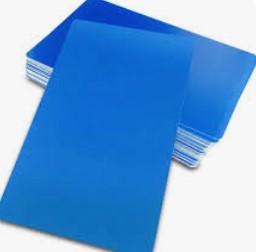
Metal Business Cards Anodized Aluminum Plaque Plate 86X54X0.8mm (Blue, Blank,10PCS)
You can find much thinner blanks at lower cost, but the 0.8mm thick ones are stiff and worked better for my application.
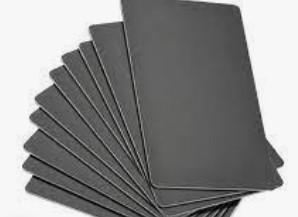
Metal Business Cards Anodized Aluminum Plaque Plate 86X54X0.8mm (Black, Blank,10PCS)
Black is perhaps the most common color, and it’s available from many different vendors if you shop around. Just pay attention to the thickness.
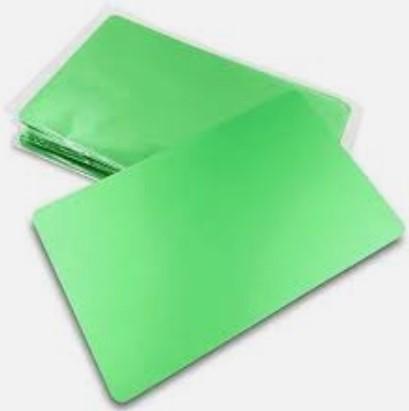
Metal Business Cards Anodized Aluminum Plaque Plate 86X54X0.8mm (Green, Blank,10PCS)
Green is somewhat hard to find but it’s an attractive color.
VCarve Pro Project File
If you have Vectric VCarve Pro and want to make something similar, you may download my project file below. It was created with VCarve Pro 11.5 and may or may not work in earlier versions of the software.