Custom Adapters
The Adapt~O~Matic creates customized 3D-printable adapters for things like lenses and filters, or pretty much anything with metric or Unified threads, and special profiles like dovetails.
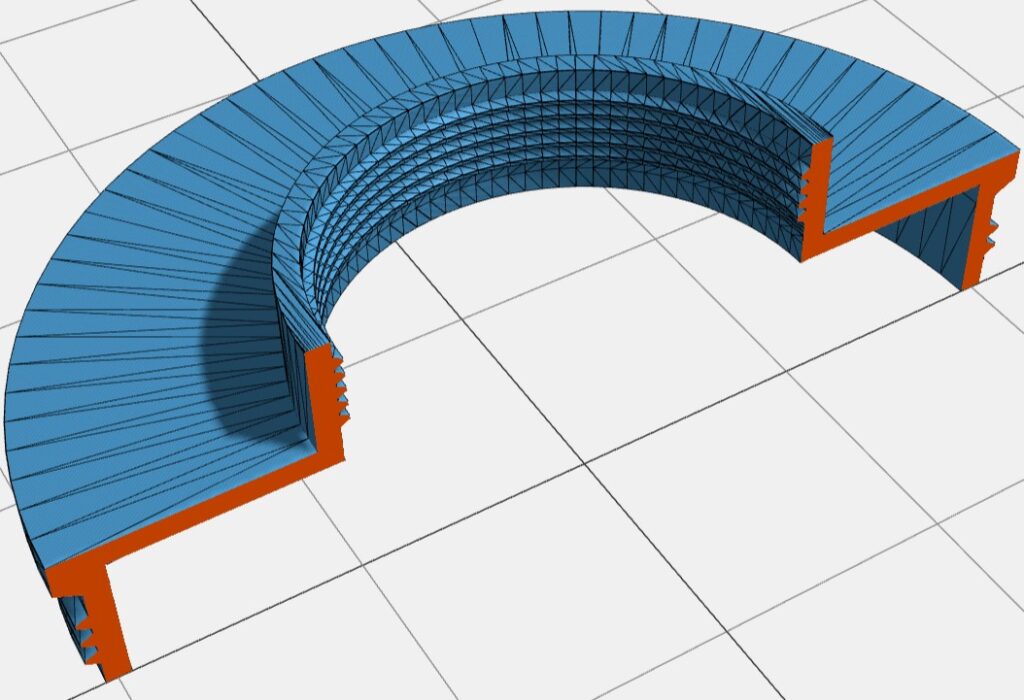
Above you should see an interactive 3D display showing the generated adapter, with an adjacent parameters panel showing the parameters you can customize. If you don’t see the display, try clearing your browser’s cache for this website and reloading the page. If that doesn’t work, it’s possible that your browser is not compatible so a different browser may work better. This page is compatible with most modern browsers.
Model Selection
At the top of the display is a drop-down list that lets you select a model. The Universal Adapter model provides almost endless customization but it has a LOT of parameters, while specialized models such as Extension Tube offer a simplified interface with only the relevant parameters exposed.
PRO TIP: All of the specialized models based on the Universal Adapter use the same underlying set of parameters. That means if you’re working with a specialized model such as Objective Cone and want to customize it further, you can scroll down to the bottom of the parameter panel and press the Copy button to copy your parameter values to the clipboard. Then switch to the Universal Adapter model and press the Paste button, and your model settings will be transferred but with all parameters exposed so you can change them.
Viewer Modes
You can click the fullscreen button on the toolbar at the upper right of the 3D model viewer, to hide these instructions and maximize the model viewer and parameters. The buttons on the left of the toolbar will let you see cross-section and wireframe views of the model:
File Download
Once your adapter is configured as desired, press the Download button on the toolbar to open a dialog for downloading a geometry file. Most models support both STL (best for 3D printing) and STEP (best for importing into CAD programs). Older models may support STL only. The 3D viewer shows a lower-precision view of the geometry for faster updates, and generates a higher-precision rendering for saving a file.
Adapter Parameters
There are quite a few parameters that can be adjusted to fine-tune the generated 3D geometry. Most of these are explained in the text that accompanies them, and here are some additional notes.
Measurement Units
Parameters that expect a length will accept various formats as illustrated in these examples. Spaces are ignored, and simple fractions are supported but not forms like “1-1/2 in”, so use decimal numbers for those. Case is ignored in all forms so M55 is the same as m55.
| What You Enter | What It Means |
| 55 or 55mm or M55 | 55 millimeters |
| 1.3in | 1.3 inches |
| 1/4in | 0.25 inches |
| 12TPI | 1/12 inches |
| 5T | 5 complete threads, applies to Thread Length parameter only |
Flanges
You can add protruding flanges, for example to provide a positive stop for male threads. The Flange Length and Flange Protrusion parameters control the size of the flanges, and it may take some experimentation to find the best settings for your application. Examine the 3D geometry closely, because with poorly-chosen settings it’s possible to create flanges that will not print well.
The Overhang Angle setting controls the angle of the underside of a protruding flange, with zero meaning horizontal. It’s hard to print horizontal overhangs without support so the default is 30 degrees, which most printers can handle unsupported.
3D Printing Tips
Many people are surprised that 3D printers can make usable fine-pitch threads like those on lens filters. The main factors affecting thread quality are layer height and printing speed, and if you adjust these carefully then a relatively ordinary 3D printer can do a pretty good job.
Too Tight or Too Loose?
The ‘Allowance’ parameters specify how much gap to create between male and female threads, because if they are precisely the same size then the fit will be very tight. The default setting works well enough for most conditions, but you can adjust the allowance to fine-tune the fit. A positive allowance makes male threads smaller, and female threads bigger. If your threads are too tight, increase the allowance in small increments. Conversely if your threads are too loose, decrease the allowance. You can even specify a negative allowance to account for material shrinkage, where the printed threads end up physically smaller than the nominal dimension.
Layer Height
The layer height is determined by your slicing software, and as a rule of thumb should be set to 10% to 15% of the thread pitch. For example most lens filters have a pitch of 0.75mm and a layer height of about 0.1mm works well. Smaller layers give better results but take longer to print. You can also use ‘adaptive layer height’ if your slicer supports it, to give a fine layer height where there are threads and a larger layer height in smooth sections for faster printing.
Printing Speed
If threads are coming out rough or malformed, try slowing down the print speed. You don’t have to go insanely slow but reducing to about 50% of typical print speed can improve thread quality. Most slicers have the ability to adjust print settings within user-specified regions so you can slow down the print speed only in the threaded regions if desired, but it’s usually not worth the trouble if you’re printing something relatively small. Adaptive layer height, as noted above, can have a much larger effect with much less effort.
Support
Most modern 3D printers can handle a slope that is 30 degrees from horizontal (60 degrees from vertical), which is the slope of the ISO / Universal thread profile, without any additional support – at least for short protrusions like threads. Large horizontal or nearly-horizontal areas will need support for printing, and modern slicer software does a good job of generating support that’s reasonably easy to remove. You may be able to avoid needing support by specifying an adapter length that keeps the walls closer to vertical. The Flange Angle setting affects protruding flanges, and its default of 30 degrees gives the underside of flanges a slope that should print acceptably without support. However it may slightly alter the effective flange-to-flange adapter length, so if necessary you can set it to zero and enable support in your slicer.
Filament
Most common filaments work adequately to print threaded adapters for light-duty use. PETG is a good choice for its superior abrasion-resistance compared to PLA. For optical applications such as extension tubes, you can try a matte black filament but you can get better light absorption with flocking or super-black paint inside.
Questions? Comments? Bugs? Requests?
Feel free to contact us if you like. Of course we won’t satisfy every request, but we promise to listen. If you want to share the exact settings you’re using, use the copy button at the bottom of the parameters panel to copy your parameters to your clipboard, then paste them into an email. Or if you prefer, you can use the save button to save them to a file that you can attach.