Includes affiliate links that help offset our expenses at no cost to you.
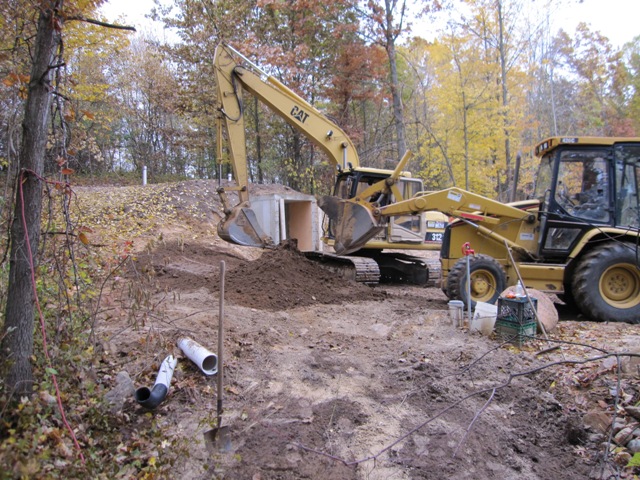
Our root cellar is designed to provide year-round cool storage of fruits, vegetables, wine, cheese etc. without using any electricity. We designed it based on what we learned from the book Root Cellaring: Natural Cold Storage of Fruits & Vegetables and it’s about the same size and shape as the cistern so that we could use the same shoring for pouring the roof slab.
June 4, 2009
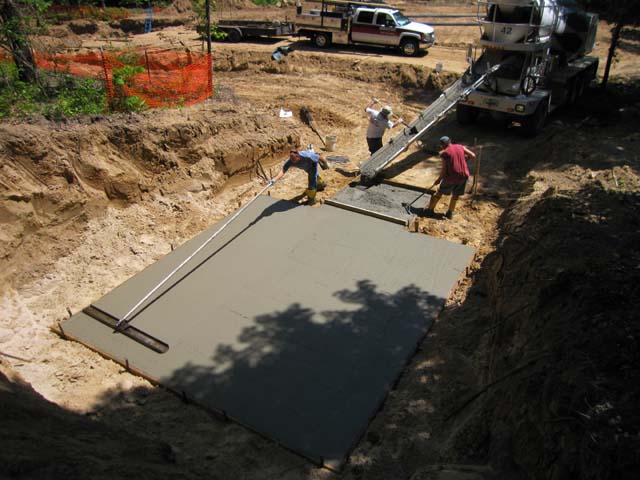
After pouring footings, the crew poured the root cellar floor.

June 16, 2009
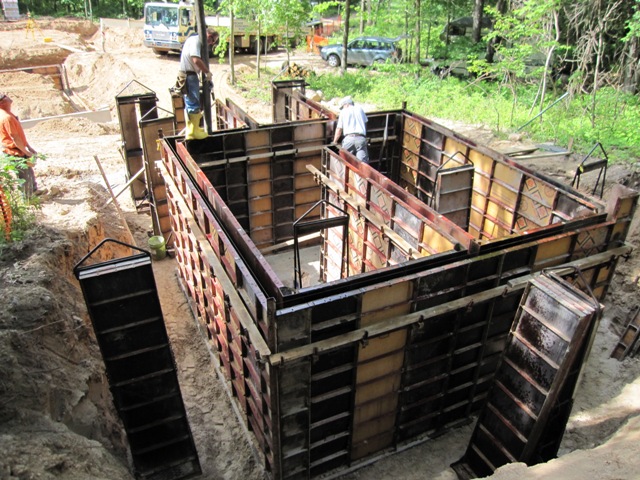
Yesterday the crew set the forms for the root cellar walls, and today they poured the concrete.

June 18, 2009
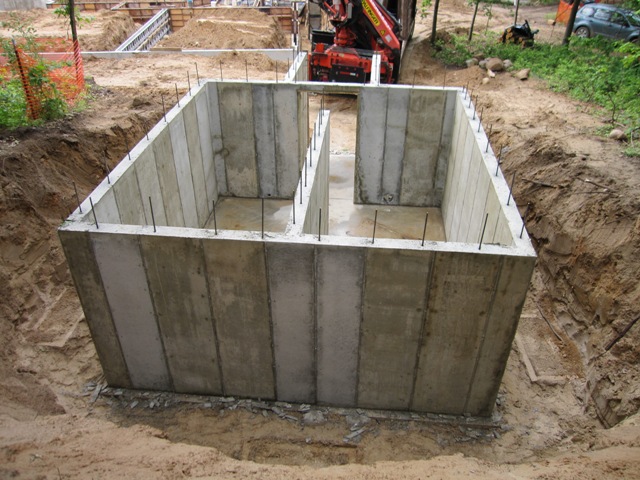
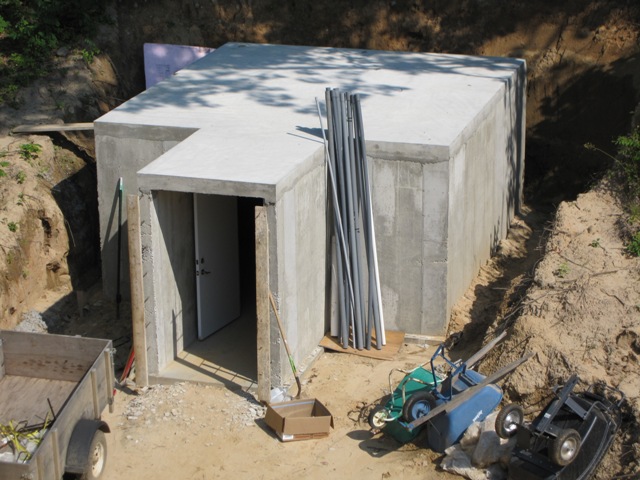
Stripping the forms revealed the root cellar walls. The first picture below is from the hill behind, looking south. Beyond the cellar you can see part of the garage. The second photo is the front entry to the cellar, looking north. The roof will cover all of it including the entry. There are lengths of rebar poking about 12″ out the front of the entry walls, which will get tied into a stone face wall later. On the lower left in the second photo you can see the 6″ air inlet, which will draw in air through a pipe that extends horizontally to the southwest.

July 2, 2009
The excavators installed a socked drain tile around the back of the root cellar. This will allow ground water to drain away, in order to relieve pressure on the walls. It’s probably not necessary with our sandy soil but it’s cheap protection against damage from freezing or seeping ground water.

July 6, 2009
We installed the shoring that was removed from the cistern into the root cellar. This will support the concrete while the roof is being poured.


July 7, 2009
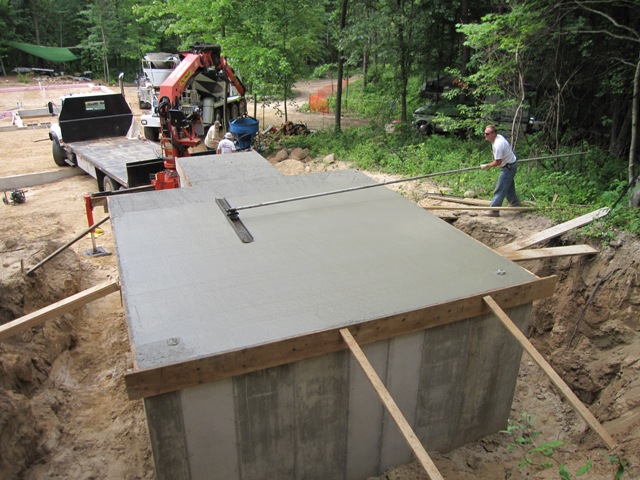
Today the crew placed lots of rebar atop the cistern shoring, and then poured the roof. They used a bucket on their crane to get the concrete from the truck up onto the roof.


In the photos below you can see two 4″ pipes sticking up near the north (closest) corners of the roof. These will be for air outlets that will extend up through the earth cover to let warm air escape. Combined with the low air inlet shown above, this will provide passive ventilation for the cellar that will let us cool it off in the fall and keep fresh air circulating. We’ll close down the air inlet during very cold weather to keep the cellar from freezing. After the slab was hard enough to walk on, we covered it with a tarp to keep it moist for the next week in order for it to cure properly.

August 15, 2009
Now that the house roof is on, here’s a view of the root cellar from above.
October 7, 2009
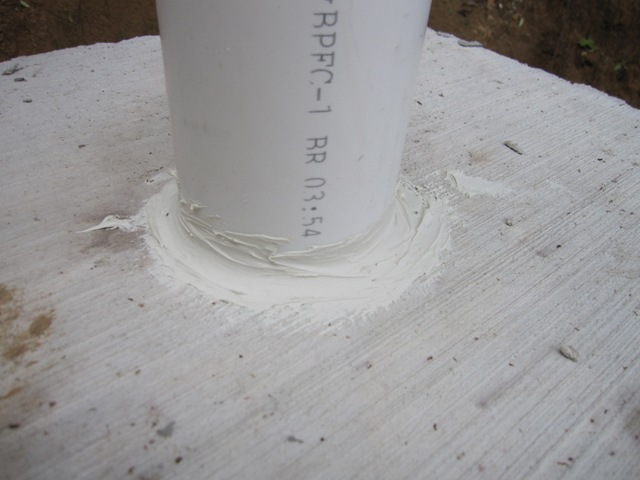
In preparation for back-filling, the 4″ PVC vent pipes were inserted through the holes that we formed in the roof. This is the same size pipe that was used to form the holes as the concrete was poured so it was a tight fit and we had to pound the pipes into place. We then added butyl caulk around the top to prevent moisture seepage.

October 8, 2009
The air intake is a 6-inch PVC pipe located just above the floor to the left of the door.


Once the intake vent pipe was in place, back-filling commenced. Although this looks like rich topsoil it’s actually brown sand.


They continued filling around the back, being careful not to drive equipment on the concrete roof.


After the sand was in place, a layer of topsoil was added to finish it off.
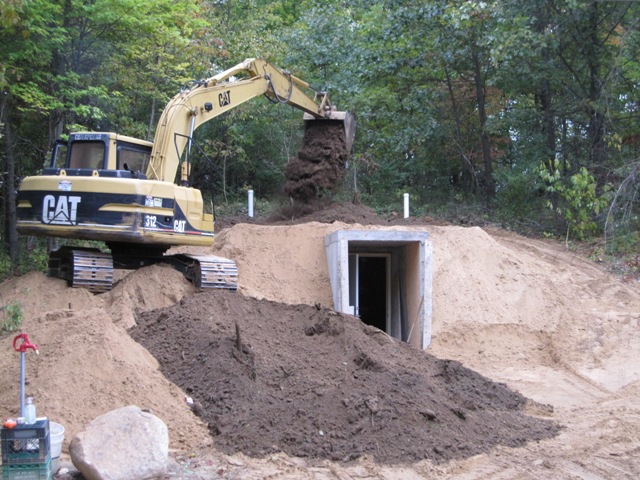
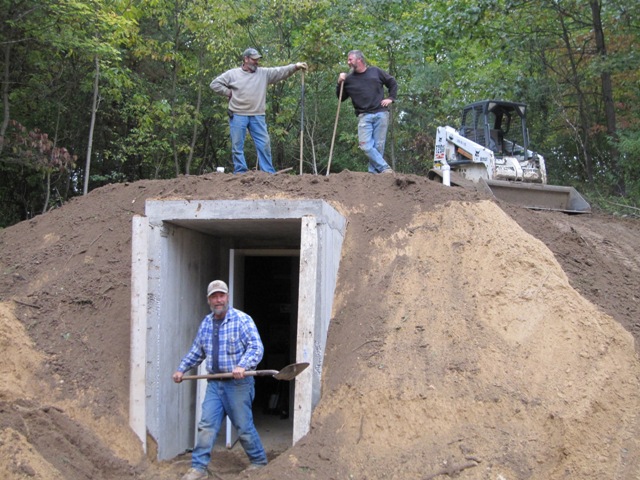
Here’s a view from above. There’s about 2 feet of soil on the roof at the front (not counting the entryway), sloping up to nearly 3 feet at the back.

October 17, 2009
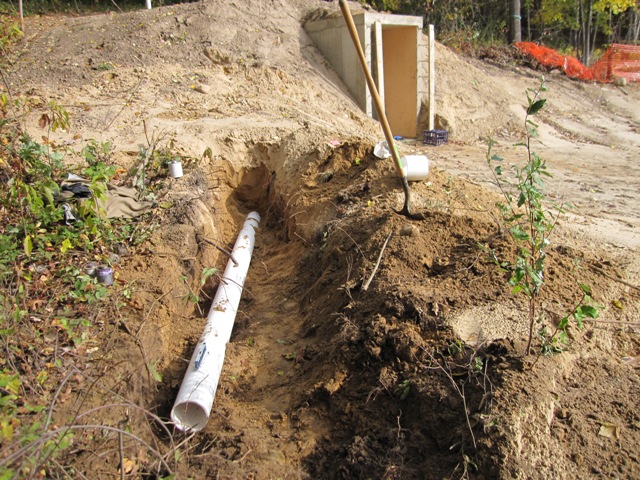
The intake vent pipe was extended to a total of 40 feet, sloping it slightly so that any condensation will run out. We kept a small fan blowing air out of this pipe while assembling it and for several days thereafter, until the PVC cement fumes had fully dissipated.
October 22, 2009
Final grading of the cellar was completed today, covering the intake vent pipe with topsoil. The end of the intake pipe has a piece of fiberglass screen over it, with a pipe coupling wedged over the screen to hold it in place, and a piece of hardware cloth to protect it from chewing animals. That should keep out most types of pests. The vent caps on the roof vents are similarly protected. Eventually we plan to build a curved stone retaining wall around and over the entrance but at this point the cellar is usable for cold storage.
